
How to Set Custom Image and Thumbnail Sizes in WordPress (2026)
Your photos can look sharp on one page and blurry on another. The reason is simple. WordPress rarely shows the file you uploaded. It shows a smaller copy that it made for that exact spot. Those copies are called image sizes. WordPress builds several of them for every upload, and your theme picks one for each layout. When the chosen copy does not fit the space, the picture looks soft, stretched or cut off. This guide shows you how to take control of those sizes in 2026. You will learn where the built-in sizes live, how to add your own, and how to fix older images that still use the old settings.
What WordPress Does With Every Image You Upload
Every upload starts the same way. WordPress saves your original file in a dated folder, such as /wp-content/uploads/2026/10/. It then makes a set of smaller copies from it. Each copy is a real file sitting on your server, not a trick of CSS.
A standard install creates a 150 by 150 pixel thumbnail, a medium copy capped at 300 pixels, a hidden 768 pixel copy called medium_large, and a large copy capped at 1024 pixels. Wide photos also get 1536 and 2048 pixel copies for sharp screens. Your theme can register more sizes on top of that. One holiday photo can easily become seven files.
WordPress records the whole set in the database against that attachment. Your theme then asks for a copy by name when it builds a page. If you want the background on how this storage works, our guide to the purpose of the WordPress Media Library covers it in plain language. The important point is this. Change the size list, and you change what your pages serve.
The Three Image Sizes You Can Change Without Code
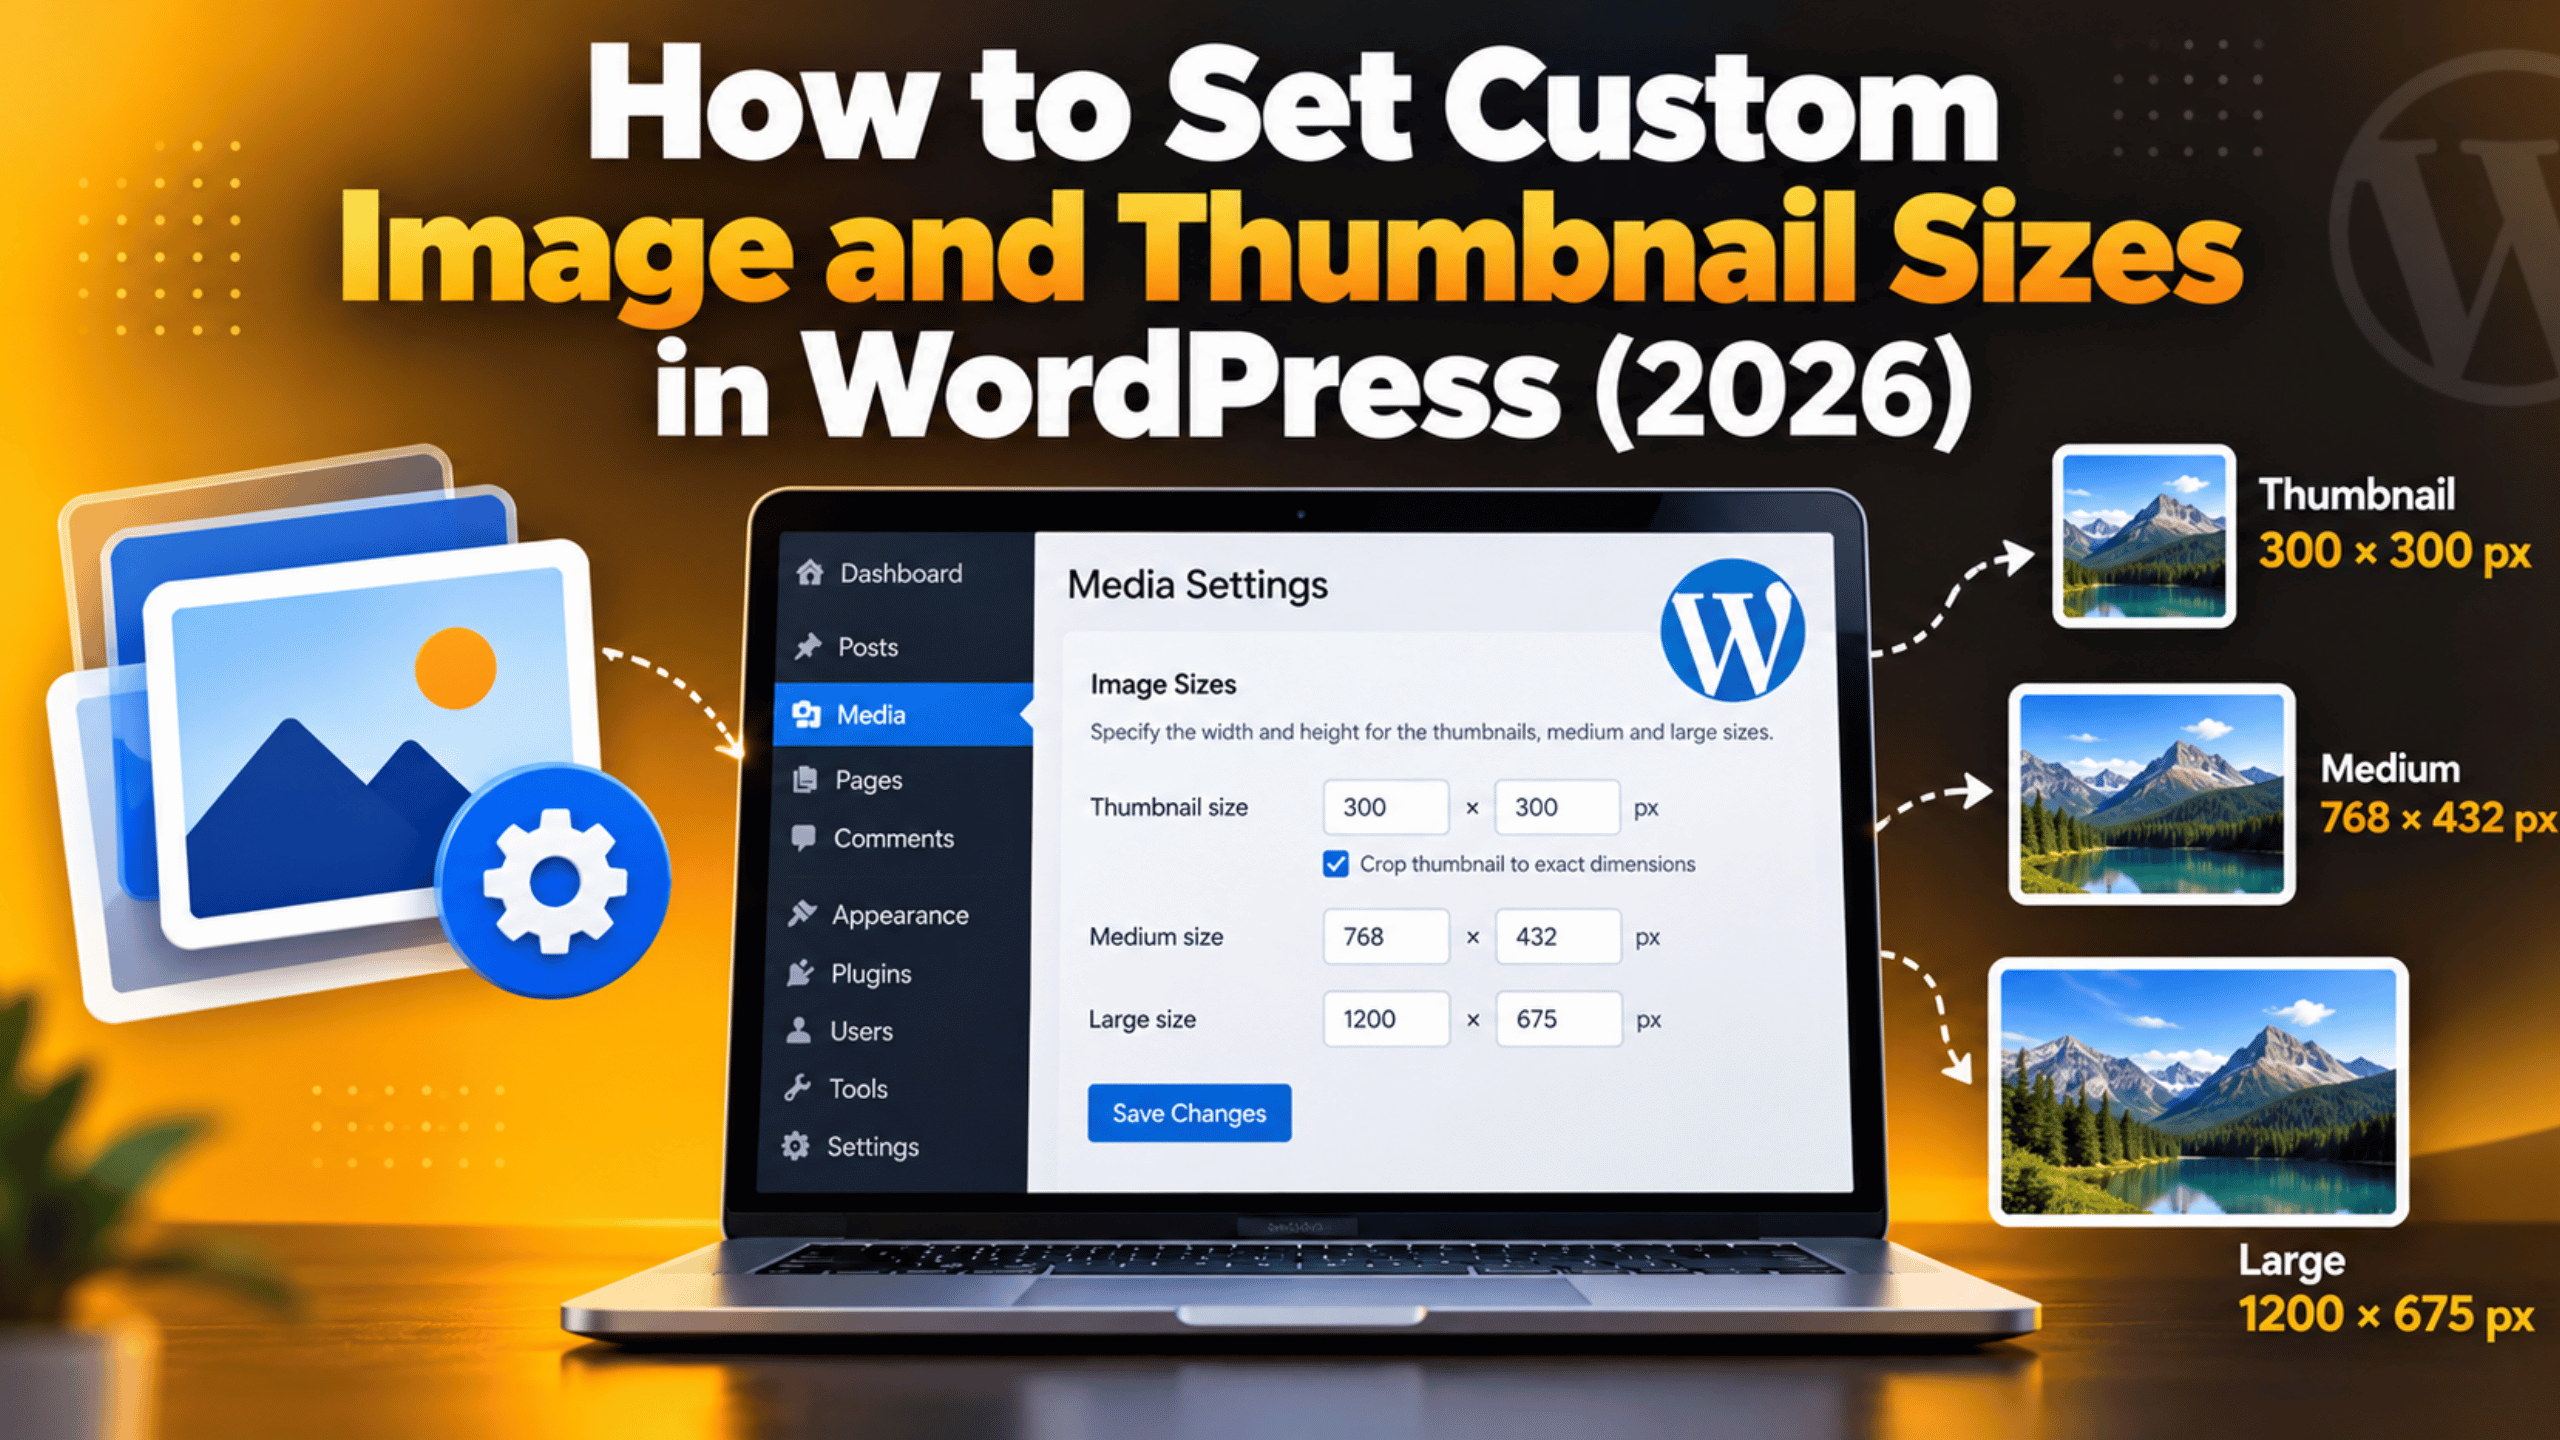
WordPress gives you a settings screen for the three main sizes. Go to Dashboard → Settings → Media. You will see boxes for Thumbnail, Medium and Large, each with a width and a height. Type your numbers and click Save Changes.
Two of these boxes behave differently from the first. The Thumbnail row has a tick box labelled Crop thumbnail to exact dimensions. When it is ticked, every thumbnail comes out at that exact shape. Medium and Large do not crop. Their numbers act as a ceiling instead. A 1600 by 900 photo set to a 1024 pixel Large size becomes 1024 by 576, because the shape is kept.
Pick numbers that match your design, not round numbers that feel tidy. If your blog grid shows images in a 360 pixel column, a 300 pixel medium copy will be stretched. A 400 pixel one will not. Good starting values for most sites in 2026 are 150 by 150 for thumbnails, 400 for medium and 1200 for large.
One rule catches everybody out. Changing these numbers only affects uploads you make from that moment on. Files already in your library keep the copies they were given. The regeneration section below explains how to bring them into line.
How to Add Your Own Custom Image Size
The three built-in sizes rarely cover a real design. A card grid, a slider and a related-posts row often need three different shapes. For those you register your own size with a small piece of code.
Back up first. You are about to edit a code file. Take a full backup, or make the change on a staging copy of the site and test it there. Never edit live files without one of those two safety nets.
Put the code in a child theme’s functions.php file, or in a small site-specific plugin. A plugin is the safer home, because your size survives a theme change. Our comparison of functions.php versus a custom plugin explains the trade-off. If you are not sure which file is which, our breakdown of WordPress theme files will help.
Here is the code:
add_action( 'after_setup_theme', function () {
    add_theme_support( 'post-thumbnails' );
    add_image_size( 'card-wide', 720, 405, true );
    add_image_size( 'sidebar-square', 300, 300, array( 'center', 'top' ) );
} );
Read the four values left to right. The first is the name you will use later, so keep it lowercase and hyphenated. The next two are width and height in pixels. The last one controls cropping.
Set it to true for a hard crop. WordPress then trims the edges and returns the exact size you asked for. Every card in a grid lines up, which is usually what a layout needs.
Set it to false for a soft crop. WordPress shrinks the picture to fit inside your box and keeps the shape. Nothing is lost, but the final height will vary from image to image.
Use an array to control where the crop happens. The example above crops from the top centre, which keeps faces in frame. Accepted values are left, center or right for the first item, and top, center or bottom for the second.
Save the file and upload a test image. Your new copy is created at that moment.
How to Display Your Custom Size on the Front End
Registering a size does not change any page by itself. It only tells WordPress to make the file. Something still has to ask for it by name.
In a theme template, call the featured image with your size name:
<?php the_post_thumbnail( 'card-wide' ); ?>For any other attachment, pass its ID instead:
<?php echo wp_get_attachment_image( $attachment_id, 'card-wide' ); ?>Block themes work a little differently. There you set the size in the editor rather than in a template file. Select the image block, open the settings panel on the right, and choose your size from the Image size dropdown.
You can also offer the size inside the editor. Add this filter and your name appears in the image block’s size dropdown, so writers can pick it without touching code:
add_filter( 'image_size_names_choose', function ( $sizes ) {
    $sizes['card-wide'] = 'Card (wide)';
    return $sizes;
} );
To confirm it worked, load the page and inspect the image. The file name should end with the dimensions you registered, such as beach-720x405.jpg. If you are still setting featured images, our walkthrough on adding featured images and post thumbnails is a useful companion.
Why Older Images Ignore Your New Size
This is the single most common complaint about custom sizes. You add the code, reload an old post, and nothing changes. Nothing is broken. WordPress simply never goes back and reprocesses pictures you uploaded in the past.


When your new size does not exist for an older image, WordPress falls back to the closest copy it does have. That fallback is often the wrong shape, which is why old posts look untidy next to new ones.
You have two ways to fix it. The slow way is to re-upload the handful of images that matter and set them again. The fast way is to regenerate the whole library with WP-CLI:
wp media regenerate --image_size=card-wide --yesTake a backup before you run this. Regeneration overwrites files and cannot be undone from inside WordPress. On a library of several thousand images it can also run for a long time and push CPU use up, so a quiet hour is best. If your library has grown messy, it is worth reading how to clean up and manage WordPress media files before you start. Deleting the junk first means you regenerate far fewer files.
Large Uploads, the 2560 Pixel Limit and Responsive Images
Modern phones produce enormous photos. WordPress deals with that for you. Any image wider or taller than 2560 pixels is scaled down, and the scaled version becomes the one your pages use. You can spot it by the -scaled ending in the file name. Your untouched original stays on the server.
That threshold is adjustable. This snippet raises it to 3200 pixels for sites that need larger artwork:
add_filter( 'big_image_size_threshold', function () {
    return 3200;
} );
Registered sizes do more than feed your templates. WordPress uses them to build a srcset list on every image it outputs. The browser reads that list and downloads the smallest copy that still looks sharp on that screen. A phone can end up pulling a 400 pixel file instead of a 1200 pixel one.
That is why a couple of sensible widths help your page speed more than one huge file ever will. Pairing them with a modern format helps again. Our guide to using WebP images in WordPress shows how to cut file weight further without losing quality.
How Many Image Sizes Are Too Many?
Every registered size has a cost. Add one more, and each future upload writes one more file to your server. Eight sizes across a thousand photos means eight thousand files. That bloats your disk use, slows your backups and makes the uploads folder harder to move.
Themes are usually the culprit. Many register four or five sizes for layouts you never use. You can see the full list by checking the output of wp_get_registered_image_subsizes() on a test page, or by looking at how many variants of one file sit in your uploads folder.
Three to five active sizes is a healthy target for most blogs and brochure sites. Shops need a few more, because product grids, single product views and cart thumbnails all differ. Our overview of Media Library features and supported file types is a good reference while you audit.
You can also stop a size being generated at all. Filter intermediate_image_sizes_advanced and remove the entry you do not need. Test on staging first, because a theme that still asks for a missing size will fall back to a larger file.
When Your Custom Size Does Not Appear: Quick Checks
Most failures come down to one of a few causes. Work through them in order and you will usually find the answer in a few minutes.
The original is too small. WordPress never enlarges a picture. Ask for 720 pixels from a 600 pixel upload and you get the 600 pixel file. This catches more people than any other cause.
The image predates your code. Only uploads made after the change get the new copy. Regenerate, as described above.
The name does not match. Size names are case sensitive and must match exactly in both the registration and the template call.
The code is not running. If it sits in a parent theme you later replaced, or in a plugin you deactivated, the size is gone.
The theme is overriding you. Some templates hardcode their own size name. Search the template file for the_post_thumbnail to check.
Caching is hiding the change. Clear your site cache and any CDN cache, then reload with a hard refresh.
If images are failing at the upload stage instead, that is a different problem. Our fixes for the HTTP image upload error and for a featured image that will not show cover those cases.
Getting Your Images Right From Here
Image sizes reward a little planning. Decide what each layout needs, set the three built-in sizes to match your design, then register only the extra shapes you will really use. Choose a hard crop when things must line up, and a soft crop when the whole picture matters. Regenerate once, so old posts match new ones.
Keep the list short. Fewer sizes mean smaller backups, a tidier uploads folder and faster pages. Check your work on a real phone, not just a desktop window, because that is where responsive sizes earn their keep.
If code edits make you nervous, or your library has thousands of images to sort out, you do not have to do it alone. The team at 24×7 WP Support works on image setup, media cleanup and site speed every day, and we can take a look at your setup and handle the heavy lifting for you.
Related posts:
Gatsby vs WordPress: Key Differences Explained
Beaver Builder vs. Elementor WordPress Page Builders Comparison
WordPress featured image not showing – The Probable Reasons and How to Resolve this Issue?
Can Salesforce Integrate with WordPress or WooCommerce?
Best WordPress Tutorials for Beginners in 2026

Brian is a WordPress support specialist and content contributor at 24×7 WP Support. He writes practical, easy-to-follow guides on WordPress troubleshooting, WooCommerce issues, plugin and theme errors, website security, migrations, performance optimization, and integrations. With a focus on solving real website problems, Brian helps business owners, bloggers, and online store managers keep their WordPress sites running smoothly.
