
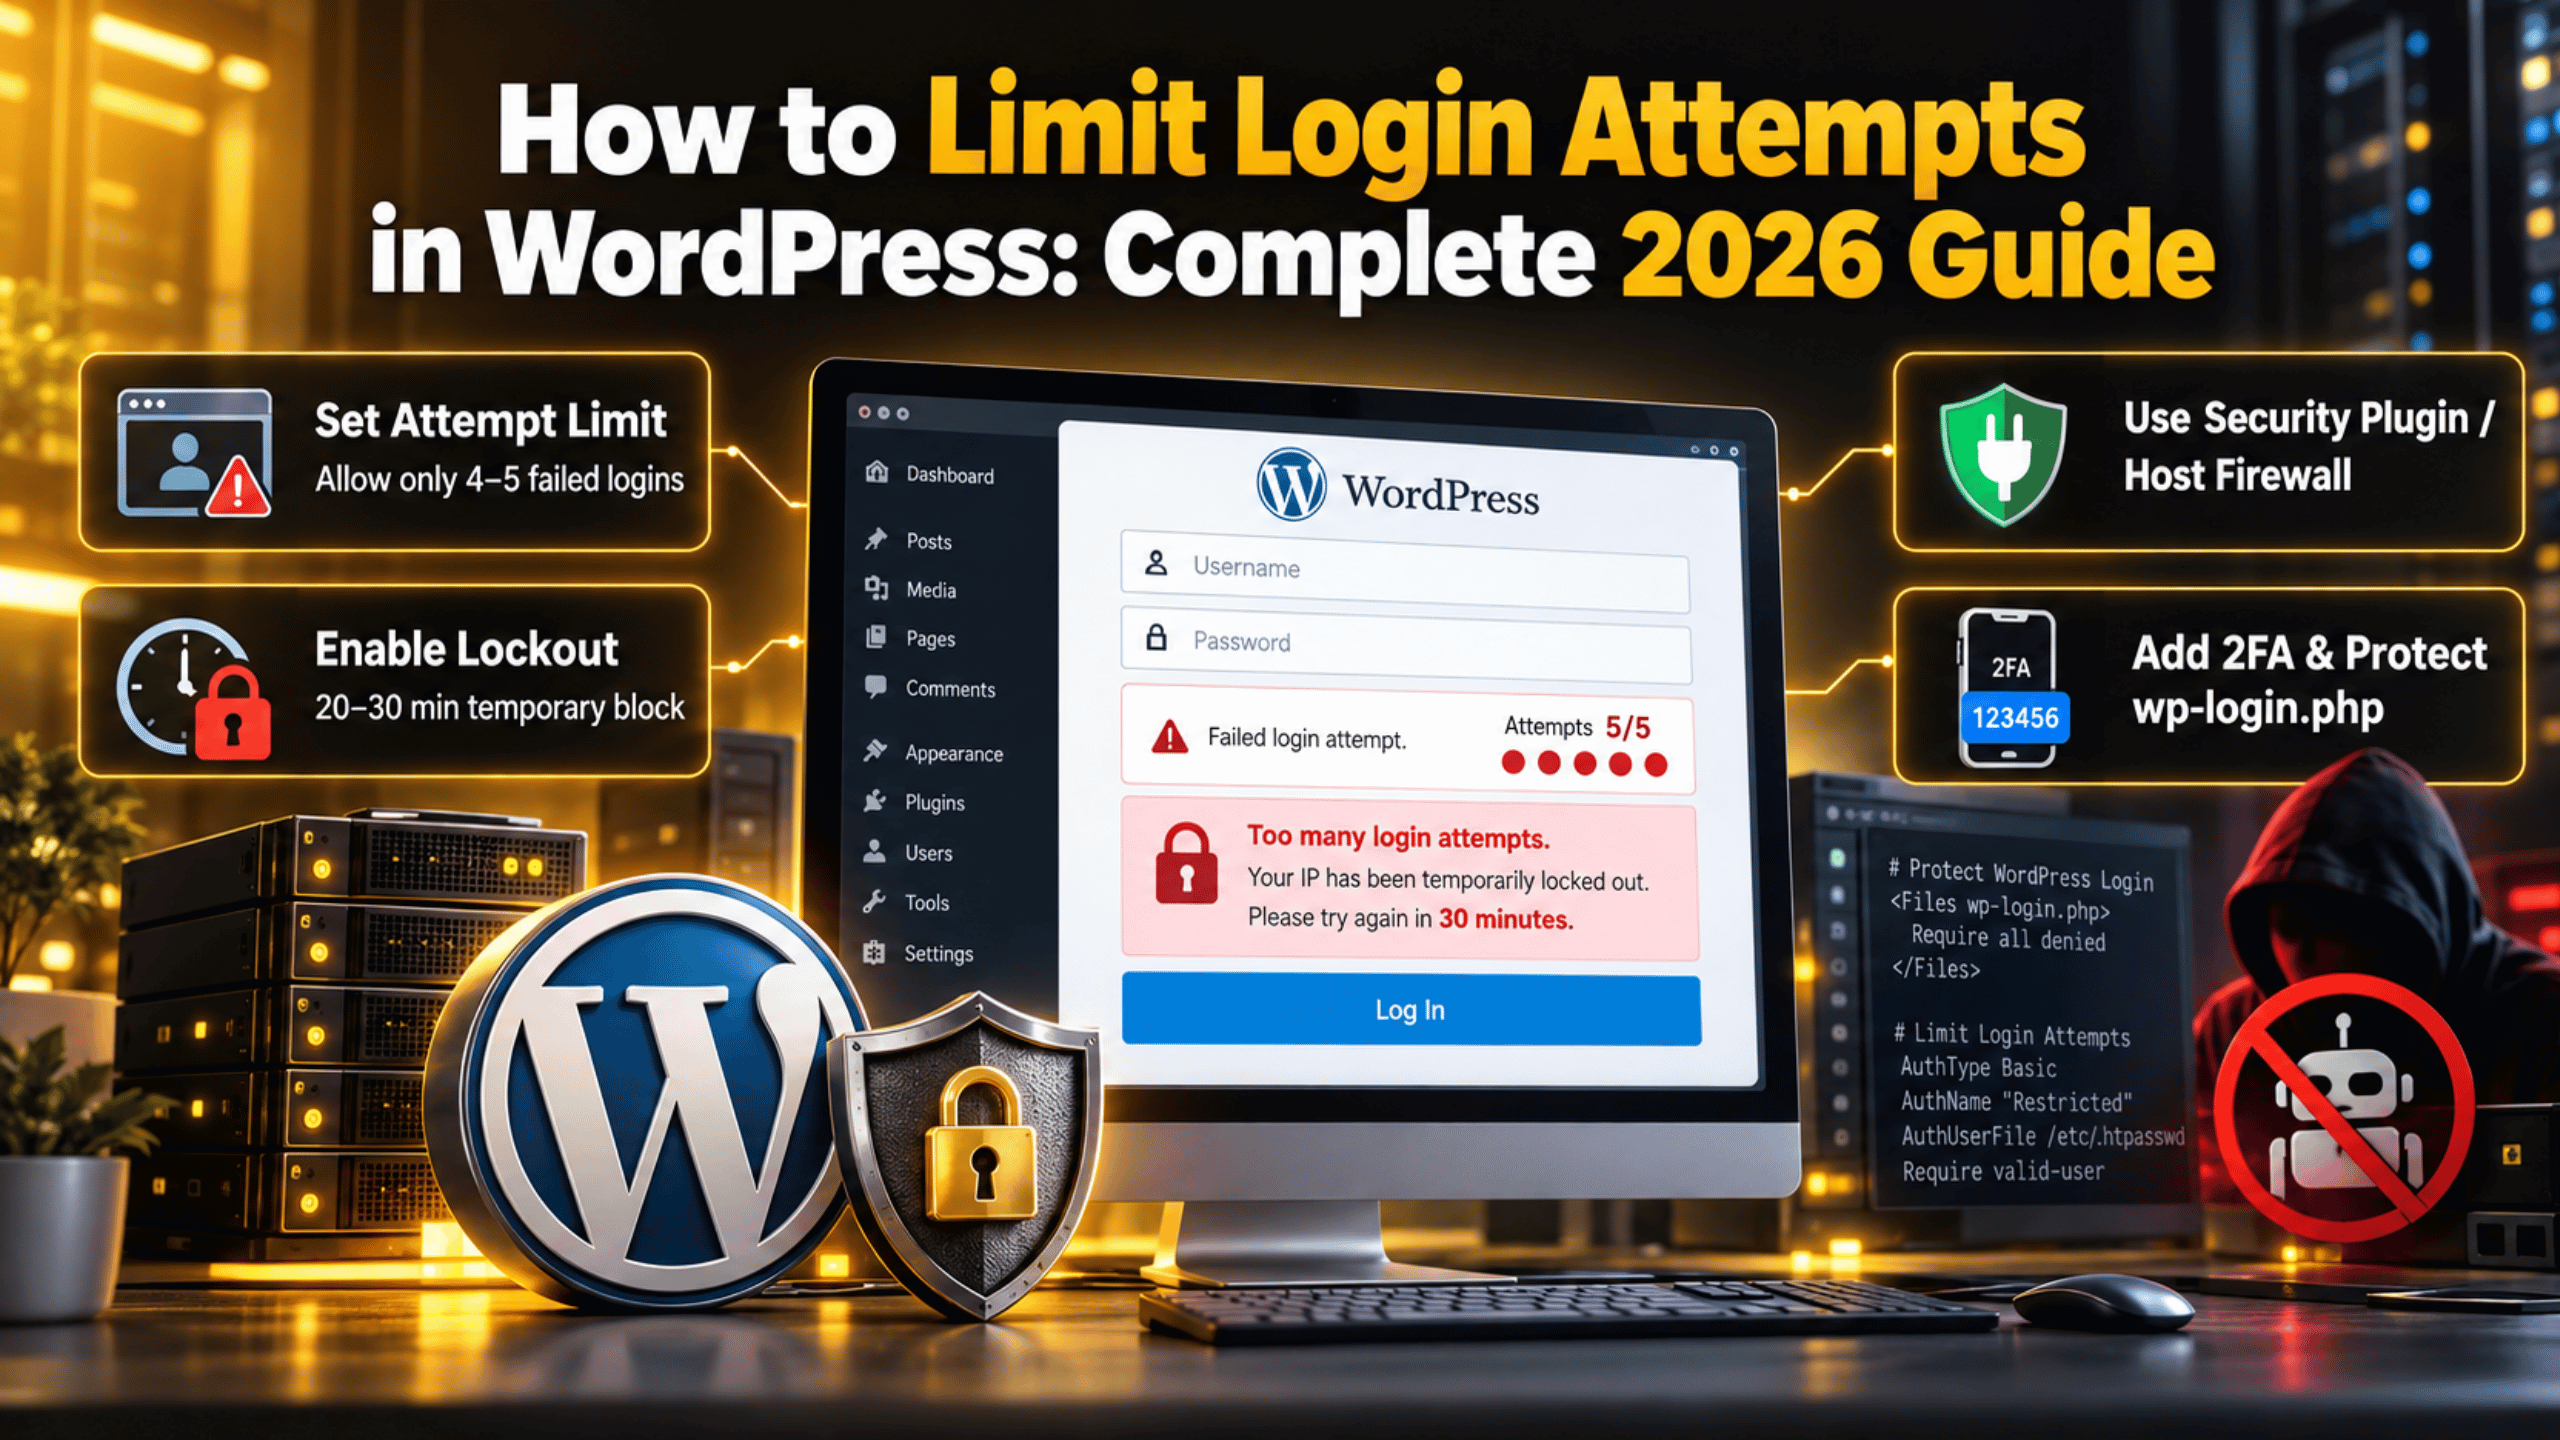
How to Limit Login Attempts in WordPress: Complete 2026 Guide
Introduction
Your login page is the front door to your whole site. Bots find that door within hours of a new domain going live. They then guess passwords over and over, for as long as you let them. Limiting login attempts is the control that ends that guessing game. This guide covers what the setting does, how many tries WordPress allows on its own, five ways to add a limit, and how to test it.
What Limiting Login Attempts Actually Means
Limiting login attempts means you cap how many times someone can fail a sign-in before they are blocked. The block is temporary, and it applies to one visitor rather than your whole site. Think of it like the PIN screen on a phone. Three wrong codes, and the phone makes you wait.
A failed attempt is any sign-in that does not succeed. That covers a wrong password, a username that does not exist, and a wrong two-factor code. Each failure is stored with a timestamp and the visitor’s IP address.
Three numbers control the behaviour. The attempt threshold sets how many failures are allowed. The lockout length sets how long the block lasts. The reset window sets how long failures are remembered before the counter clears.
The point is not to ban attackers forever. It is to slow them down until guessing stops being worth the effort. A bot that tries thousands of passwords an hour is a threat. A bot that gets four tries every half hour is not. If the login screen is new to you, learn how to find your WordPress login URL first.
How Many Login Attempts Does WordPress Allow by Default?
The answer surprises most site owners. WordPress core allows unlimited login attempts. There is no counter on the login form and no built-in lockout. That is still true in WordPress 7.1, the current release in 2026.
This is a deliberate choice, not an oversight. Core aims to work on every host, from shared plans to large servers. A hard lockout rule would break some setups, so the job is left to plugins, to hosts, and to you. Core still gives you a strong password generator and application passwords for apps and API access. None of that stops repeated guessing at the form itself.
Your host may already add a limit at the server, and many do so quietly. Create a throwaway subscriber account, open a private browser window, and fail that login ten times. If you keep seeing the normal “the password you entered is incorrect” message, nothing is limiting you. A “too many attempts” message means something already is. Never run this test on your administrator account. For background, see our guide to WordPress default admin login details.
Why Unlimited Login Attempts Are a Real Risk
An open login form invites two kinds of attack. The first is a brute force attack, where software works through a long list of common passwords. The second is credential stuffing, where attackers reuse email and password pairs leaked from other sites. Both rely on volume, and volume is what an unlimited form allows.
The security cost is obvious. If one account uses a weak or reused password, the attacker gets in. An administrator account is the big prize, because it can install plugins, edit files, and add users.
The performance cost is less obvious and often bites first. Every attempt runs PHP and queries the database. A few thousand attempts an hour can tie up your PHP workers, and real visitors then see slow pages. On shared hosting, that load can push you over your CPU allowance.
There is a second door many owners forget. The file xmlrpc.php also accepts logins, and it supports a batch method that tests many guesses inside a single request. Our WordPress security guide for 2026 puts this in wider context.
How Login Limiting Works Behind the Scenes
Knowing the mechanics helps you pick the right method and debug it later. WordPress fires an action called wp_login_failed every time a sign-in fails. A limiting plugin listens for that action, then stores a record with the IP address, the username tried, and the time.
On the next attempt, the plugin counts the recent records for that IP. If the count has reached your threshold, it blocks the attempt before the password is checked. Most plugins do this through the authenticate filter, which sits early in the login chain.
One detail matters more than any other. The limiter must read the correct visitor IP address. If your site sits behind a proxy or a content delivery network, requests may all arrive from the same few addresses. A limiter reading the raw connection IP then sees every visitor as one person. It will either lock out everyone at once or nobody at all. The fix is to read the forwarded IP header your proxy sets, usually X-Forwarded-For. Login plugins have a setting for this, often labelled trusted proxy.
Five Ways to Limit Login Attempts in WordPress
There is no single correct method. The right choice depends on your host and how much server access you have. Most sites do well with one main method and one backup. Here are five that work in 2026, ordered from easiest to most technical.
Method 1: Use a Login Limiting Security Plugin
This is the quickest route and suits almost every site. Go to Plugins → Add New and search for a login limiting or login security plugin. Install one with a large install base and recent updates, then open its settings.
Set the allowed attempts, the lockout length, and the longer lockout that follows repeated offences. Turn on email alerts so you hear about sustained attacks. Add your own IP address to the allowlist if the plugin offers one. Check whether it also covers xmlrpc.php and the REST API, because the normal form is not the only way in.
Method 2: Turn On Your Host’s Built-In Protection
Many hosting control panels include brute force protection that you simply switch on. It usually sits under a security or firewall section of the panel. Because it runs at the server, it costs your site almost nothing in resources.
Look for settings named login protection, brute force protection, or rate limiting. Turn it on, then confirm the threshold is sensible rather than extreme. If you cannot find the option, ask your host. Many enable it by request on shared plans.
Method 3: Protect wp-login.php at the Server Level
Back up your site first, or make this change on a staging copy. A mistake in a server configuration file can lock you out of your own admin area. On an Apache server, you can add a second password prompt in front of the login file using an .htaccess rule and a password file created by your control panel.
<Files wp-login.php>
AuthType Basic
AuthName "Restricted"
AuthUserFile /home/youruser/.htpasswd
Require valid-user
</Files>
Visitors now need a server password before WordPress even loads, and bots almost never get past it. The trade-off is that every editor needs those extra details, so this suits small teams best. On Nginx the same result comes from a location block, which your host can add for you.


Method 4: Move Your Login URL
Most automated attacks only ever try /wp-login.php and /wp-admin. Change the address, and the bulk of those requests hit a 404 page instead. This is not a substitute for a real limit, because a determined attacker can still find the new address. It is still a very effective noise filter.
You can do it with a login plugin, or follow our walkthrough on creating a custom login URL without plugins. Write the new address down somewhere safe before you save the change.
Method 5: Close the XML-RPC Door
If nothing on your site uses xmlrpc.php, blocking it removes an efficient attack route in one step. Mobile publishing apps and a few older integrations still need it, so check before you act. Disable it, use your site normally for a day, and watch for anything that breaks.
Most security plugins include a single toggle for this. Your host can also block the file at the server, which is cleaner. Pair this with two-factor authentication on admin logins for a stronger front door.
How Many Attempts and How Long a Lockout Should You Set?
Numbers that are too strict cause support tickets. Numbers that are too loose do nothing. A balanced starting point for most sites is four or five allowed attempts, followed by a lockout of twenty to thirty minutes.
Then add an escalating rule. After three or four separate lockouts from the same IP, extend the block to twenty-four hours. Real people rarely fail that often. Bots do it constantly, so the long block filters them out while barely touching your team.
Set the reset window to around twelve hours. A stray failed login this morning will then not count against someone this evening. A window of a few minutes is too forgiving, because a patient bot waits it out.
Two more settings deserve attention. Allowlist any fixed office IP address so staff are not locked out mid-task. Turn on the notification email, and send it to an address you read. If alerts arrive hourly, add server-level blocking rather than raising your limits.
How to Check That Your Limit Is Working
Never assume a setting took effect. Test it the same day you change it, because a limiter that fails quietly gives you false confidence.
Start with a controlled test. Create a subscriber account you do not mind losing. Open a private browsing window, then fail that login until you pass your threshold. You should see a lockout message rather than the usual password error. Wait out the lockout, then confirm the account signs in normally.
Next, read the logs. A good login plugin keeps a list of blocked IP addresses and attempted usernames. That list tells you which accounts are being targeted. If the same username appears again and again, rename that account.
Server logs give the wider picture, and our guide to finding WordPress error logs shows where they live. Look for repeated POST requests to the login file. If your limiter works, those requests should return a block response instead of a WordPress page. Finally, open Tools → Site Health, which flags outdated software.
Mistakes That Lock You Out of Your Own Site
Login limiting is safe, but a few common errors turn it against you. Knowing them in advance saves an anxious afternoon.
The first mistake is setting the threshold to one or two attempts. Everyone mistypes a password. With a strict limit and a long lockout, a typo costs your editor half a day. The second is allowlisting a home IP address that changes. Most home connections get a new address every few days, so the allowlist then protects a stranger instead of you.
The third is blocking by IP alone when your whole team shares one office connection. One person’s mistakes lock out everybody, so count failures per username as well where the plugin supports it.
The fourth is having no way back in. Before you tighten anything, check that you can reach your files over SFTP or your control panel. Our guides on resetting the administrator password and on being unable to log into WordPress cover the recovery routes. With command line access, WP-CLI over SSH can deactivate a misbehaving plugin in seconds. Take a backup before you run those commands.
Bringing It All Together
WordPress does not limit login attempts on its own, and that gap is worth closing on day one. Pick one main method: a login plugin, your host’s firewall, or a server rule in front of the login file. Set a threshold of four or five attempts with a lockout of twenty to thirty minutes, then escalate for repeat offenders.
Test the limit with a throwaway account before you trust it, and keep a recovery route open. Then layer two-factor authentication and strong, unique passwords on top. A limit slows attackers down, while good passwords keep them out. Our overview of WordPress security essentials covers the rest.
If login attacks are already slowing your site, or you would rather someone else set this up, our team works on WordPress security hardening every day. Visit 24×7 WP Support and tell us what you are seeing.
Related posts:
Does WordPress Have a Built-In Website Builder?
Facing 429 Too Many Requests Error? Here is How You Can Deal with It
Showit vs WordPress: Which Website Builder Is Better?
Does Showit Work With WordPress? Setup, Linking, and Cost Explained
Essential Continuity Planning for WordPress Agencies and E-Commerce Stores

Brian is a WordPress support specialist and content contributor at 24×7 WP Support. He writes practical, easy-to-follow guides on WordPress troubleshooting, WooCommerce issues, plugin and theme errors, website security, migrations, performance optimization, and integrations. With a focus on solving real website problems, Brian helps business owners, bloggers, and online store managers keep their WordPress sites running smoothly.
