
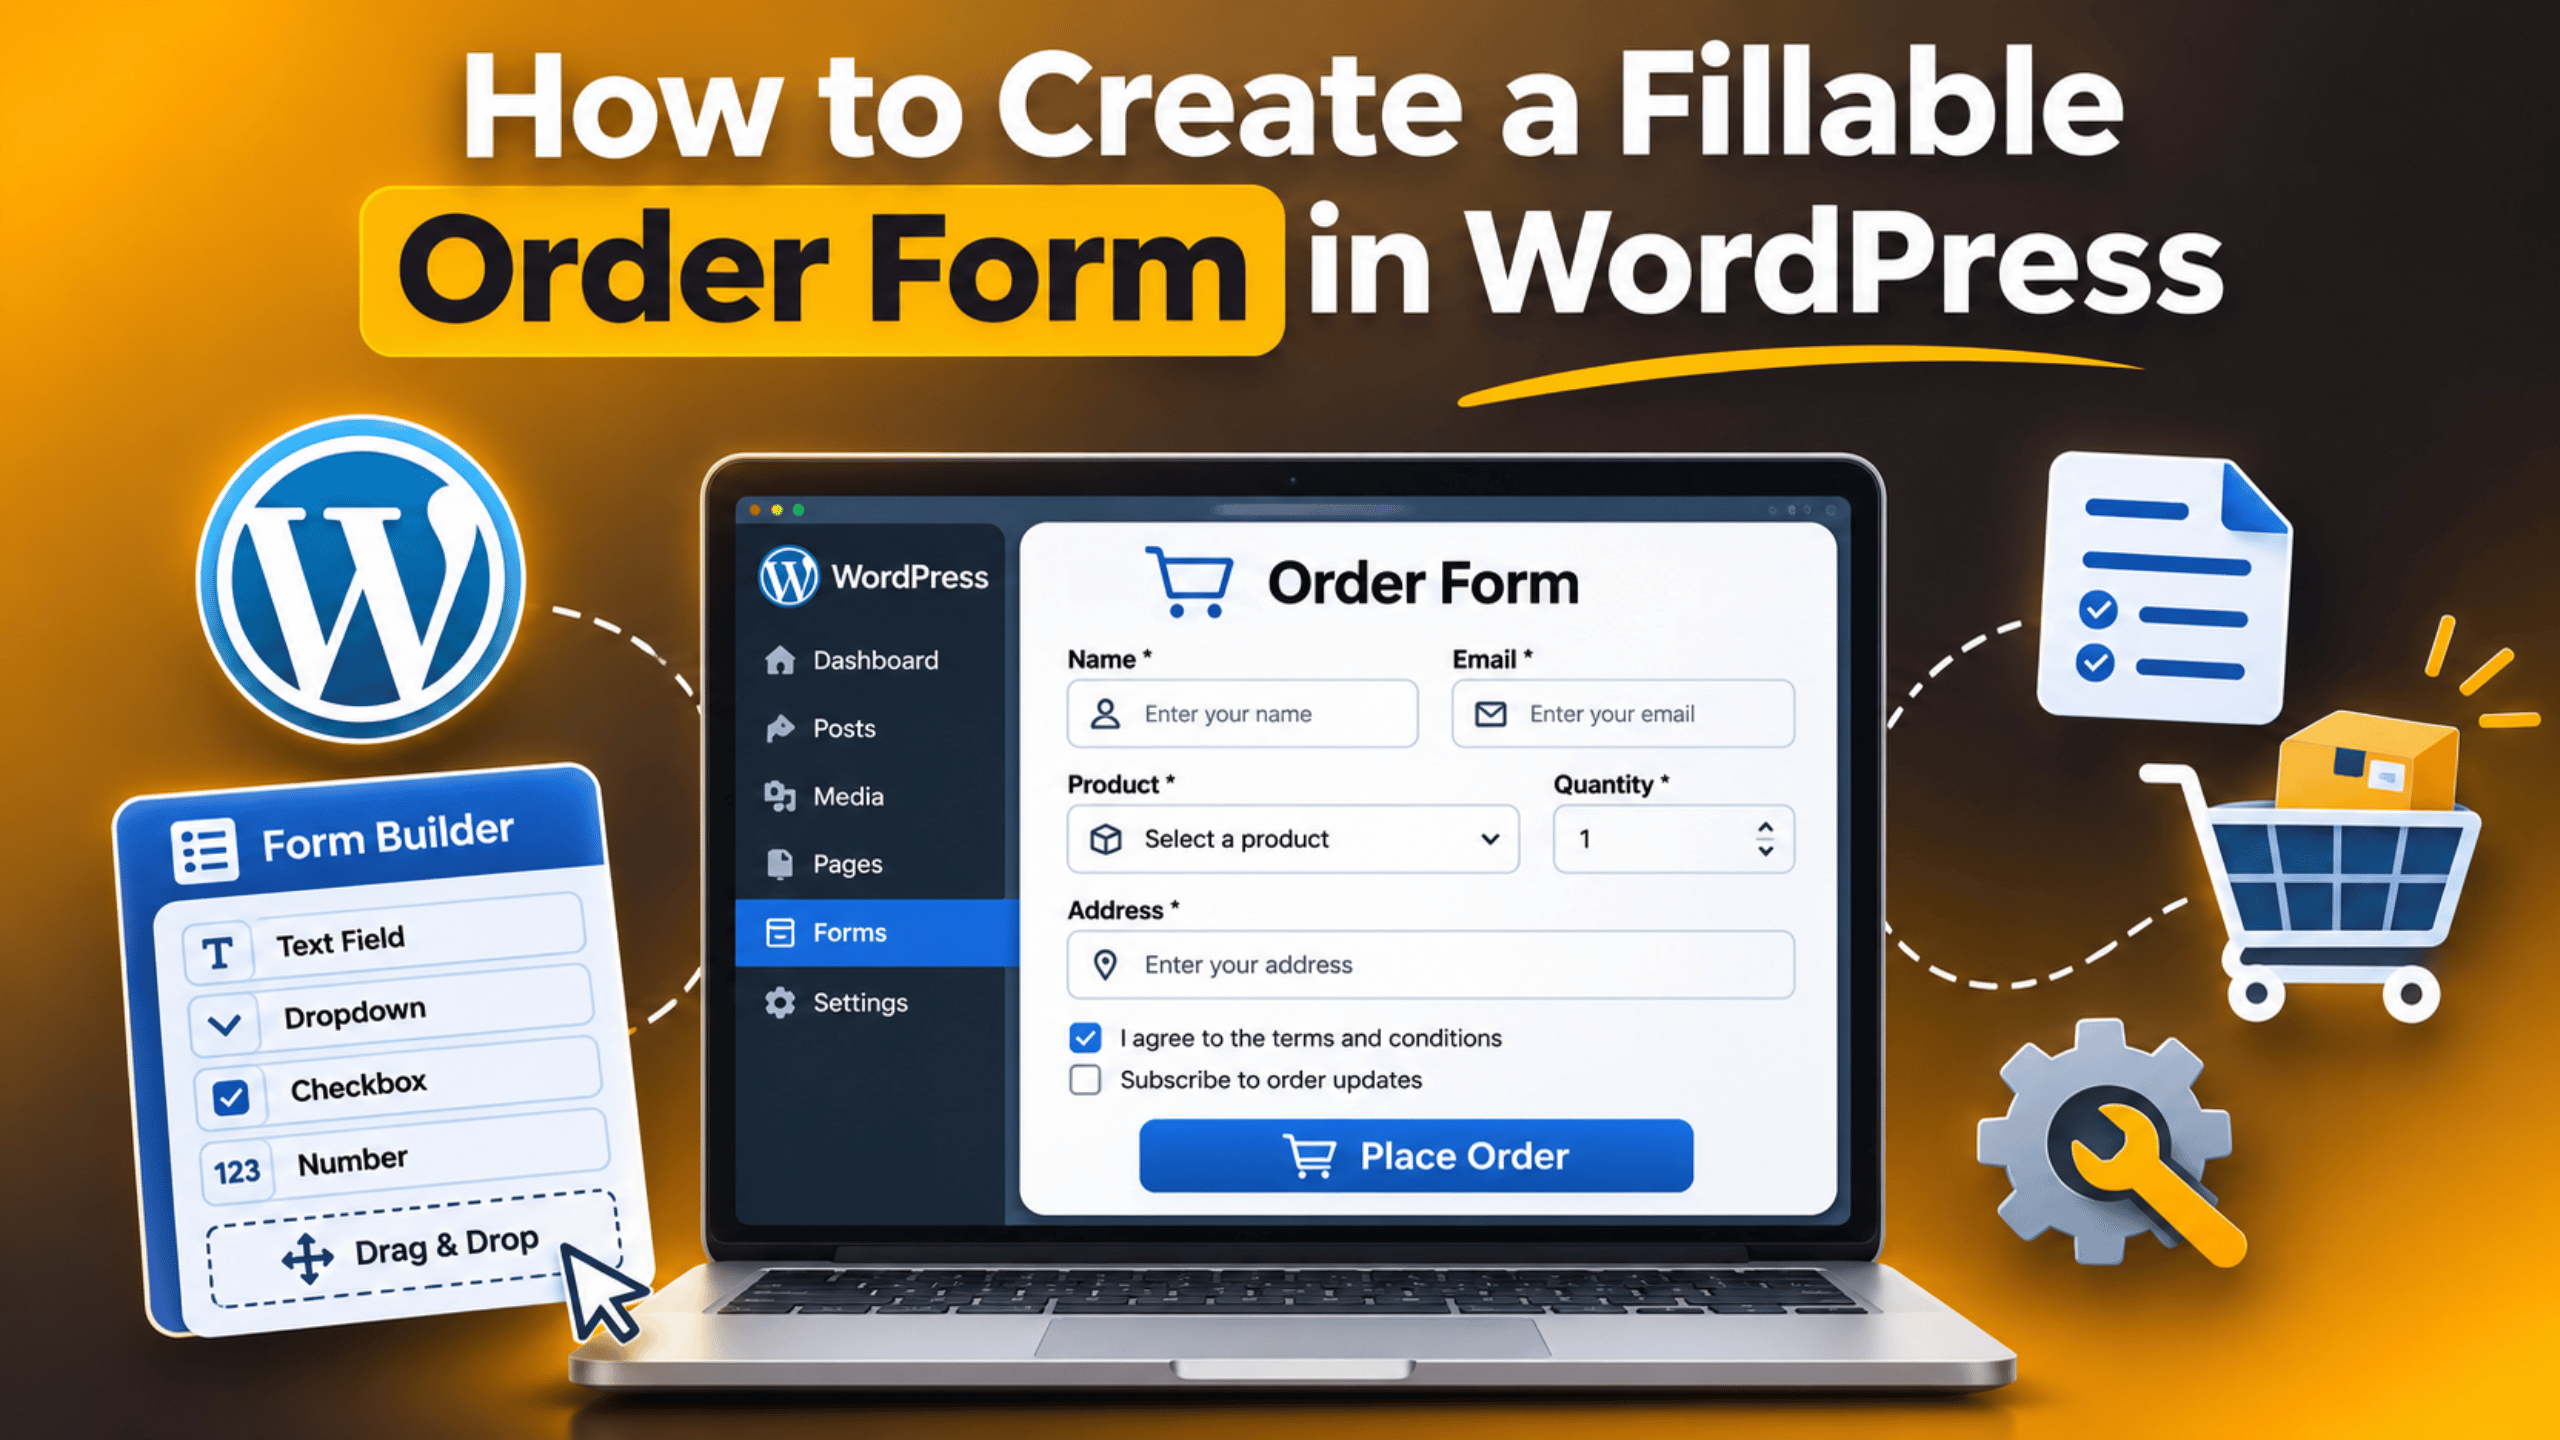
How to Create a Fillable Order Form in WordPress (2026 Guide)
An order form lets a customer tell you what they want, how many they need, and where to send it. You do not need a full online store to take orders. A simple fillable form on a WordPress page can work well for a bakery, a print shop, a local service, or a small business that takes custom requests. This guide shows you how to plan, build, and test a fillable order form in WordPress. You will also learn how to add totals, take payment, send email alerts, and keep spam out.
Decide Which Kind of Order Form You Need
Before you build anything, pick the right type of form. There are two main routes. The first is a request form. The customer fills in the details, you receive an email, and you reply with a quote or an invoice. The second is a live order form. The form adds up prices, shows a total, and collects payment on the spot. Request forms are quicker to build. Live forms save you time once orders start to arrive.
Think about how you sell. If your prices change from job to job, use a request form. If you sell a short list of items at fixed prices, use a live form with a total. If you already run a WooCommerce shop, you may not need a separate form at all, because the cart and checkout already do this job. A form works best when the product list is short or when each order needs custom notes.
Write down the information you need for each order. Common items include the customer name, email address, phone number, delivery address, product choices, quantities, and a notes box. Also decide what happens next. Will you confirm by email? Will you ask for a deposit? Knowing the answer now will save you from rebuilding the form later.
Choose a Form Tool That Supports Orders
WordPress does not ship with a form builder, so you will add one. Search the plugin directory for a form builder that supports calculations, file uploads, and payment links. Check three things before you install it. First, see when it was last updated. A tool that has not been updated in over a year can break on a new release. Second, read recent reviews. Third, confirm that the free version has the fields you need.
Look for these features in any order form tool: a drag-and-drop builder, number and dropdown fields, a calculation field, conditional logic, email notifications, and a way to store entries inside WordPress. Conditional logic means a field shows only when it is needed. For example, a delivery address box appears only when the customer picks “Delivery” instead of “Pickup”.
Install the tool from Plugins → Add New Plugin. Search for the name, click Install Now, then click Activate. Before you install any new plugin on a live site, take a full backup. Our guide on how to back up and restore WordPress explains how. If you can, test the plugin on a staging copy first, so a conflict never reaches your visitors.
Build the Order Form Step by Step
Open the new menu item the plugin added to your dashboard and create a new form. Give it a clear internal name, such as “Product Order Form”. Start with a blank form rather than a template unless a template matches your needs. Then add fields in the same order the customer thinks about the order.
Add the Customer Details Block
Place a name field, an email field, and a phone field at the top. Mark the name and email as required. Add an address field only if you deliver. Keep the labels short and clear, such as “Full name” and “Email address”. Put the label above each field, not inside it, so the label stays visible while the customer types. This also helps people who use screen readers.
Add the Product Choices
Now add the items. For a short list, use a group of number fields, one per product. Label each one with the product name and the price, for example “Chocolate cake, $30”. Set the minimum to zero and the maximum to a sensible limit. For a longer list, use a dropdown menu and a quantity field. If a product comes in sizes or colors, add a second dropdown that shows only for that product.
Add Notes and a Delivery Choice
Add a notes box so customers can share special requests. Add a choice between pickup and delivery, and a date field for when they need the order. Limit the date field so people cannot pick a day in the past. If you only work on certain days, block the others. These small controls cut down on back-and-forth emails. Finally, add a short checkbox where customers agree to your terms, if you have any. This keeps expectations clear before the order is sent.
Add Totals and Take Payment
A live order form should show the total before the customer submits. Add a calculation or total field and link it to your quantity fields. The formula is simple: each quantity times its price, added together. Add delivery fees or tax as extra lines if they apply. Show the total in a large, clear spot near the submit button so the customer is never surprised.
To take payment, connect the form to a payment gateway. A gateway is a service that processes card payments safely so you never handle card numbers yourself. Most form tools support the major gateways through an add-on or a built-in setting. Open the form settings, find the payment section, enter the keys your gateway gives you, and choose the amount field that holds the total. Always run a test payment in test mode first.
If you only want a deposit, set the payment amount to a fixed fee or a percentage of the total. If you prefer to invoice later, skip payment and send the customer a confirmation with next steps. Never collect card numbers in a plain text field. If you sell many products with stock levels, shipping rates, and taxes, a store plugin is a better fit than a form. In that case, read how to add a custom order in WooCommerce for the manual route inside WooCommerce.
Set Up Emails and Confirmations
Every order form needs two emails. The first goes to you and your team. The second goes to the customer as a receipt. In the form settings, open the notifications section. Set the “send to” address to a shared inbox, not one person. Include all the fields in the message so nothing is missing. Use the customer email as the reply-to address so you can answer with one click.


For the customer email, write a short, friendly message. Thank them, repeat their order details, give the total, and say what happens next. For example, “We have your order and will confirm the delivery date within one working day”. Use the form tool’s merge tags to insert the name and order summary. A clear receipt lowers support questions and builds trust.
Then set the on-screen message that appears after submission. A plain “Thanks, your order was received” works, but a better message adds a reference number and a reply time. If emails do not arrive, the cause is often your server mail setup, not the form. Follow our steps in how to fix WordPress not sending email to find the problem and fix it.
Publish the Form on a Page
When the form is ready, add it to a page. Go to Pages → Add New Page and title it “Order Online” or “Place an Order”. In the block editor, click the plus icon and search for your form tool’s block. Choose your form from the list. If the tool gives you a shortcode instead, add a Shortcode block and paste the code in.
Write a short intro above the form. Say what the customer can order, how long it takes, and how to contact you with questions. Add your opening hours and delivery area if they matter. Keep the page clean. A distraction-free page, without a sidebar, helps people finish the form. Preview it on a phone before you publish, because many customers will order from a small screen.
Add the page to your main menu or place a button on your home page. Under Appearance → Menus, add the page and drag it into position. Make sure the page title and URL are clear, such as “order-online”. If you use caching, clear the cache after you publish so visitors see the form right away.
Protect Your Order Form From Spam and Fake Orders
Any public form attracts bots, and an order form is a juicy target. Bots can flood your inbox, fill your entries list, or try to test stolen cards through your payment link. Turn on the spam tools in your form plugin. A hidden honeypot field catches simple bots. A challenge check can stop the rest. Limit how many times one visitor can submit within an hour. Our guide on how to block contact form spam in WordPress shows each method in more detail.
Protect payments with extra care. Use your gateway’s fraud tools, require an email address, and review unusual orders before you ship. Set a maximum order size so a typing mistake does not become a huge charge. If you run a store, the steps in how to prevent fake orders on WooCommerce also apply to forms that take payment.
Respect customer privacy as well. Add a short line under the form that links to your privacy policy. Collect only the data you need. Delete old entries on a schedule, because stored orders hold names, addresses, and phone numbers. Choose a form tool that stores entries on your own site, and keep WordPress and the plugin up to date.
Test the Form and Keep Improving It
Test before you tell anyone. Fill out the form as a customer would. Try a small order, a large order, and an order with missing fields. Confirm that the errors make sense, the total is right, and both emails arrive. Check the entry inside WordPress. Test on a phone and on a second browser. If you take payments, run a test transaction in test mode, then switch to live mode and make one small real payment to be sure.
After you launch, watch the results. Look at how many people open the page and how many finish the form. If many start but do not finish, shorten the form or move the price total higher. Read your first few orders closely. If you keep answering the same question by email, add the answer to the page.
Test again after every plugin, theme, or WordPress update. Updates can change how forms behave. Keep a simple checklist: submit a test order, check the total, check both emails, and check the entry. A quick monthly test takes five minutes and can save you from losing orders without knowing it.
Get Help With Your WordPress Order Form
A good order form is short, clear, and tested. Pick the right type, choose a trusted tool, build the fields in a logical order, add totals, set up emails, and guard against spam. If you would like someone to look at your form, your emails, or your payment setup, the team at 24×7 WP Support works on WordPress sites every day. You can also read our guide to creating a custom form in WordPress for more on building forms.
Related posts:

WordPress Version History: The Release Timeline from 4.0 to 6.5.2

How to Post by Email in WordPress and Let Readers Follow in 2026

Is WordPress Good for Blogging? Everything You Need to Know

Average Cost to Build a WordPress Website in 2026

How to Hide or Remove the Site Health Screen in WordPress (2026)

Brian is a WordPress support specialist and content contributor at 24×7 WP Support. He writes practical, easy-to-follow guides on WordPress troubleshooting, WooCommerce issues, plugin and theme errors, website security, migrations, performance optimization, and integrations. With a focus on solving real website problems, Brian helps business owners, bloggers, and online store managers keep their WordPress sites running smoothly.