
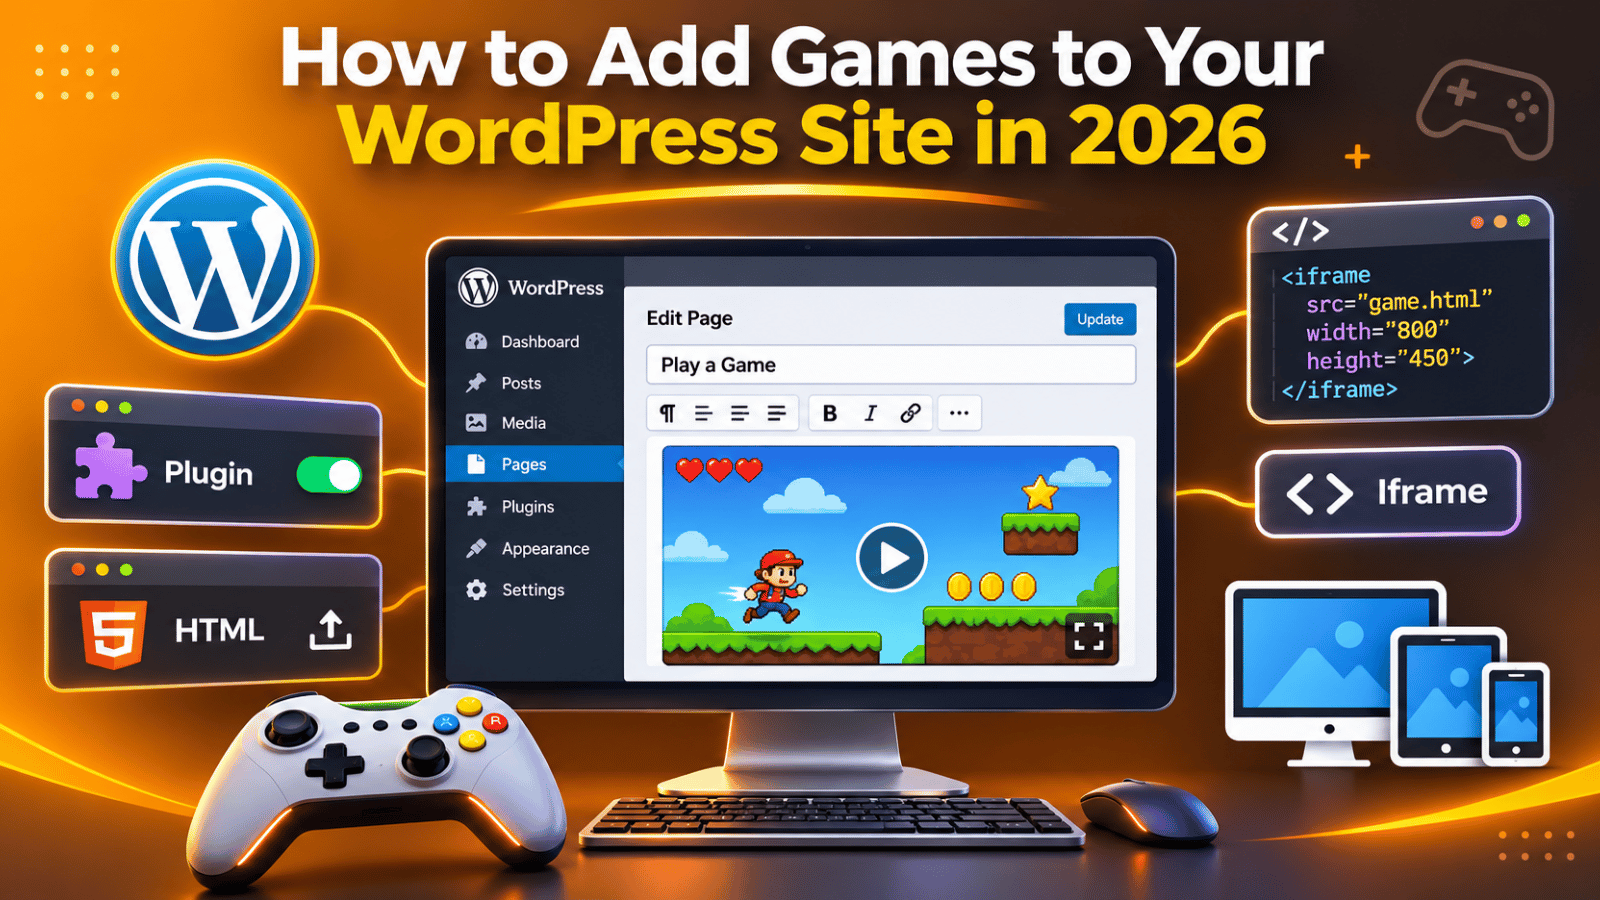
How to Add Games to Your WordPress Site in 2026 (Step-by-Step)
A game can turn a quiet page into one that people stay on and share. It might be a quiz for a class, a puzzle on a brand site, or a small arcade game on a fan blog. WordPress has no “add game” button, but it does give you three clean ways to do it.
This guide walks through each way, step by step. You will see which screen to open, what to paste, and how to keep the page fast and safe once the game is live.
Can You Add Games to a WordPress Site?
Yes, you can. Most games on the web today are built with HTML5 and JavaScript, the same tools that run normal web pages. That means a game is just a small web page of its own. If a browser can open it, WordPress can show it inside a post or page.
The usual way to show a game is with an iframe. An iframe is a window in your page that loads a second page inside it. The game runs in that window, and your header, menu and footer stay around it. Visitors play without leaving your site.
Not every game will work, though. Old games made for browser plug-ins no longer run in modern browsers. Large 3D games can be too heavy for phones. And you need the right to use the game. Before you add one, check its licence or ask the maker. Free to play does not always mean free to embed.
Three Ways to Add a Game and How to Choose
There are three routes, and each fits a different need. Pick the route before you touch the editor, since it decides where the game files live and who keeps them up to date. The notes below explain when each one makes sense.
Embed a Game Hosted Elsewhere
Many game makers give out an embed code. It is a short piece of HTML that starts with an iframe tag. You paste it into your page, and the game loads from the maker’s server. This is the fastest route and adds no files to your site. The trade-off is control. If the maker removes the game or their server is slow, your page suffers too. Use this route for a quick start or a short campaign, and check the page now and then to be sure the game still loads.
Host the Game Files Yourself
If you own the game or have a licence to host it, you can upload its files to your own server. The game then loads from your domain, so it stays online as long as your site does. You also control updates and speed. This route takes more work, since you need file access to the server. It suits schools, brands and studios that made the game and want it to last on their own site for years. It is also the safer choice when the game must load fast.
Use a Game or Quiz Plugin
A plugin is the best fit when you want to build the game inside WordPress. Quiz, trivia, puzzle and spin-to-win tools all work this way. You make the game on a settings screen, then place it with a block or a shortcode. A shortcode is a short tag in square brackets that WordPress swaps for the real content. Choose this route when you have no game file yet and want to create one with no code. It is also the easiest route for a team that changes the questions often.
How to Embed a Game With the Custom HTML Block
This method works for any game that comes with an embed code. You need an Editor or Administrator account, as lower roles are not allowed to save iframes. The whole job takes about five minutes. Follow the steps in order and preview before you publish.
Step 1: Copy the embed code. On the game’s page, look for a button marked Embed or Share. Copy the full code, from the opening iframe tag to the closing one.
Step 2: Open the page. In your dashboard, go to Pages → Add New, or open a page you already have. Give it a clear title, such as “Play Our Puzzle”.
Step 3: Add the block. Click the plus icon, search for “Custom HTML”, and select it. Paste the code into the box.
Step 4: Check the code. It should look like the sample below, with your own game address in place of the example one.
<iframe src="https://example.com/game/" width="960" height="540"
  title="Puzzle game" loading="lazy" allowfullscreen></iframe>
Step 5: Preview and publish. Click Preview in the block toolbar to see the game. If it loads and you can play it, click Publish. For more on this block, read our guide on how to edit a page or block as HTML in WordPress.
How to Self-Host an HTML5 Game on WordPress
An HTML5 game is a folder of files. Inside it you will find a file named index.html, plus scripts, images and sounds. The Media Library is made for images and documents, so it will not unpack a game folder for you. You need to place the folder on the server yourself.
Before you start, take a full backup of your site, or try the steps on a staging copy first. You will be adding files to the live server, and a backup lets you undo any slip. Our guide on how to back up and restore a WordPress website covers this.
Step 1: Unzip the game. Extract the files on your computer and confirm that index.html sits in the top level of the folder.
Step 2: Connect to your server. Use SFTP or the file manager in your hosting panel. Open the folder wp-content/uploads/.
Step 3: Upload the folder. Create a new folder named games, then upload your game folder into it. The path will look like wp-content/uploads/games/my-puzzle/.
Step 4: Test the address. In your browser, visit yoursite.com/wp-content/uploads/games/my-puzzle/index.html. The game should open on a blank page.


Step 5: Embed it. Add a Custom HTML block to your page, as in the last section. Use the address from Step 4 as the iframe source.
How to Add Games With a Plugin
The plugin route keeps all the work inside your dashboard. It is the right choice for quizzes, trivia, word games and prize wheels, which you build from your own questions and images. It also helps when your team has no file access to the server.
Go to Plugins → Add New and search for the type of game you want, such as “quiz” or “puzzle”. Do not install the first result. Open the details of each one and check three things. Look at the “Last updated” date, which should be recent. Look at “Tested up to”, which should match your WordPress version. And read the reviews for notes on speed and support.
Install the plugin on a staging site first if you can. Our post on how to set up a staging site in WordPress shows how to make one. Build a test game, add it to a page with the plugin’s block or shortcode, and play it on a phone and a laptop. If the page still loads fast and nothing else breaks, repeat the setup on your live site. Remove any game plugin you stop using, since unused plugins add risk and need updates for no gain.
Make the Game Fit Phones and Tablets
An iframe with a fixed width of 960 pixels will spill off a phone screen. Visitors then see half a game and leave. The fix is to let the frame shrink with the screen and keep its shape. A few lines of CSS do this, and you only need to add them once.
In the Custom HTML block, give the iframe a class name, such as class="game-frame". Then go to Appearance → Customize → Additional CSS. On a block theme, open Appearance → Editor → Styles, click the three dots, and pick Additional CSS. Add this rule:
.game-frame { width: 100%; height: auto; aspect-ratio: 16 / 9; border: 0; }The rule tells the frame to fill the width of the column and keep a 16 by 9 shape. Change the numbers if your game is square or tall. Also check how the game is played. A game that needs arrow keys will not work on a touch screen. Test it on a real phone, and add a short note above the game if it is made for desktop only. Keep the word allowfullscreen in the iframe, so players can expand the game to the whole screen.
Keep Your Site Fast and Safe With Games
A game is often the heaviest thing on a page. It can load many scripts, images and sound files at once. If you place it with care, the rest of your site will not slow down. The habits below protect both speed and safety.
Give the game its own page. Do not put a game on your home page or in a sidebar. On its own page, only the people who want to play will load it.
Use lazy loading. The loading="lazy" part of the iframe tells the browser to wait until the visitor scrolls near the game. This keeps the first view of the page quick. Our guide on how to reduce HTTP requests in WordPress explains why fewer early requests help.
Use HTTPS addresses only. If your site runs on HTTPS and the game address starts with HTTP, browsers will block it.
Limit outside games. For a game hosted on a server you do not control, add sandbox="allow-scripts allow-same-origin" to the iframe. The sandbox stops the game from opening pop-ups or sending your visitor to another site.
Trust the source. Only embed games from makers you know. Code in an iframe runs in your visitor’s browser, under your site’s name.
What to Do if the Game Does Not Show
Most display problems come from a short list of causes. Work through them in order before you try a new method. Each check takes a minute or two, and you can do all of them from your browser and dashboard.
A blank or grey box. Open the game address in a new tab. If it fails there too, the address is wrong or the game is gone. If it works in the tab, the game’s server may refuse to load inside other sites. In that case, ask the maker for an official embed code.
The code vanishes after saving. WordPress strips iframes for roles that lack the right to post raw HTML. Authors and Contributors are in that group. On a Multisite network, only Super Admins keep the right. Ask a user with a higher role to add the block.
The game is cut off. Add the CSS rule from the phone section, and remove any fixed width and height from the iframe.
No sound. Browsers mute audio until the visitor clicks. Tell players to click the game once to start the sound.
If the game still will not load, the cause may sit deeper, in a cache, a security rule or a script clash. At 24×7 WP Support, we work on WordPress sites every day, including embeds, speed and plugin conflicts. If you would like someone to take a look, visit 24x7wpsupport.com and tell us what you see on the page.
Related posts:

Disadvantages of a Free WordPress.com Site You Should Know

How to Create a WordPress Account and Set Up Your Website

WordPress Developer vs WordPress Designer: Key Differences in 2026

What Authentication Does WordPress Use? A Complete 2026 Guide
WordPress Version History: The Release Timeline from 4.0 to 6.5.2

Brian is a WordPress support specialist and content contributor at 24×7 WP Support. He writes practical, easy-to-follow guides on WordPress troubleshooting, WooCommerce issues, plugin and theme errors, website security, migrations, performance optimization, and integrations. With a focus on solving real website problems, Brian helps business owners, bloggers, and online store managers keep their WordPress sites running smoothly.