
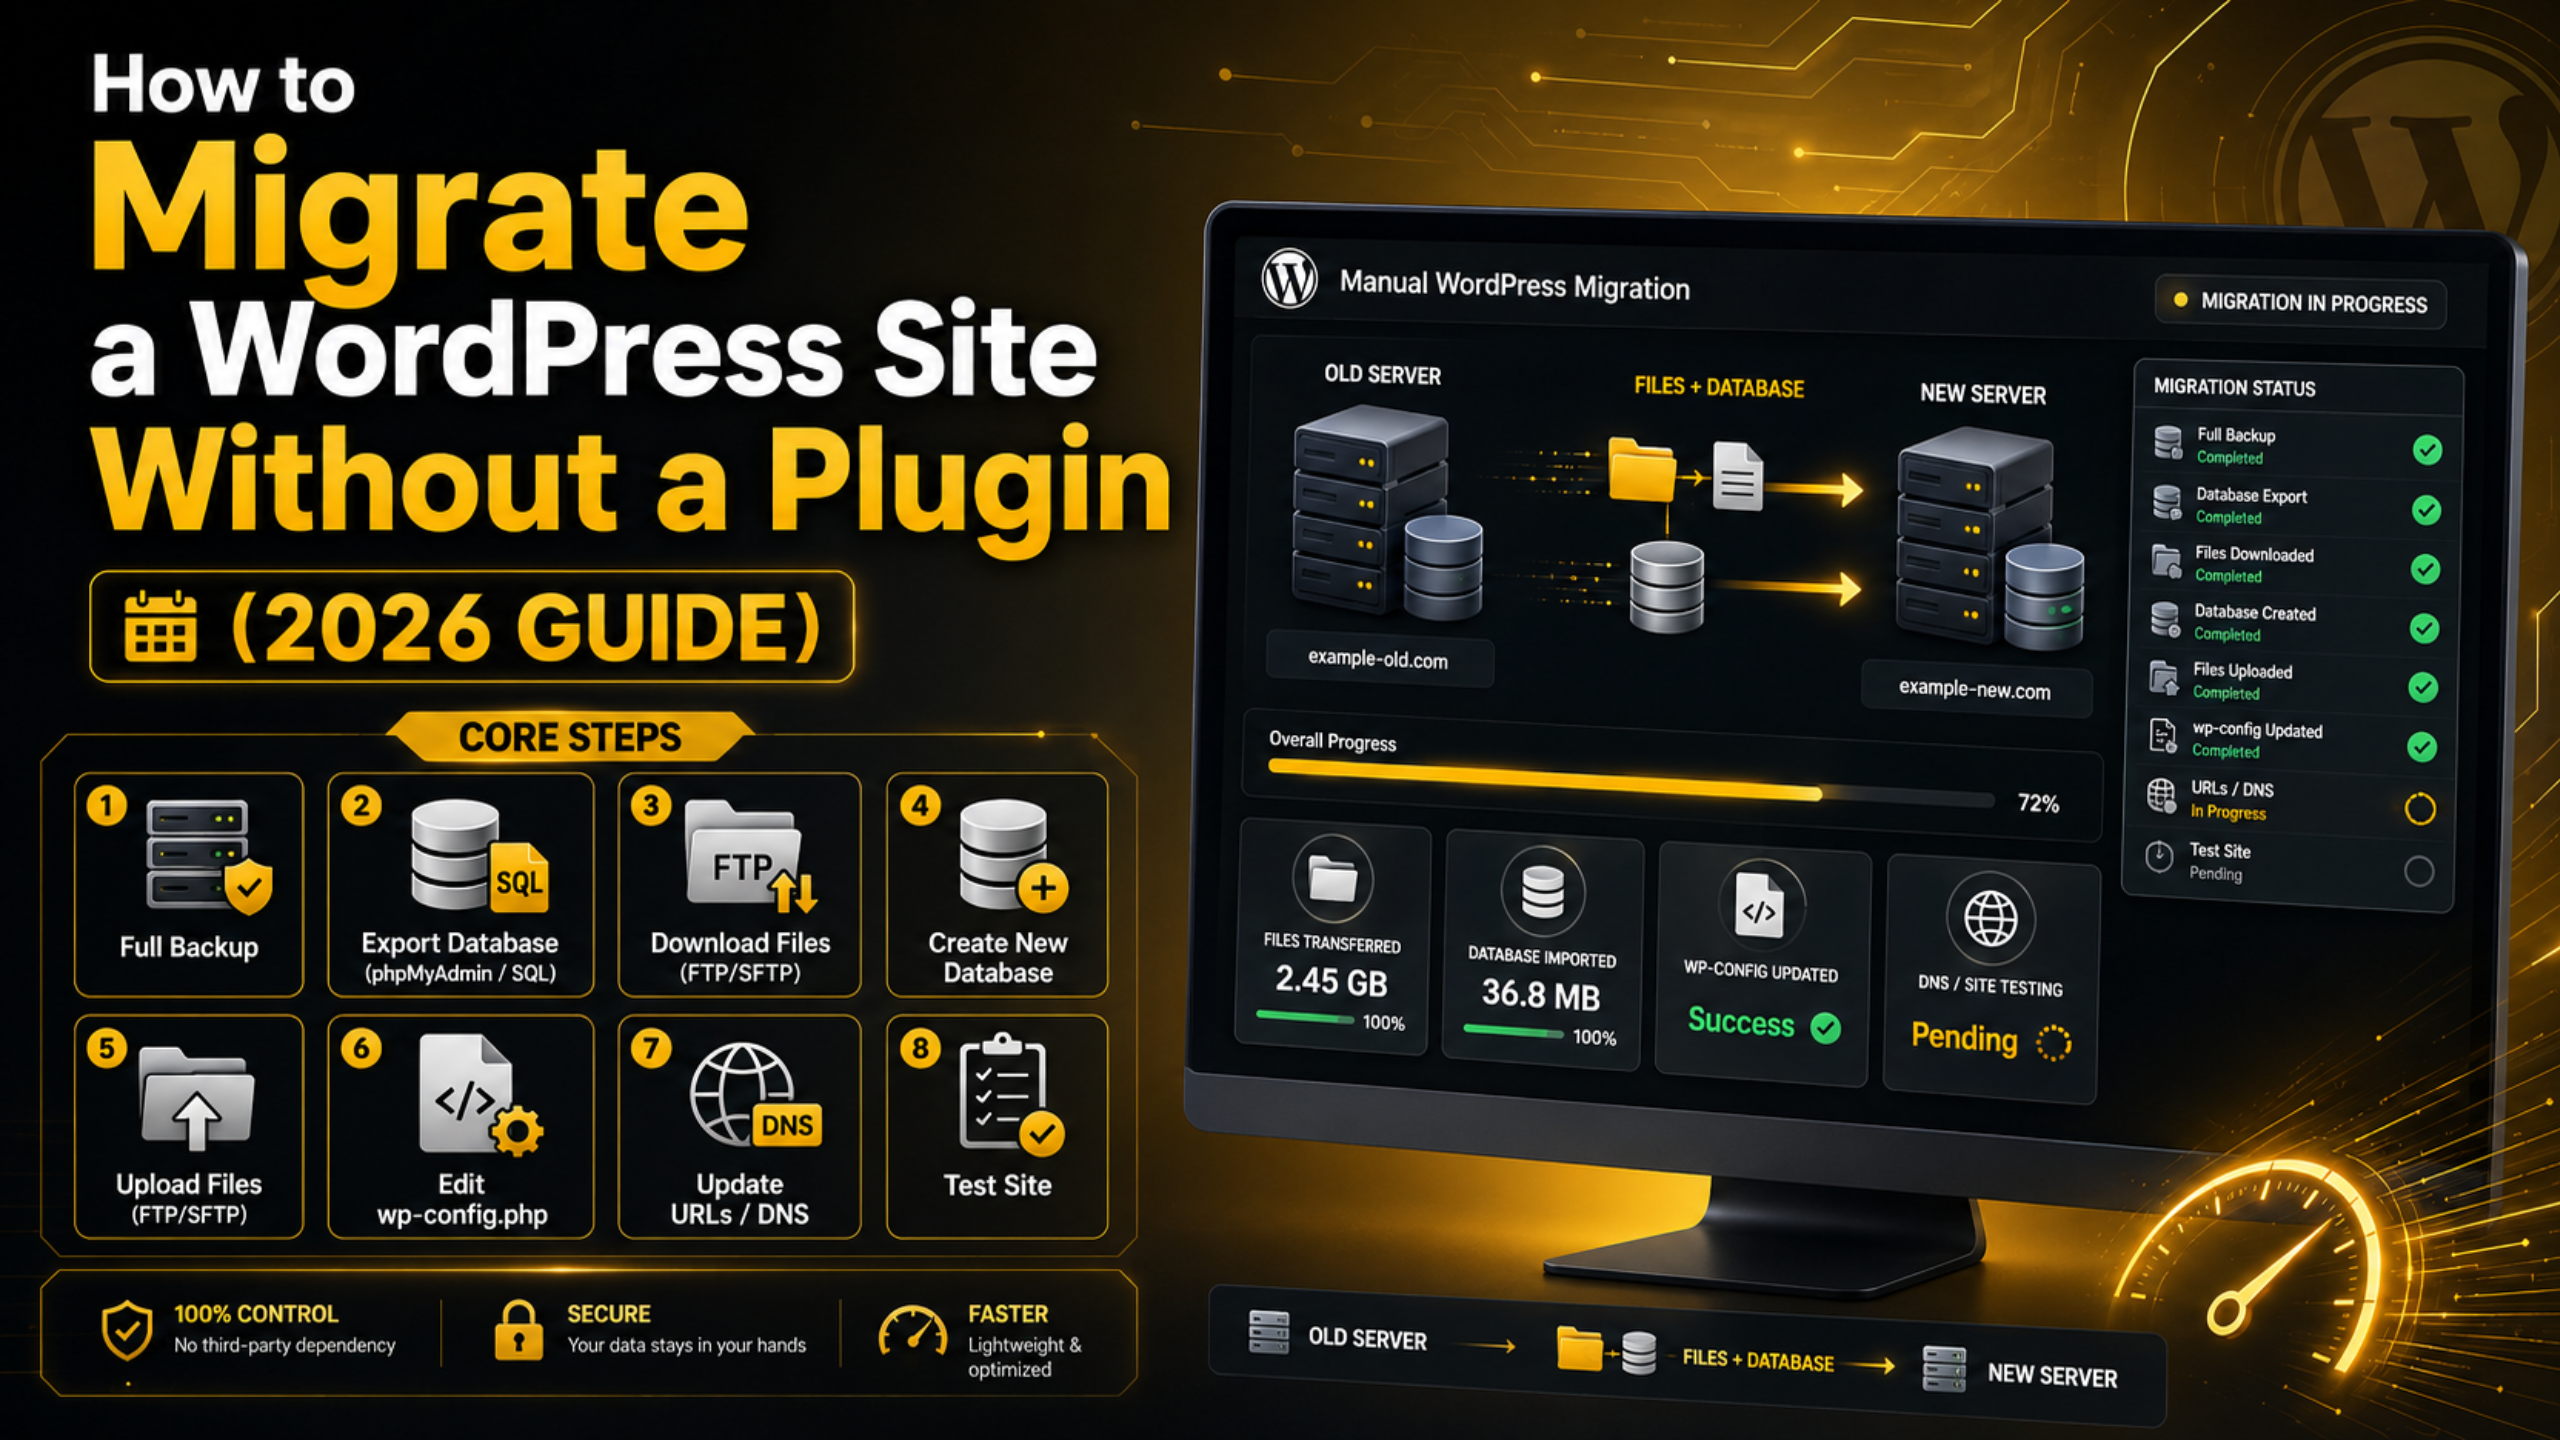
How to Migrate a WordPress Site Without a Plugin (2026 Guide)
Moving a WordPress website to a new host or domain sounds intimidating, but you do not need a migration plugin to do it. A manual migration gives you full control over every file and database table, avoids plugin size limits, and works even when a site is too large or too broken for automated tools to handle.
In this 2026 guide, you will learn exactly how to migrate a WordPress site by hand using nothing more than an FTP connection, your database manager, and a text editor. The process has a few moving parts, but if you follow each step in order, you can move a site cleanly with zero downtime.
When Should You Migrate a WordPress Site Manually?
Manual migration is the most reliable method when your circumstances do not fit neatly into what an automated tool expects. Because you move the raw files and database yourself, nothing is skipped, compressed, or silently altered.
A hands-on move makes the most sense in these situations:
- Your site is very large, and plugin exports keep timing out or hitting upload limits.
- You are switching hosting providers and want an exact copy on the new server.
- The site is partly broken and the dashboard will not load, so you cannot install anything.
- You want to understand what actually makes up your website instead of trusting a black box.
Manual migration also teaches you skills you will reuse forever. Once you know how the files and database fit together, tasks like restoring a backup or fixing a broken URL become far less scary.
What You Will Need Before You Start
Preparation prevents most migration disasters. Gather everything below before you touch a single file, so you never get stuck halfway through the move.
- FTP or SFTP access to both the old and new servers, with an FTP client installed on your computer.
- Database access on both servers, usually through phpMyAdmin inside your hosting control panel.
- Login details for your new hosting account and any new domain settings.
- A plain text editor for editing configuration files without adding hidden formatting.
- A recent full backup of your live site, kept somewhere safe and separate.
Write down your old and new database names, usernames, and passwords in a scratch file. You will paste these values several times, and mixing them up is the single most common cause of a failed migration.
Step 1 – Back Up Your Entire Website First
Never migrate without a safety net. A complete backup means you can always return to the working version if something goes wrong on the new server. This is the one step you should never skip, even under time pressure.
Your backup should include two parts: every file in your WordPress installation and a full copy of the database. If you want a refresher on capturing a clean copy, our guide on how to back up and restore WordPress walks through the safest approach.
Store the backup on your local computer, not just on the server you are about to leave. Once you confirm both the files and database are saved, you are ready to begin the actual move.
Step 2 – Export Your WordPress Database
Your database holds all of your posts, pages, comments, users, and settings. Moving it correctly is the heart of a manual migration, so take your time with this step.
Open phpMyAdmin and Select Your Database
Log in to your old hosting control panel and open phpMyAdmin. In the left column, click the database that belongs to your WordPress site. If you are unsure which one it is, check the database name listed in your wp-config.php file.
Export the Database as a SQL File
With the correct database selected, click the Export tab at the top. Choose the “Quick” method and the SQL format, then click Go. Your browser downloads a single .sql file containing your entire database. Keep this file with your backup. If you would like more background on how tables are organized, see our overview of retrieving data from a WordPress database.
Step 3 – Download All of Your WordPress Files
With the database exported, you now need every file that makes up the website. This includes the WordPress core, your theme, plugins, uploaded images, and the important configuration files hidden in the root directory.
Connect to your old server with your FTP client and navigate to the root WordPress folder. It usually contains folders named wp-content, wp-admin, and wp-includes, along with files like wp-config.php and .htaccess.
Select every file and folder and download them to a dedicated folder on your computer. Large sites can take a while, so let the transfer finish completely. Prefer working inside your browser? Our tutorial on using a file manager in WordPress shows an alternative way to reach these same files.
Step 4 – Set Up the Database on the New Server
Now shift your attention to the destination server. Before your files can work there, you need an empty database ready to receive your exported data.
Create a Fresh Database and User
In your new hosting control panel, create a new database, then create a database user and assign that user full permissions on the database. Record the database name, username, and password exactly. If you have never done this, our step-by-step guide on creating a WordPress database using phpMyAdmin covers every click.
Import Your SQL File
Open phpMyAdmin on the new server, select the empty database you just created, and click the Import tab. Choose the .sql file you exported earlier and click Go. When the import finishes, you will see your familiar WordPress tables appear in the left column.
Step 5 – Upload Your Files and Edit wp-config.php
With the database in place, upload the website files to the new server and connect them to that database. This is where the two halves of your site come back together.


Using your FTP client, connect to the new server and upload every file and folder you downloaded in Step 3 into the correct web root, often a folder named public_html. Let the upload complete before moving on.
Next, open wp-config.php in your text editor and update three values so WordPress can find its new database:
- DB_NAME – the new database name.
- DB_USER – the new database username.
- DB_PASSWORD – the new database password.
Save the file and upload it back to the server, replacing the old version. If these three values are even slightly wrong, WordPress cannot connect and you will see an error. Our guide on fixing the “error establishing a database connection” is the first place to look if that happens.
Step 6 – Update Site URLs If the Domain Changes
If you are keeping the same domain name, you can skip most of this step. But if your domain is changing, your database still contains hundreds of references to the old address that must be updated.
The safest quick fix is to open phpMyAdmin on the new server, find the wp_options table, and update the siteurl and home values to your new domain. This lets you log in to the dashboard again.
After that, remaining links and image paths inside posts still point to the old domain. Running a careful search-and-replace across the database corrects these so images load and internal links work. Always keep the backup handy in case a replacement goes further than intended.
One word of caution: WordPress stores some settings as serialized data, which records the exact length of each text value. A blind find-and-replace in the raw SQL file can break these values and leave widgets or theme options blank. To stay safe, run replacements with a tool that understands serialization, or update only the plain URL references and confirm your settings afterward.
Step 7 – Point Your Domain and Test Everything
The final move is telling the internet where your site now lives. Update your domain’s DNS records, or its nameservers, so they point to the new server. DNS changes can take a few hours to spread worldwide, so plan for a short overlap where both servers exist.
While DNS updates, you can preview the migrated site through a temporary URL provided by many hosts, or by editing the hosts file on your own computer. Once the domain resolves to the new server, walk through the site methodically:
- Log in to the WordPress dashboard and confirm your settings are intact.
- Open several posts and pages to check that content and images display correctly.
- Test forms, menus, and any checkout process from a visitor’s point of view.
- Visit the site on a phone to confirm the mobile layout still works.
It also helps to understand the difference between a test copy and your public site. Our explainer on staging versus live WordPress clarifies why testing before the final switch matters.
Troubleshooting Common Manual Migration Errors
Even careful migrations occasionally hit a snag. Most problems trace back to a small mismatch, and each has a straightforward fix.
Error establishing a database connection. The database name, user, or password in wp-config.php does not match what you created. Recheck all three values character by character.
White screen or partial pages. Files may have uploaded incompletely. Re-upload the wp-content folder and confirm every file transferred.
Broken images or missing styling. This usually means URLs still point to the old domain. Revisit the URL update in Step 6 and run the search-and-replace again.
Login redirects in a loop. The siteurl and home values in the database do not match your live address. Correct them in wp_options and clear your browser cache.
Take these one at a time and change only one thing before retesting. That discipline makes it easy to see which fix solved the problem.
Final Thoughts
Migrating a WordPress site without a plugin comes down to three simple ideas: copy the files, move the database, and connect the two on the new server. Back up first, work through each step in order, and test thoroughly before you send visitors to the new home. Do that and you can move any site with confidence, no matter its size.
If a migration ever stalls or you would rather hand the whole process to specialists, the team at 24×7 WP Support can migrate, fix, and maintain your WordPress site around the clock. Reach out any time and let our experts handle the heavy lifting so your website stays online without a hitch.

Brian is a WordPress support specialist and content contributor at 24×7 WP Support. He writes practical, easy-to-follow guides on WordPress troubleshooting, WooCommerce issues, plugin and theme errors, website security, migrations, performance optimization, and integrations. With a focus on solving real website problems, Brian helps business owners, bloggers, and online store managers keep their WordPress sites running smoothly.
