Top WordPress Security Plugins Installation To Protect Your WordPress Website
Last updated on June 9th, 2023 at 07:39 am
Shield Security
Shield Security is a user-friendly and easy to setup WordPress security plugin that helps users secure their site easily and it is 100% free plugin and well supported WordPress plugin.
Functions
Shield Security offers Silent notification, Automatic IP Block, Automatic Update Controls, also limits login attempts. Shield Security plugin is easy to manage and easy to setup and it is 100% free.
How to install Shield Security
1. Login in your WordPress website admin dashboard, there moves to plugin option for adding new plugin.
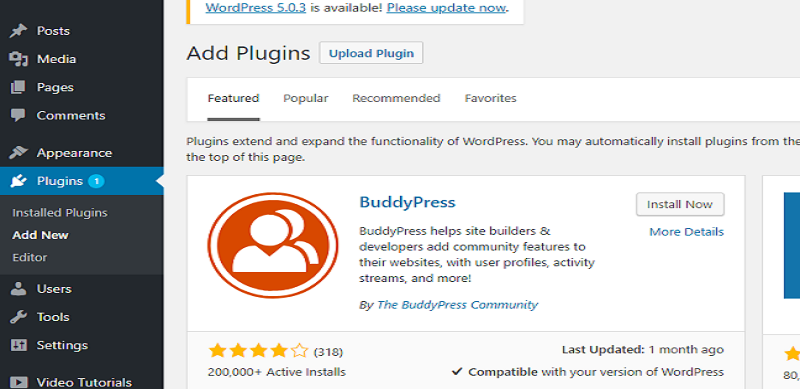
2. Search for Shield Security.
Secure in the Search plugins field. In the search results, find Web Secure and click Install Now.
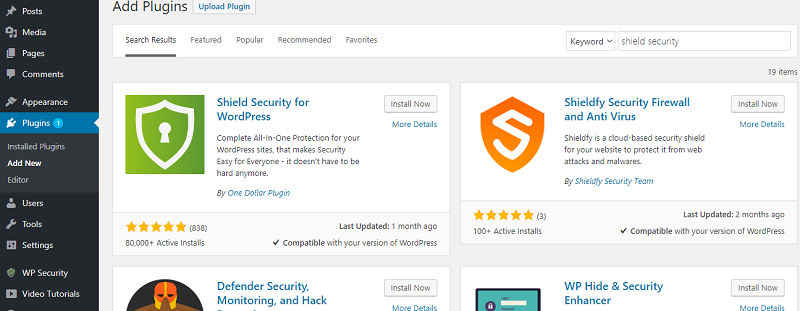
After the installation is completed click activate button to activate the plugin.
How to setup Shield Security
2 ways to set up Shield Security Plugin.
A) Launch Setup Wizard will help you get setup quickly and become familiar with some of the core Shield features.
B) Go to Shield Security > Insights and locate the Launch Setup Wizard at the top.
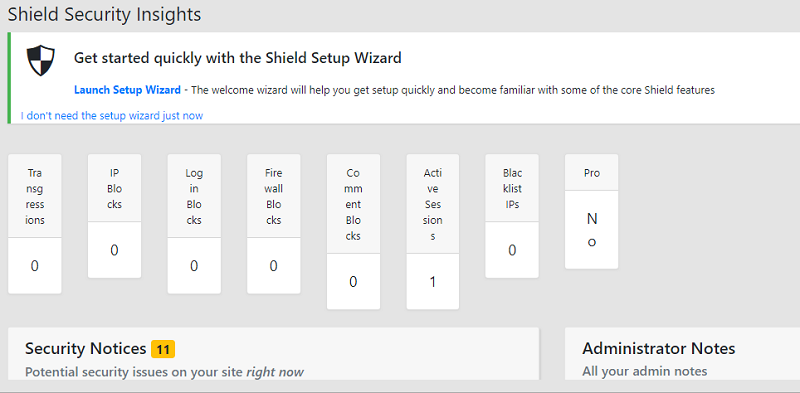
Complete the setup from step 1 to 8.
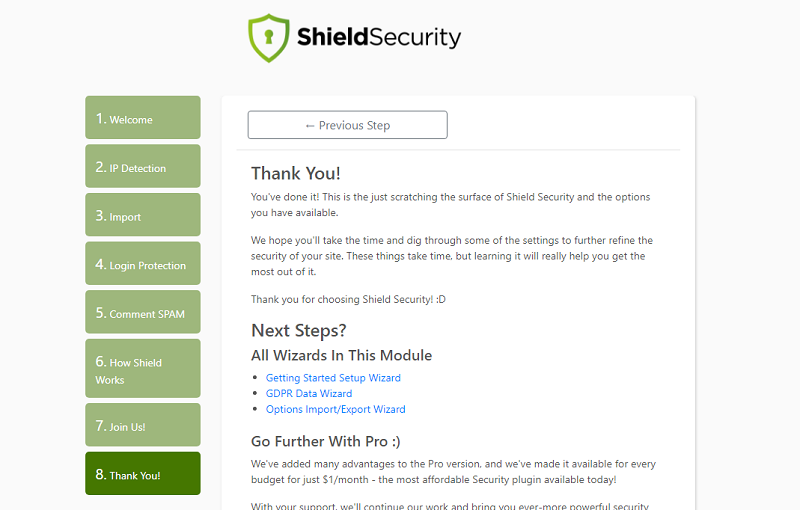
This will help starter-users to setup some of the basic function of the plugin. Wizard will guide you setting up your plugin.
Customize Setup
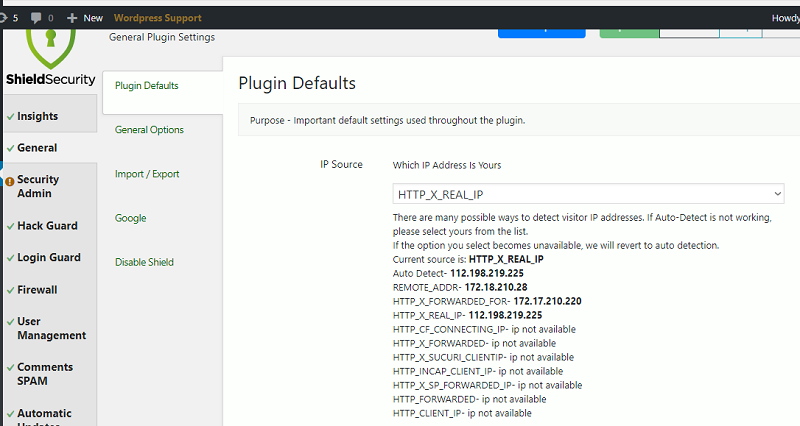
Setup for advanced users, they can customize settings on the site and setup advanced features of the plugin.
General Plugin Settings
Wordfence Security
Wordfence is a Firewall, Malware and Security scanner.
Functions
Provide optimal security on your website, has a basic and easy to learn functions for you to manage easily the security of your website.
How to install Wordfence Security
1. Login in your WordPress website admin dashboard, there moves to plugin option for adding new plugin.

2. Search for Wordfence in the Search plugins field. In the search results, find Worldfence and click Install Now.
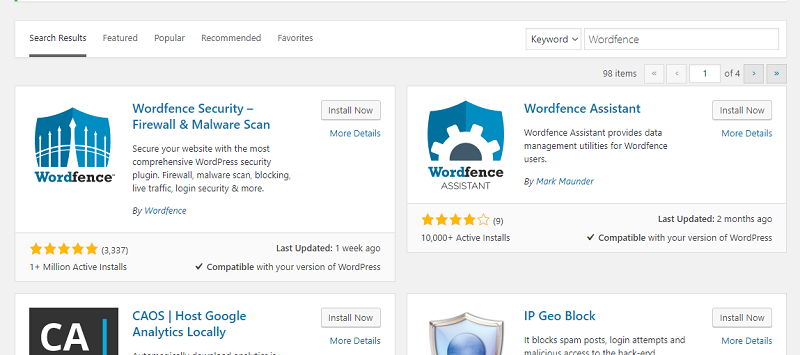
After the installation is completed click activate button to activate the plugin.
How to Setup Wordfence Security
After activation need to accept terms and conditions, and you can choose if you want to go with the free version or paid version.

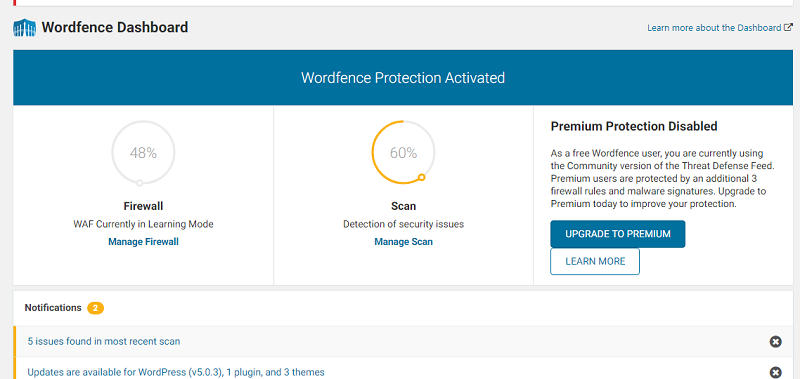
Dashboard
This is where you can check all the status, summary report and notification of the Wordfence Security.
Firewall
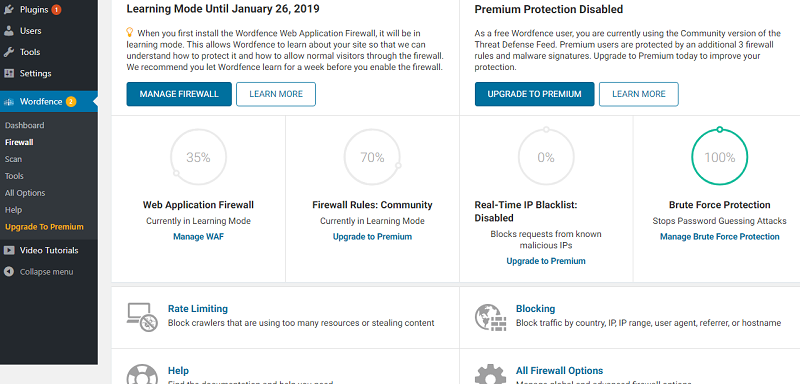
On initial installation the Wordfence Web Application Firewall, it will be in learning mode. This allows Wordfence to adjust and learn about your site so that we can adjust and learn how to protect it and how to allow normal visitors through the firewall. It is highly recommend you let Wordfence learn for a week before you enable the firewall.
Loginizer
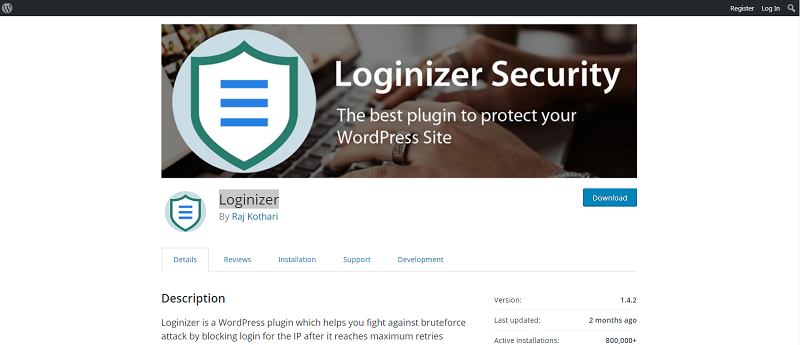
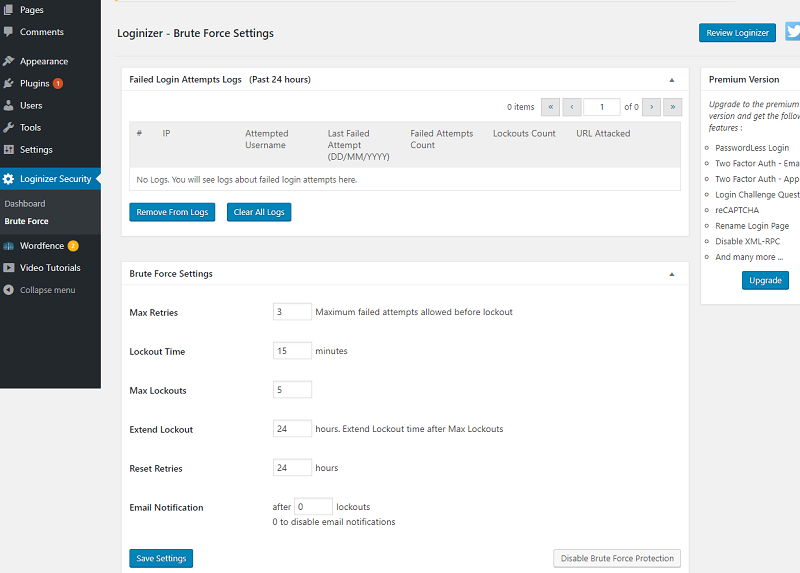
Loginizer is a WordPress plugin which helps you block and fight hackers or unauthorized users, it will also autoblock users that attempts to login repeatedly.
Functions
Loginizer provided automated security for your website, including IP Block and multiple log in attempts.
How to install Loginizer Security
1. Login in your WordPress website admin dashboard, there moves to plugin option for adding new plugin.
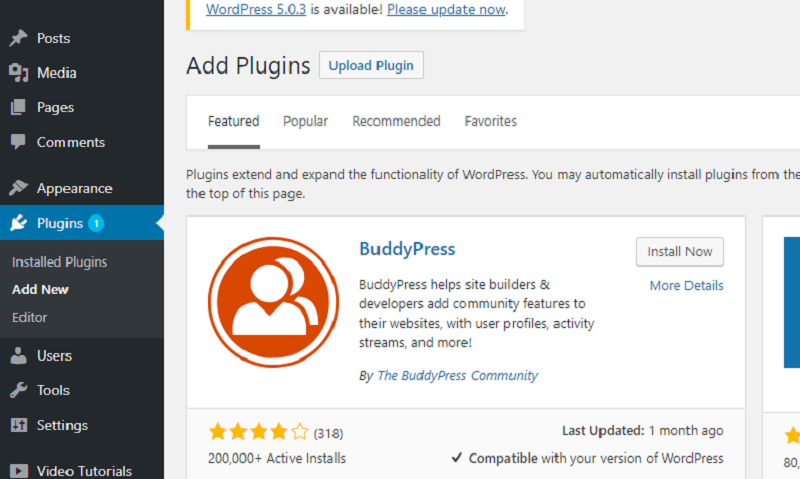
2. Search for Loginizer in the search plugins field. In the search results, find Loginizer and click Install Now.
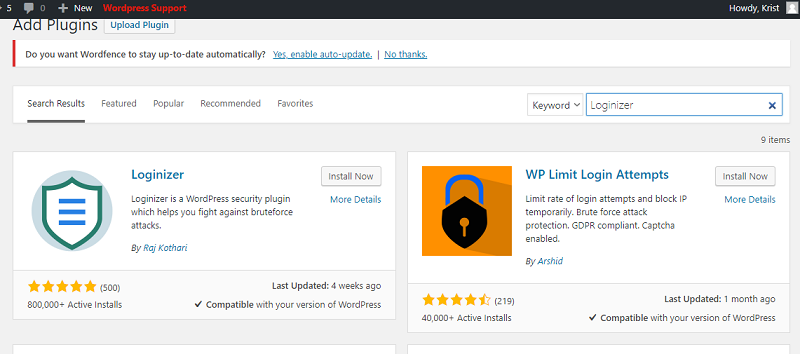
After the installation is completed click activate button to activate the plugin.
How to Setup Loginizer
After activation you can view system information and file information on the dashboard.
