
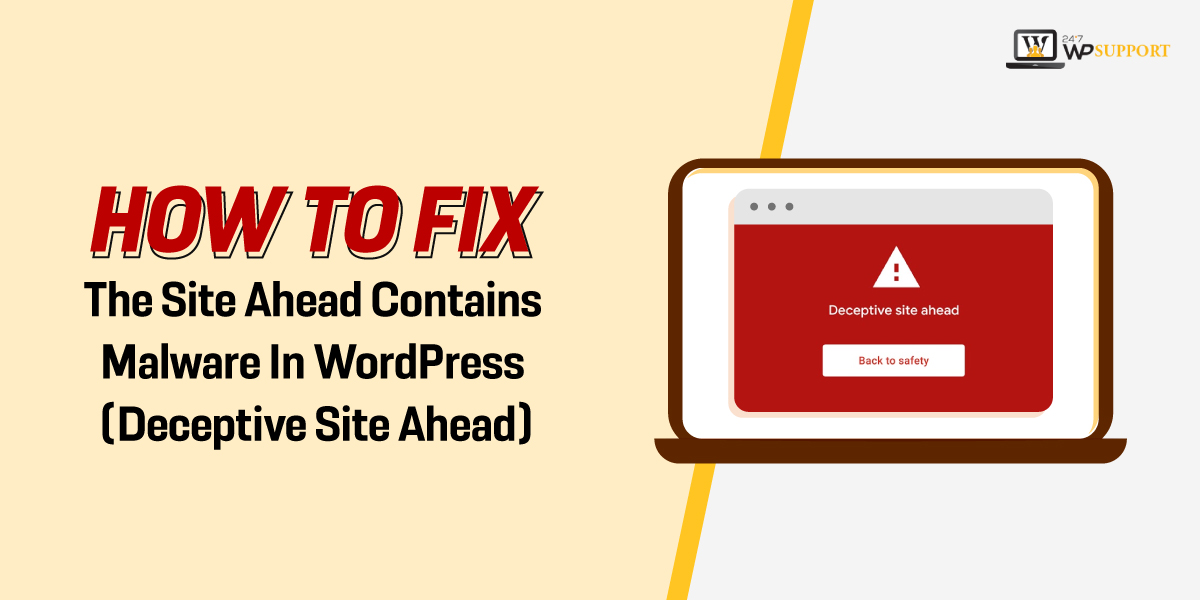
How To Fix The Site Ahead Contains Malware In WordPress (Deceptive Site Ahead)
Last updated on August 11th, 2021 at 07:47 am
If any user having a WordPress website and that website is showing some malware activity on the website. Then the user no need to worry about that thing. In this article, we are going to discuss in detail how to resolve all the issues related to the malware or deceptive site ahead error. As per our developer research, we are going to cover all these details such as
- What is site ahead contains malware in WordPress OR
- What is a deceptive site ahead?
- How to fix a deceptive site ahead of WordPress?
- How to bypass a deceptive site ahead?
- What is a deceptive site ahead?
What site ahead contains malware in WordPress OR What is a deceptive site ahead?
This error has been seen during accessing any website. This error has been shown during the website safety check by Google. at the time of this error, the complete screen becomes red, and “Deceptive site ahead” to be written on the screen. It is a type of warning message that has been shown by Google. This message can occur for two reasons: that your website has been marked spam by the search engine (Google) or the user may have bleached some privacy policy of the search engine and the second reason is that the current website has been hacked. These are the two main reasons that have been faced by the user after occurring a deceptive site ahead error.
In various factor that affects to have malware in website:
- It contains in hosting pages
- A website has malware in the current post
- Complete website code has a questionable website according to google
- The server links to be transformed from personal links.
- SSL certificate has expired.
- Credit card stealing malware.
Users will see different types of popup appear at that time on websites affected by malware. Check out the various types of popup received as an error on the screen. These are given below.
- The site ahead contains malware
- Deceptive site ahead
- The site ahead contains harmful programs
- This page is trying to load scripts from unauthenticated sources
- Continue to [site name]?
This is a type of warning message that has been shown during accessing the WordPress website. So now we are going to remove this message and check out all the steps that are to be driven by a professional developer of our organization after doing a lot of research on this platform.
How to fix a deceptive site ahead of WordPress / Site Ahead Contains Malware?
As We discuss that this error occurs at the time the complete search engine screen changes to red color. Now we are going to learn in this paragraph or section how to fix the deceptive errors or how to remove sites that contain Malware. The user no need to worry about this type of error WordPress releases many kinds of plugins that help to secure the use of a WordPress website from deception.
Warning Message
Before going to change anything into a WordPress website user must take a complete backup of the website. It may save all your data after providing a backup. Now, let’s take a step ahead.
Scan your website with Malware removal plugin (WordFence)
We have to use the Wordfence plugin to scan the complete WordPress website in terms of malware. So users need to install and activate the Wordfence WordPress plugin by following these steps.
- First of all, the user needs to install the Wordfence WordPress plugin for that user needs to login into the WordPress website admin panel by putting correct credentials details.
- After that user needs to click on the plugins option which is present on the left side of the screen.
- Now users can see a submenu appear with many options. in that user need to click on add new option after that in the new window appear in front of user need to enter a keyword in a search box that is “Wordfence”. Check out the image given below.

- After that username to click on the “install” option. After completing the installation, the user needs to click on the “activate” button.
- In a few seconds, the Wordfence login has been successfully installed.
How to Remove The Malware
- Now the user needs to fix the issue for that user needs to click on the plugin option then the submenu appears in front of the user. now users need to click on the scan option. check out the image given below.

- A new window appears in front of the user. In this window, the user can see the old scan option and scheduling option for scanning the WordPress website.
- Now users need to click on the “scan option and scheduling” option. This option is present in the right bottom corner of the screen. for your reference check out the image which is given below.


- If users assume that the WordPress website may be hacked at that time use a need to choose or mark the scan type to “High Sensitivity”.
- After that, the user needs to click on the save changes option which is present on the top right corner of the screen.
- After that all changes are saved then the user needs to click on the back to scan option which is present on the top left corner of the screen. check out the images given below.

- After all, all scan settings users are now ready to scan the complete website with the help of the Wordfence plugin. for that user needs to click on the” start new scan” option. check out the image given below.

- After the scan is completed the user will see the complete report of that scan. for that check out the image is given below.

- If there are some repairable files present then the user needs to proceed to the next step to repair all the files by clicking on the “ repair all repairable files” option.
- If this process completes successfully then the user will get a success message.
- And some files are not able to be repaired then must delete all files. just clicking on the “ delete all” option.
How to scan the complete database for Malware?
After completing the above process, the user now successfully completes the scanning process. Users need to move towards the next step, which is Scan Database for malware. In this step, users need to scan the complete database of the website. We cannot miss this step if users miss any malware activity in the database after that WordPress website is under threat. did you complete database scanning, user needs to install and activate “exploit scanner”.
- Users need to activate and install the exploit scanner plugin. After successful activation of this plugin, users need to click on the plugin option that is present on the left side of the screen.
- Now the submenu appears in front of the user. from that submenu user needs to click on” tools”.
- After that, the user must click on the “Exploit Scanner” option. Now the user needs to run that scanner. Check out the image which is given below.

- Users must click on “Run the scan”. Check out the image which is given below.

- After the scan completes successfully, the user needs to press “Ctrl + F” keys on the keyboard. Now a new page appears in front of the user. Check out the image given below.

Now users must notice that this plugin does not give any option to fix or delete malware activities. Users can only see all activities with the help of this plugin.
Step 3 - Users need to visit Google to remove Malware warning.
Till step 2 the user will get a complete scene of malware activities. Now in this step, we are going to remove all the malware activities that have been deducted by the “exploit scanner” plugin. So follow all the steps which are given below.
- User forest of all needs to visit google search console by putting correct credential.
- After successfully logging in, users need to click on the “Add Properties” option.
- Click on the website URL that has been placed in the search console.
- Now ownership is to be asked by the user This is the easy way and shortest method that has been delivered by our developer.
- Now users need to expand that HTML tag for that user to click on the HTML tag.
- User visit the WordPress website to install and activate the “Install header and footer” plugin to the WordPress admin panel. Check out the image given below.

- After successfully activating and installing the “Insert header and footer” plugin users need to visit the setting of the plugin. Check out the image given below.

- Users go back to the search console and copy the HTML code. Now users come to that WordPress admin panel and paste that HTML code in this plugin script header section. Checkout the image given below.

- Now the user must click on the save option.
- Users again visit the Search Console and click on the verify button.
After following all these methods users are not able to remove the Deceptive Site Ahead error the user must take our expert support or help. Our organization is definitely able to resolve your all query reset to the WordPress website.
