How to Add a Horizontal Line Separator in WordPress?
Last updated on August 6th, 2021 at 10:30 am
Most of the user wants to add a horizontal line divider on blog post or page in WordPress website. According to our researcher, they provide us with a better solution for this. There is a lot of methods to do to this same work full stop but we are going to provide you with the best and the easiest way to do horizontal line separator or divider in any WordPress website. So read this article carefully and follow all the steps which are given below with the methods.
Adding horizontal line divider with the help of Gutenberg or blog editor
This is the first method that we are going to add and horizontal line divider in any blog post or page. In this method, we are going to show to the user that how to add and horizontal line divider by using Guttenberg or block editor. Now Guttenberg is the most usable block editor. Those users who are using WordPress from the recent time they are most preferred to use Gutenberg or block editor. So let’s get started on how to do that follow all the steps which are given below.
- First of all, the user needs to login to the WordPress dashboard by entering the username or login ID and password after that click on the submit option.
- After successfully logged in user must go to any blog post or page where the user wants to add a horizontal line divider.
- After reaching the blog post or page user can see an “add icon”. Users must click this add icon to add in the new block where the user wants to add a horizontal line divider. As you can see in the image given below.
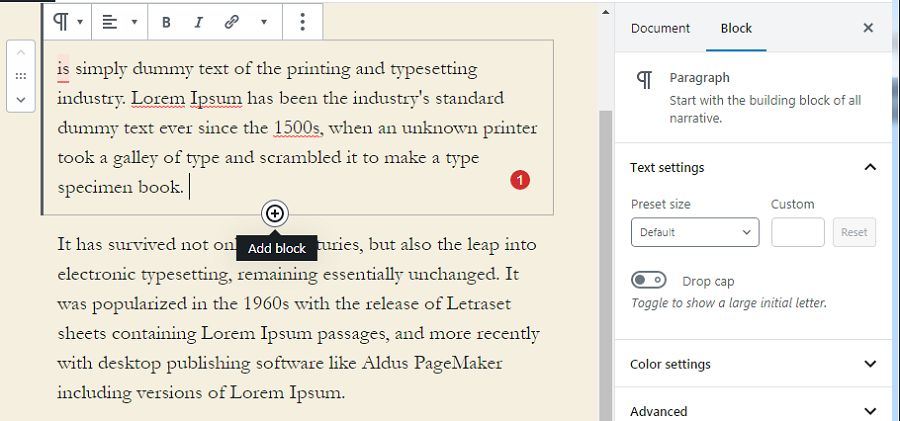
- After that, a context menu appears in front of the user. In that context menu, users can see a search block. Now the user must enter a keyword “separator”.
- Now the line separator appears in the layout element option as you can see in the image given below.
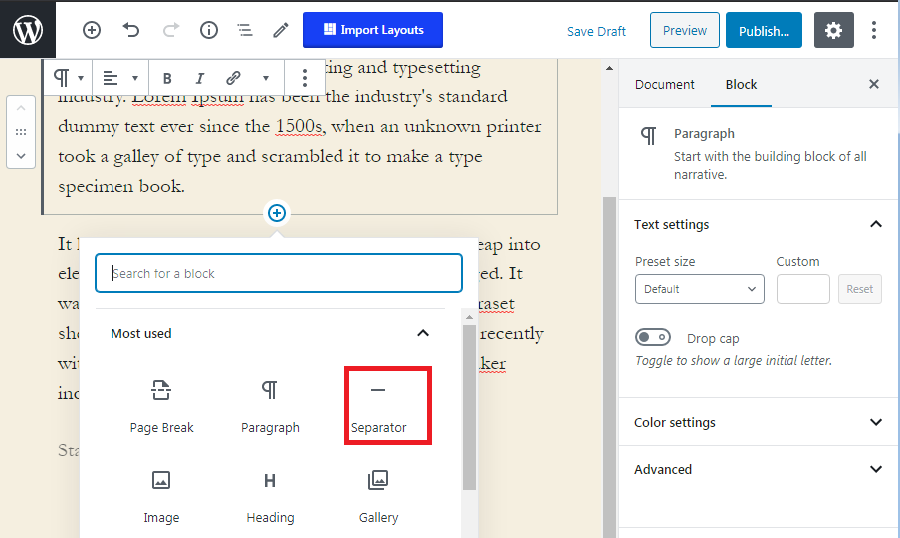
- Now the user must click on the ” separator option”. This separator option adds and worked as a horizontal line divider.
- Now the horizontal line divider appears inside the content it is off pale grey color. Users can customize completely according to their requirements.
- The user can click on the horizontal line, then it toolbox appears on the right-hand side of the screen.
- Now users can change a line or customize it completely according to its requirement. As you can see in the image given below.
How to add a horizontal line divider in WordPress with the help of classical editor?
In the above method, we learn how to add and horizontal line divider with the help of Guttenberg or blog editor now in this method we are going to learn with the help of a classical editor. The classic editor is the old version of the WordPress editor. Before Gutenberg or block editor classic editor is the default editor. Now let’s get started and resolve this issue with the help of classic editor follow the step which is given below.
Note- doing this method successfully used must install classic editor plugin in WordPress if not then the user will not able to do complete this method.
- Users must log in into its WordPress dashboard by entering login ID for username and password after that click on the submit option.
- After successfully logged in user must go to the blog post or page where the user wants to add a horizontal line divided into a post or page.
- Make sure that using classic editor instead of Gutenberg editor.
- Now the user must click inside the blog post or page where the user wants to edit the horizontal line divider.
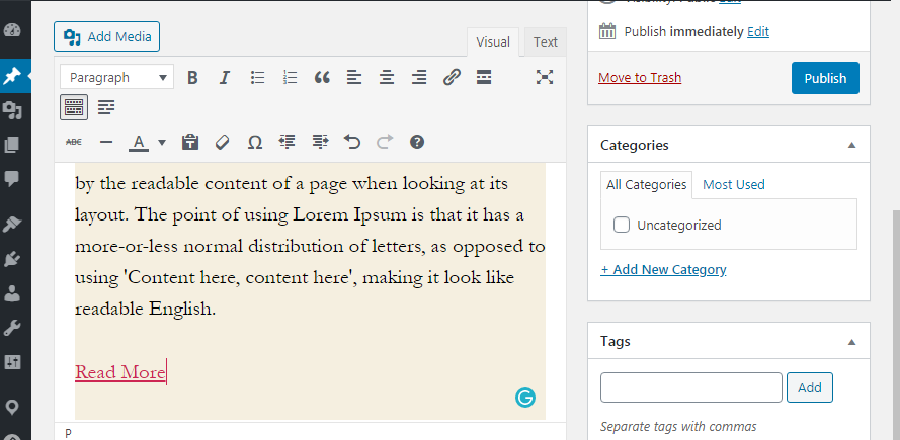
- After successful leaking inside the blog post or page user can see a toolbar that is present on the top of the blog post or page. For detailed information, the user can follow the image which is given below.
- Now the user must click on the toggle icon which is present on the right side of the toolbar as you can see in the image given below.
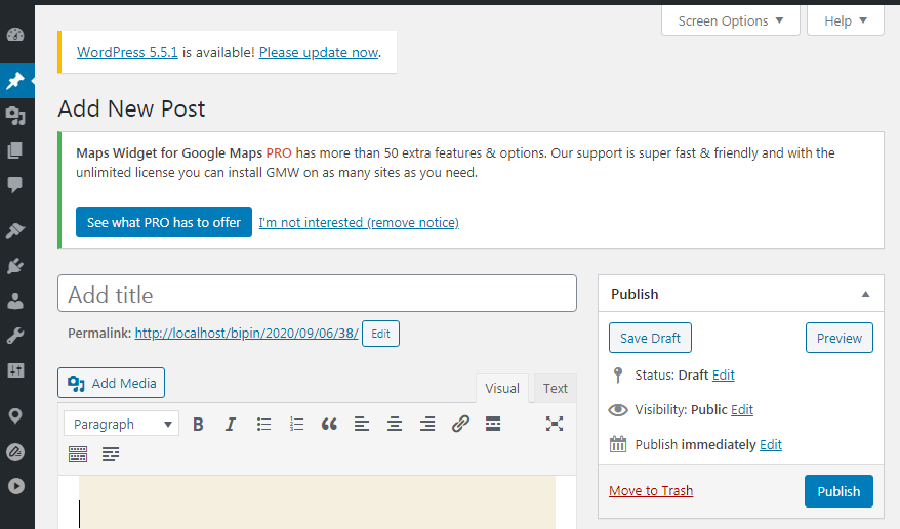
- Now another row is open in the toolbar in this second bro horizontal line divider option or horizontal line separator option is present.
- Now the user must click on the horizontal line divider or separator option. As you can see in the image given below.
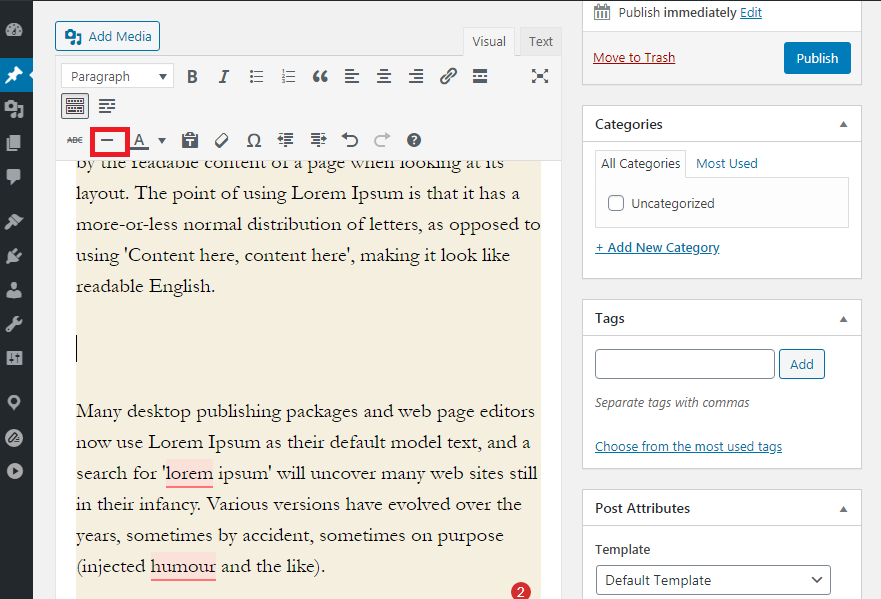
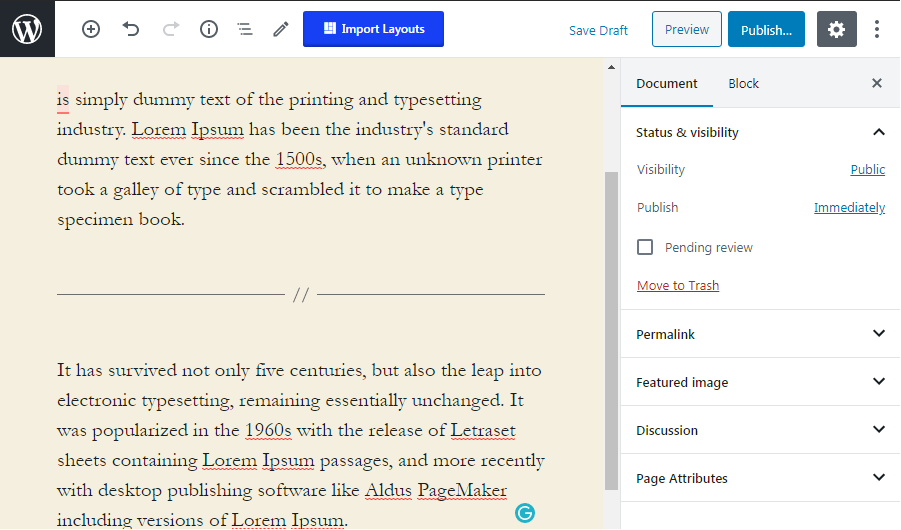
- Now user can see that line break has been placed in between two paragraphs.
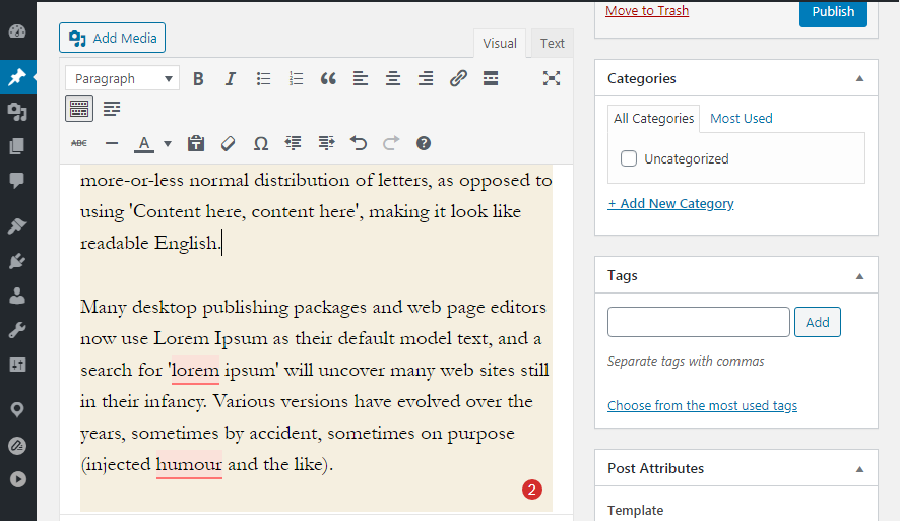
- Now user can see in the image given below that the horizontal line divider or separator cover the whole paragraph with its grey color.
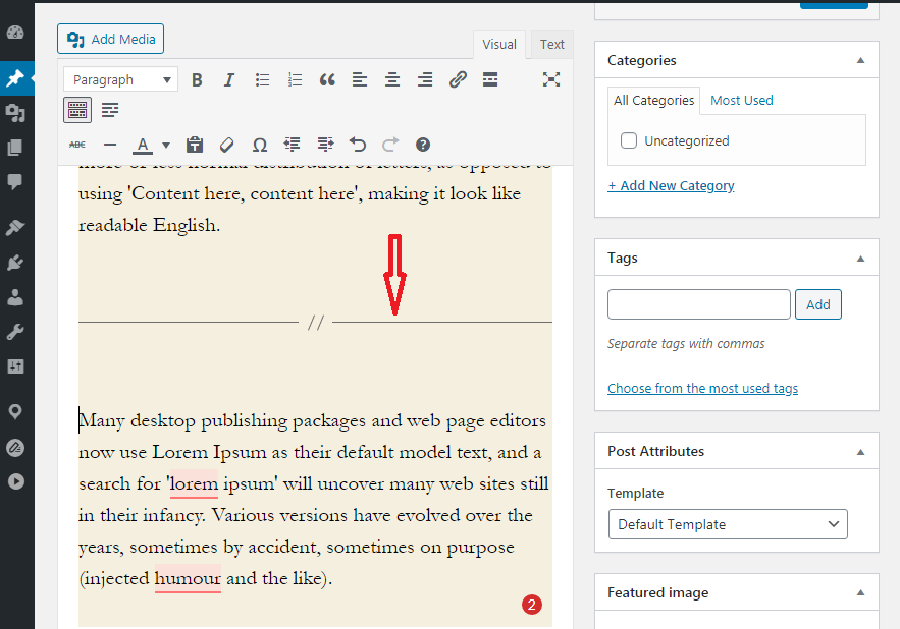
This is how a user can add a horizontal line divider or separator with the help of a classic editor.
How to add horizontal line divider in WordPress using HTML or manually?
As we know that there are some rare cases that any user wants to use a horizontal line divider in any blog post or pages manually. This is done in those cases only when the user not able to add a horizontal line divider by Gutenberg editor or classic editor at that time user uses this method to add horizontal line divider in WordPress. Follow all the step which are given below. Now let’s get started.
- Users must log in into its WordPress dashboard by entering login ID for username and password after that click on the submit option.
- After successfully logged in user must go to the blog post or page where the user wants to add a horizontal line divider.
- Now the user must go to Tu to HTML tag option where the user must use hr tag into the content.
<hr> - This HR tag will add a horizontal line separator into any blog post or page of any WordPress website.
Another separator user can use any blog post or page on any wordpress website.
As we know that Gutenberg is the latest blog editor for WordPress. This blog editor provides a lot of options for other separators. Not only a lot of options are present but these options are fully customized users can use this option according to their requirement and customize them also. There is another separator option present in Guttenberg editor these areas special, more the link and the page break blocks.
The spacer block
The spacer block helps the user to add white space between blocks. This special block mostly used at the end of the post or where any user wants to show some important information. It is a totally customized user can customize it according to hight, color, shape, and many more thing. This feature is only available in the Gutenberg block editor only. For deep information, the user can see the image which is given below how the spacer block appears inside the content.

The More Block
As we all know that content is taking so all users are diverting to word content and writing long type content in their blog posts or pages. So so to view these long content in a short version Guttenberg provide more block option for the user. It is completely customizable according to the user requirement. The visitor is not able to see the complete post after applying more block options. In the more block option visitors only see a description of the post. I want to read the complete post then visitors must click on read more options. Users can see in the image given below how more block appears on the screen after applying to any e block post or page.
