
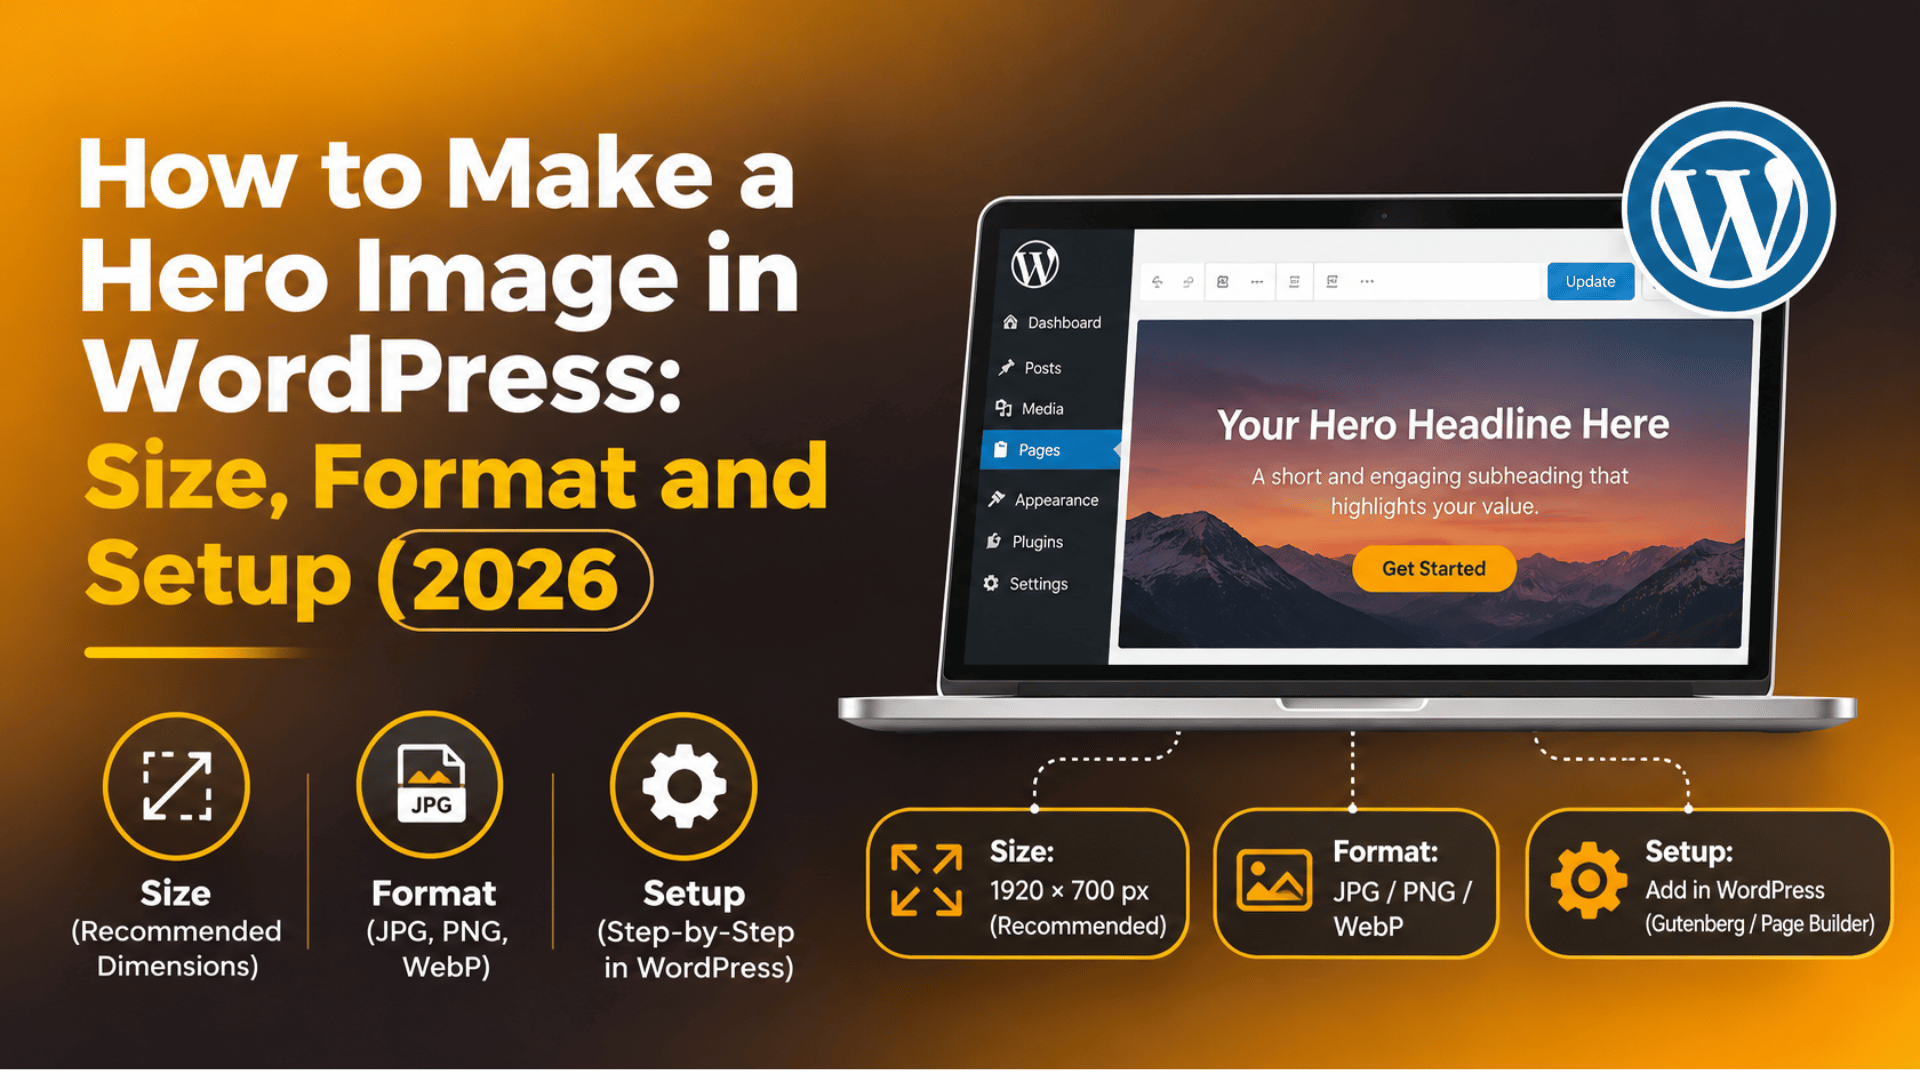
How to Make a Hero Image in WordPress: Size, Format and Setup (2026)
A hero image is the big picture at the top of a page. It is the first thing a visitor sees, so it sets the tone for the whole site. A sharp, fast hero image builds trust. A blurry or slow one sends people away.
Many site owners are not sure how to make one. They ask what size to use, which file type is best, and where to put it in WordPress. This guide answers each question in plain steps. You will learn how to build a hero section with the block editor, how to set it up through your theme, and how to keep it fast on phones.
What Is a Hero Image and Where Does It Go?
A hero image is a large banner picture placed at the top of a page, usually behind a headline and a button. It sits above the fold, which means the part of the page you see before you scroll. Home pages, landing pages, and sales pages use hero images most often.
A good hero image does three jobs. It shows what the site is about in a second. It gives the headline a clear background. And it nudges the visitor toward one action, such as a sign-up or a purchase. If the picture does not help with at least one of those jobs, it is decoration, and a lighter design may serve you better.
In WordPress, a hero image can live in three places. The first is a Cover block inside a page. The second is a header area built into your theme. The third is a template in the Site Editor if you use a block theme. Each route gives you the same look, but the control you get is different. The Cover block is the most flexible, so this guide starts there.
A hero image is not the same as a featured image. A featured image is the thumbnail that represents a post in lists and on social media. You can reuse one picture for both jobs, but they are set in different places. If you want to learn how featured images work, read our guide on how to add a featured image in WordPress.
What Size Should a WordPress Hero Image Be?
For a full-width hero on a modern screen, a width of 1920 pixels is a safe choice. A common ratio is 16:9, which gives a size of 1920 by 1080 pixels. If you want a shorter banner, 1920 by 800 pixels also works well. These numbers are guidelines, not rules, so check how your theme crops the image.
Bigger is not always better. WordPress scales down any upload wider than 2560 pixels. This is called the big image threshold. It stops huge camera files from slowing your site. A hero image at 1920 pixels already covers most desktop screens, so there is little gain in going larger.
Think about the focal point before you export the picture. On a phone, the browser crops the sides of a wide image. If your subject sits at the far left or right, it may vanish. Keep the key part of the picture near the center, and leave quiet space where the headline will go.
File weight matters as much as pixel size. A good target for a hero image is under 200 KB. Some photos need more, but anything over 500 KB deserves a second look. You can check your result with Google PageSpeed Insights, which shows how much your images cost in load time.
Finally, set a sensible height. A hero that fills the whole screen looks bold, but it pushes your content out of sight. Many designers use a height between 50 and 80 percent of the screen. That leaves a hint of the next section visible, which invites people to scroll.
Which Image Format Works Best for a Hero Image?
The best format depends on the kind of picture you use. For photos, WebP is usually the best choice. It gives a much smaller file than JPEG at similar quality, and WordPress has supported WebP uploads since version 5.8. AVIF is smaller still and is supported by WordPress since version 6.5, but check that your visitors’ browsers can show it.
JPEG remains a safe fallback for photos. It works everywhere and compresses well. If you are curious about the naming, we explain the difference between JPG and JPEG. For a hero photo, a JPEG saved at around 70 to 80 percent quality is a good starting point.
PNG is the right choice only when you need sharp edges or a transparent background, such as a flat illustration with a cutout. PNG files for photos are large and slow. Avoid them for full-width banners. SVG is ideal for simple vector art because it stays sharp at any size, but it does not suit photographs.
Whatever you choose, compress the file before you upload it. Free desktop and browser tools can shrink an image by half without a visible loss. Compression is the single biggest speed gain you can make on a hero section. Name the file in plain words, such as handmade-candles-hero.webp, because a clear file name helps search engines understand the picture.
How to Make a Hero Image in WordPress With the Cover Block
The Cover block is built into the block editor, so you need no extra plugin. It places a picture or a color behind text, which is exactly what a hero section is. Follow these steps on any page.
- Go to Pages → Add New, or open the page you want to edit.
- Click the plus icon and search for Cover. Add the block.
- Choose Upload to add a new picture, or Media Library to pick one you already have.
- Click inside the block and type your headline. Add a Paragraph block for a short line of support text.
- Add a Buttons block inside the Cover and write a clear call to action, such as “Get a free quote.”
Now fine-tune the look in the settings panel on the right. Open the block settings and find the overlay options. An overlay is a color layer placed over the picture. Set it to a dark shade at around 30 to 50 percent opacity so white text stays easy to read. Without an overlay, a bright photo can make a headline hard to see.
Use the Minimum height control to set how tall the hero is. You can also set the content position to center, left, or right. Use the focal point picker to choose which part of the picture stays in view when the screen shrinks. The Fixed background toggle gives a parallax effect, where the picture stays still as the page scrolls. It looks nice, but it can behave poorly on some phones, so test it before you keep it.


Last, add alt text. Alt text is a short description of the picture for screen readers and search engines. Write it in plain words, such as “Hand-poured candles on a wooden shelf.” Then click Save draft or Update and view the page on your phone and your computer.
How to Add a Hero Image Through Your Theme or the Site Editor
If you want the same hero on many pages, use your theme instead of building it by hand each time. The method depends on which kind of theme you run. Open Appearance in the dashboard. If you see an item called Editor, you have a block theme. If you see Customize, you have a classic theme.
With a block theme, go to Appearance → Editor and open the template or template part you want to change. For example, choose the Home template. Add a Cover block at the top, and set its picture, overlay, and text just as you did on a page. Save your changes. Every page that uses that template will now show the hero. You can also use the “Use featured image” option inside a Cover block in a post template, so each post shows its own picture as the hero.
With a classic theme, go to Appearance → Customize. Look for a section called Header Image or Hero. Not every theme has one, and the names differ. Upload your picture there, adjust any layout options, and click Publish inside the Customizer to apply the change. That button saves your design settings, not a blog post.
Some themes offer a hero setting on the page edit screen instead. Check the settings box under the editor. If your theme has no hero feature at all, do not edit the theme files on a live site. Always take a full backup first, or test the change on a staging copy. A single typo in a template file can take a site offline. A child theme is the safer place for custom code, and a backup lets you roll back in minutes.
How to Keep a Hero Image Fast and Sharp on Mobile
Your hero image is usually the largest item on the page. That makes it the main factor in Largest Contentful Paint, a measure of how fast the main content appears. Google treats 2.5 seconds or less as a good result. A heavy hero can push you well past that.
WordPress helps by building several smaller copies of every upload. It then lets the browser choose the best size for each screen. This feature is called responsive images. For it to work, insert your picture through the editor and not as a fixed-size image pasted into custom code. You can review the sizes under Settings → Media.
Lazy loading delays images until a visitor scrolls near them. It is great for pictures lower on the page. It is a poor fit for the hero, because the hero should appear right away. Recent WordPress versions skip lazy loading for the first large image on a page, but some themes and optimization tools override that. If your hero loads late, look for a setting that excludes above-the-fold images from lazy loading.
Cache also plays a part. If you change the picture and still see the old one, your cache may be serving a stale copy. Our guide on how to clear the WordPress cache shows the steps. For wider mobile advice, see how to make your WordPress site mobile friendly.
Common Hero Image Mistakes to Avoid
The first mistake is uploading a raw camera photo. These files can weigh several megabytes. They slow the page and waste mobile data. Resize and compress the picture before you upload it.
The second mistake is poor contrast. White text on a bright photo is hard to read, and many visitors will not try. Add an overlay, pick a darker area of the picture, or move the text to a calmer part of the frame. Check the page in bright light on a phone, because screens look different outside.
The third mistake is stacking too much on top of the picture. A hero needs one headline, one short line, and one button. More than that splits attention. If you need to say more, move it to the next section.
The fourth mistake is skipping alt text and using vague file names. Names like IMG_4021.jpg tell search engines nothing. A clear name and a short description help both accessibility and search. If you need pictures you can legally use, read our tips on finding royalty-free images for WordPress.
The fifth mistake is never testing. Open your page on a phone, a tablet, and a desktop after every change. If an upload fails, our guide to fixing WordPress image upload errors can help you find the cause.
A strong hero image takes a few decisions: the right size, a light format, a readable overlay, and a clear setup in the editor. Once those are in place, the page looks professional and loads quickly on every device.
If your hero image looks stretched, loads slowly, or will not save, our team can take a look. Visit 24×7 WP Support to talk with a WordPress expert about your site.



Brian is a WordPress support specialist and content contributor at 24×7 WP Support. He writes practical, easy-to-follow guides on WordPress troubleshooting, WooCommerce issues, plugin and theme errors, website security, migrations, performance optimization, and integrations. With a focus on solving real website problems, Brian helps business owners, bloggers, and online store managers keep their WordPress sites running smoothly.