
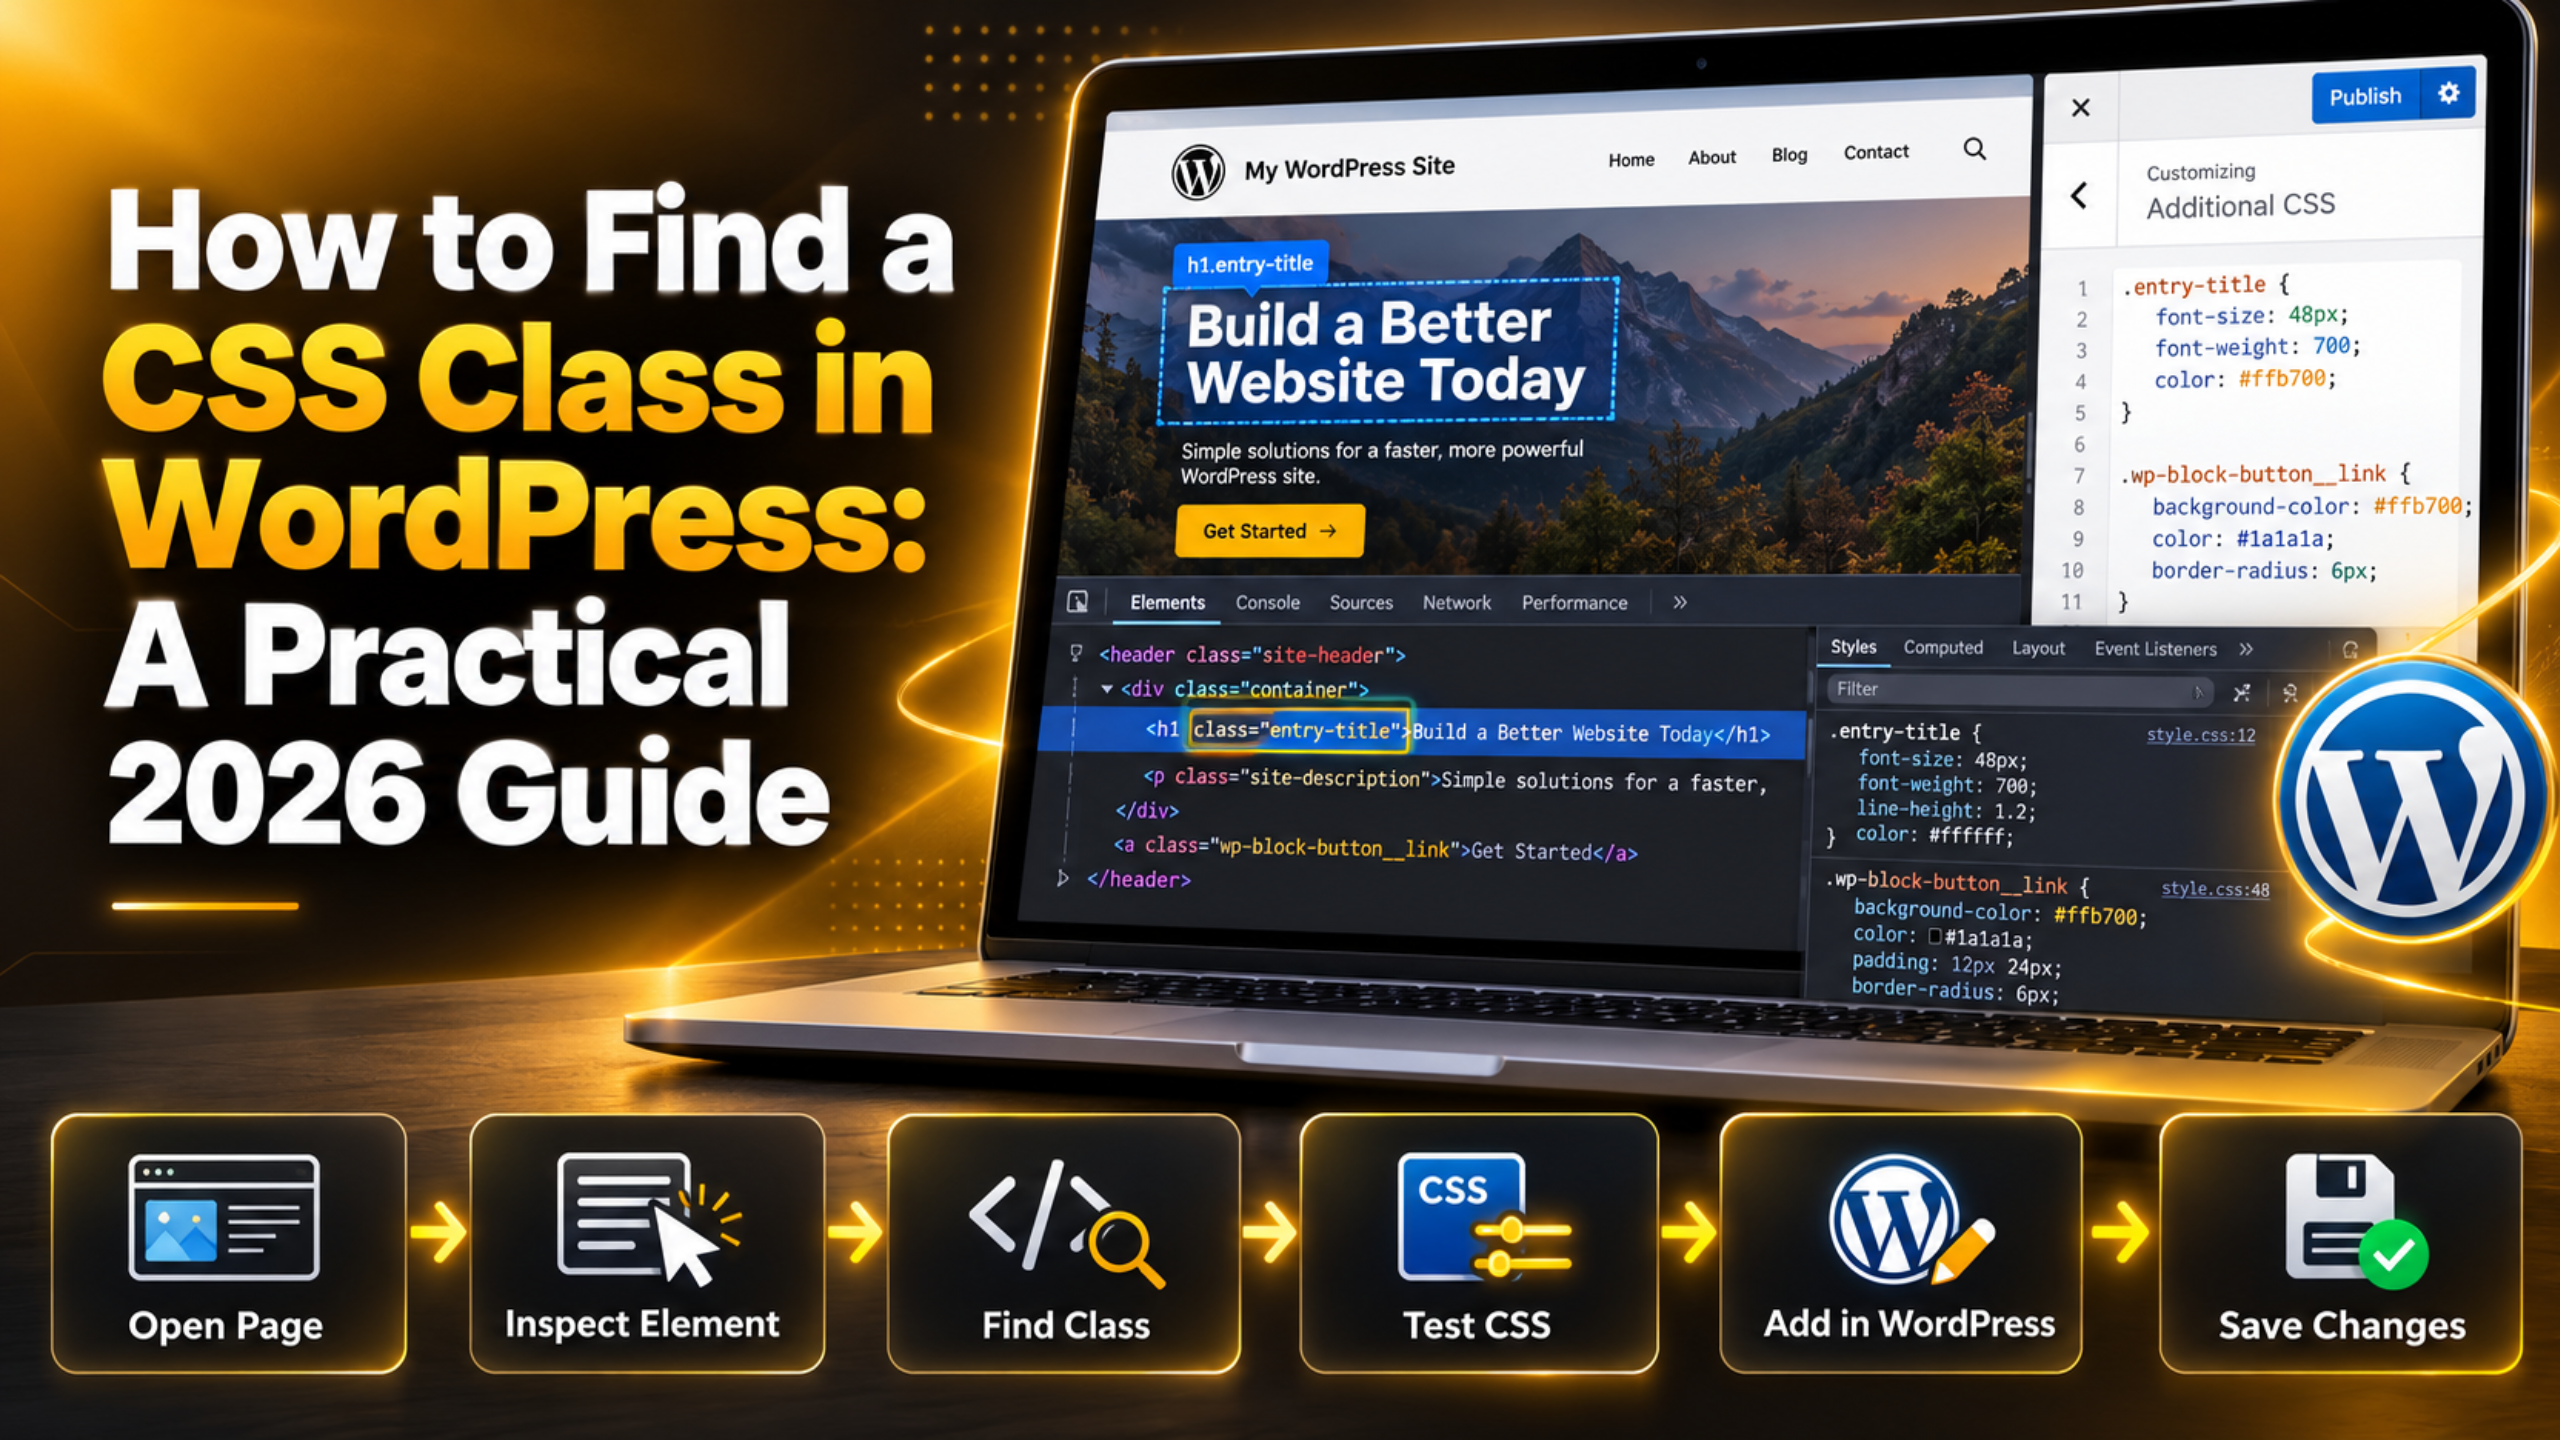
How to Find a CSS Class in WordPress: A Practical 2026 Guide
Introduction
You want to change one thing on your site. Maybe a heading is too big. Maybe a button is the wrong colour. You know a small piece of CSS would fix it. But CSS only works if you aim it at the right element. That aim is the CSS class.
Finding the class is the step most guides skip. They hand you a snippet and hope it lands. If the class is wrong, nothing happens, and you are left guessing. This guide shows you how to find the real class on your own site in 2026. You will learn where to look, how to read what you see, and how to test the class before you save anything.
What a CSS Class Is in WordPress, and Why It Matters
A CSS class is a label attached to an element on your page. Your theme and your plugins add these labels as the page is built. You then write a rule that says “every element with this label should look like this.” The label is the link between your idea and the page.
Here is a plain example. Your site might wrap every post title in an element labelled entry-title. A rule written for .entry-title will then style every post title at once. The dot in front simply tells the browser “this is a class, not a tag.”
WordPress is built around this idea. A single page can carry hundreds of classes. Some come from WordPress core. Some come from your theme. Some come from the blocks you placed in the editor. Each one is a possible target.
This matters because CSS is not magic. It is a set of instructions aimed at a label. If you guess the label, your rule is ignored. If you find the real label, your change works the first time. That is the whole difference between an hour of frustration and a two-minute fix. The same thinking applies when you adjust spacing, as our guide on padding in WordPress explains.
Find Any CSS Class With Your Browser’s Inspect Tool
Every modern browser ships with a tool that reads your page live. It is the fastest way to find a class, and it costs nothing. Nothing you do inside it changes your real site. You are only looking at a copy held in your browser’s memory.
Start by opening the page you want to change. Use a normal visitor view, not the editor. Then follow these steps.
Step 1: Right-click the element. Point at the exact thing you want to style. Right-click it and choose Inspect from the menu. A panel opens, usually on the right or at the bottom.
Step 2: Look at the highlighted line. The panel shows the page’s HTML. One line is highlighted. That line is the element you clicked. You will see a tag with a class attribute on it.
Step 3: Read the class attribute. Everything inside the quotes after the word class is a class. Spaces separate them. In that example there are two names to choose from.
Step 4: Move up if you clicked too deep. Sometimes you land on a small inner element. Press the up arrow key to walk up to the parent. Watch the page as you move. The browser highlights whatever is selected.
Step 5: Copy the class you need. Double-click the class name to select it. Copy it. Write it down somewhere safe before you move on.
Read the Class List and Pick the Right One
Most elements carry several classes. Choosing between them is where people go wrong. A good choice is specific enough to hit your target and broad enough to stay useful.
Prefer a named class over a generated one. Classes like site-header or entry-content describe a role. They are stable. Classes made of random letters and numbers often change when a theme or block updates. Avoid those.
Ask how many elements share the class. If you style the post title class, every post title changes. That may be exactly what you want. If you only want one page changed, you need something narrower.
Use the search box inside the panel. Press Ctrl+F while the HTML panel is focused. Type the class name. The browser shows you how many matches exist on the page. That number tells you how wide your change will reach.
Combine two classes for precision. You can chain classes with no space between them. A page class plus a title class targets a title on one page only. The space means “inside.” No space means “both labels on the same element.”
Take a minute over this choice. A careless class is the main reason a CSS fix leaks into pages you never meant to touch.
Classes WordPress Adds for You Automatically
WordPress prints a useful set of classes on every page without being asked. Once you know them, you can target almost anything. These are stable, and they have worked the same way for years.
Body classes. The body tag carries classes that describe the whole page. You will see names like home, single, page, archive and logged-in. These let you style one page or one page type.
Post classes. Each post or page wrapper gets its own set. Common ones are post, type-post, status-publish, and a category class. These are perfect for styling all posts in one category.
Menu classes. Navigation items carry a menu item class plus an ID. The item for the page you are on also gets a current menu item class. That is how you highlight the active link.
Block classes. Blocks in the editor print their own classes, such as the image block class or the button block class. Alignment adds more. Our overview of WordPress theme files shows where your theme styles these.
Find Classes Without Leaving the WordPress Dashboard
You do not always need the browser panel. WordPress gives you two places where classes are visible or editable from inside the admin area. Both are useful when you want to create a class rather than hunt for one.


The block editor’s Advanced panel. Select any block in the editor. Open the settings sidebar on the right. Scroll to the bottom and open Advanced. There is a field named Additional CSS class. Whatever you type there is printed on that block. This is the cleanest way to give one block a class of your own.
The Customizer’s CSS box. Go to Appearance, then Customize, then Additional CSS. The live preview on the left updates as you type. You can test a rule here and see the result before you publish it. If a rule does nothing, your class is wrong. Our note on the Style tab in WordPress covers the related design controls.
Site Editor styles. On a block theme, open Appearance, then Editor, then Styles. Many design changes are available here with no CSS at all. Check this first. A built-in control is always safer than a custom rule.
Test Your Class Before You Save Anything
Never paste a rule into your site and hope. Test it first. The browser panel lets you try a class and see the result in seconds, with zero risk.
Edit the styles panel live. With the element selected, look at the Styles pane beside the HTML. It lists every rule already affecting that element. Click into any value and change it. The page updates instantly. Press the Escape key or reload to undo everything.
Add a new rule by hand. Click the plus icon in the Styles pane. Type your class with a dot in front. Add a property inside the braces. If the text changes, your class is correct.
Watch for a crossed-out line. If a property appears with a line through it, something else is overriding it. That usually means another rule is more specific. Add a second class to your selector and try again.
Check on a phone width. Use the device toolbar in the panel to switch to a narrow screen. Themes often apply different rules at small widths. A class that works on desktop may be replaced on mobile.
Where to Put the CSS Once You Have the Class
You found the class and tested the rule. Now it needs a permanent home. Where you put it decides whether it survives your next theme update.
Additional CSS in the Customizer. This is the right choice for most small changes. Go to Appearance, then Customize, then Additional CSS. Paste the rule and publish. The CSS is stored in the database, not in a theme file. Theme updates leave it alone.
A child theme stylesheet. Use this for larger sets of rules. A child theme keeps your work separate from the parent theme, so updates cannot erase it. Our guide to WordPress child themes explains how to set one up.
Never edit the parent theme’s main stylesheet. It feels quick, and the next update will wipe it. If you do need to work in theme files, read our guide to editing your site’s source code first.
Back up before you touch any file. Before editing theme files, take a full backup or work on a copy. Our walkthrough on setting up a staging site and our guide to backing up and restoring WordPress both cover this. A file edit on a live site with no backup is the one habit worth dropping.
Mistakes That Make the Right Class Look Wrong
Sometimes you find the correct class and the rule still does nothing. The class is rarely the problem. One of these five issues usually is.
You are looking at a cached page. Caching serves an older copy of your CSS. Clear your site cache, then reload with a hard refresh.
Another rule is more specific. A longer selector wins over a shorter one. If your rule loses, lengthen it. Put a parent class in front of it.
You forgot the dot. Writing the name with no dot targets a tag instead, which does not exist. The dot is not decoration.
The element is inside an iframe. Embedded content from another site lives in its own document. Your CSS cannot reach it. That is a browser security rule, not a WordPress limit.
The class is generated fresh each build. Some classes change every time a page is rebuilt. If your rule works today and breaks next week, that is the cause. Add your own class through the block’s Advanced panel instead.
Putting It All Together
Finding a CSS class is a short, repeatable routine. Right-click the element and choose Inspect. Read the class attribute on the highlighted line. Pick a named class over a generated one. Check how many elements share it. Test the rule live in the Styles pane. Then save it in Additional CSS or a child theme.
Do that in order and you stop guessing. You also stop pasting snippets that do nothing. Every change you make will be aimed at something real on your own page.
Keep two habits alongside it. Always test before you save, and always back up before you edit a file. Those two take a minute each and save whole afternoons. If you want to go further with design changes, our guide on changing font size in WordPress builds on the same skill.
Some sites fight back. A heavy theme, a long stack of plugins, or an aggressive cache can make a simple change hard to land. If a rule will not stick and you would rather not spend the afternoon on it, our team can take a look. Visit 24×7 WP Support and tell us what you are trying to change. We work on WordPress design, performance and maintenance every day, and we are happy to help you get it sorted.[/vc_column_text][/vc_column][/vc_row]
Related posts:






Brian is a WordPress support specialist and content contributor at 24×7 WP Support. He writes practical, easy-to-follow guides on WordPress troubleshooting, WooCommerce issues, plugin and theme errors, website security, migrations, performance optimization, and integrations. With a focus on solving real website problems, Brian helps business owners, bloggers, and online store managers keep their WordPress sites running smoothly.