
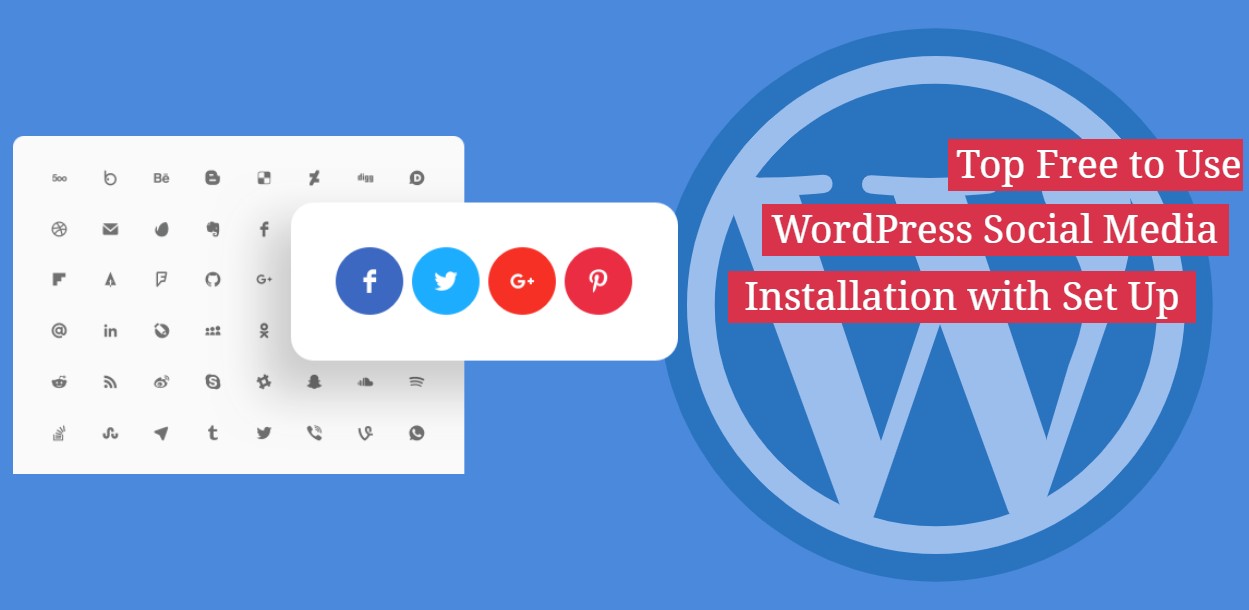
Top Free to Use WordPress Social Media Plugins Installation with Set Up
Last updated on June 19th, 2023 at 07:28 am
Social Pug
")
One of the easiest to use social sharing plugin available on WP, with highly customizable social share buttons to attract visitors on your site to share post.
How to install Social Pug
- Open and log into WP dashboard
- Navigate into the dashboard left side menu, click on “Add new” under “Plugins” tab.
- Search for Social Pug on the search bar
- Click “Install Now” button to install
- Click “Activate” to activate the plugin.
How to setup the plugin with your site
- After installing, go back to the dashboard.
- Click on “Social Pug” located on the left side menu of the dashboard.
- You can choose if you want Floating sidebar or Inline content and click on “Settings” to configure.
")
- Click on the “Select Networks” button if you want to add any social media buttons.
- Select the social media buttons that you want to add by checking and click “Apply Selection” to add
")
- Below are the social buttons configurations or settings where you can change the button shape, position and number of columns.
- Click “Save Changes” on the bottom of the page to save your work and add the social media buttons on your site.
")
Add to Any
Add social media button on your web by AddToAny share buttons. Easy to install and use. Increase traffic on your site. Enable them to share your posts in just a few clicks.
")
How to install AddToAny Share Buttons
- Open WP dashboard
- In the dashboard left side menu, click on “Add new” under “Plugins” tab.
- Type AddToAny on the search bar
- Click on “Install Now” button to initiate the installation process.
- Click on “Activate” to for you to activate the plugin on your site.
How to setup the plugin with your site
- Go back to the dashboard.
- On the left side menu of the dashboard, click “AddToAny” under the “Settings” tab.
")
- AddToAny settings page will open up.
- You can change the icon style or add social media buttons using the dropdown menu and adding buttons by clicking on “Add/Remove Services”.
- You can also configure the placement of the buttons on your site by the use of the checkboxes.
")
- Click “Save” when finished.
")
Mashshare
Another free social media plugin used for adding social media buttons on your site, highly customizable ecosystem for social media sharing
")
How to install MashShare


- Log into your Dashboard
- Under “Plugins” tab Click “Add New”
- Search for “MashShare” on the search bar
- Click “Install Now” and “Activate” to activate and finish the installation setup.
How to setup the plugin with your site
- Go back to the dashboard.
- On the left side menu of the dashboard, click “Settings” under the “MashShare” tab.
- That will bring you to the customization page for the plugin
")
- You can click on every tab under the “Settings” tab to customize your social media share buttons.
- Click “Networks” tab to add another social media share button.
")
- Go to “Visual” tab to customize the visual appearances of the buttons
- And “Position” tab to adjust its position on the website
- Click “Save Changes” to save and publish it on your site.
")
Sassy Social Share
Sassy Social Share is one of the simplest and smoothest social sharing plugin that supports 100+ social sharing and bookmarking services.
")
How to install Social Sassy Share
- Login into your site dashboard.
- Go to “Plugins” tab on the left side menu then click on “Add new”
- Search for the plugin name on the search bar
- Click on “Install Now” and wait for the installation process to finish.
- Click “Activate” to activate the plugin.
How to setup the plugin with your site
- Now go back to the dashboard.
- Click “Sassy Social Share” located at the left side menu of the dashboard.
- Customization page for the plugin will open up
- Under “Theme Selection” tab you can customize the icon preview or social media buttons.
")
- After theme selection, you can click on the interface that you want to use. You can choose if you want “Standard Interface” or “Floating Interface”.
- Add a title on the title box.
- Check the social sharing services that you want to include and rearrange the icons if necessary.
")
- Configure the placement and position on the checkboxes below and click “Save Changes” when done.
")
Need help in Plugin Selection or Plugin Issue? We are available 24/7 by Phone or Chat.
Related posts:

Brian is a WordPress support specialist and content contributor at 24×7 WP Support. He writes practical, easy-to-follow guides on WordPress troubleshooting, WooCommerce issues, plugin and theme errors, website security, migrations, performance optimization, and integrations. With a focus on solving real website problems, Brian helps business owners, bloggers, and online store managers keep their WordPress sites running smoothly.
