
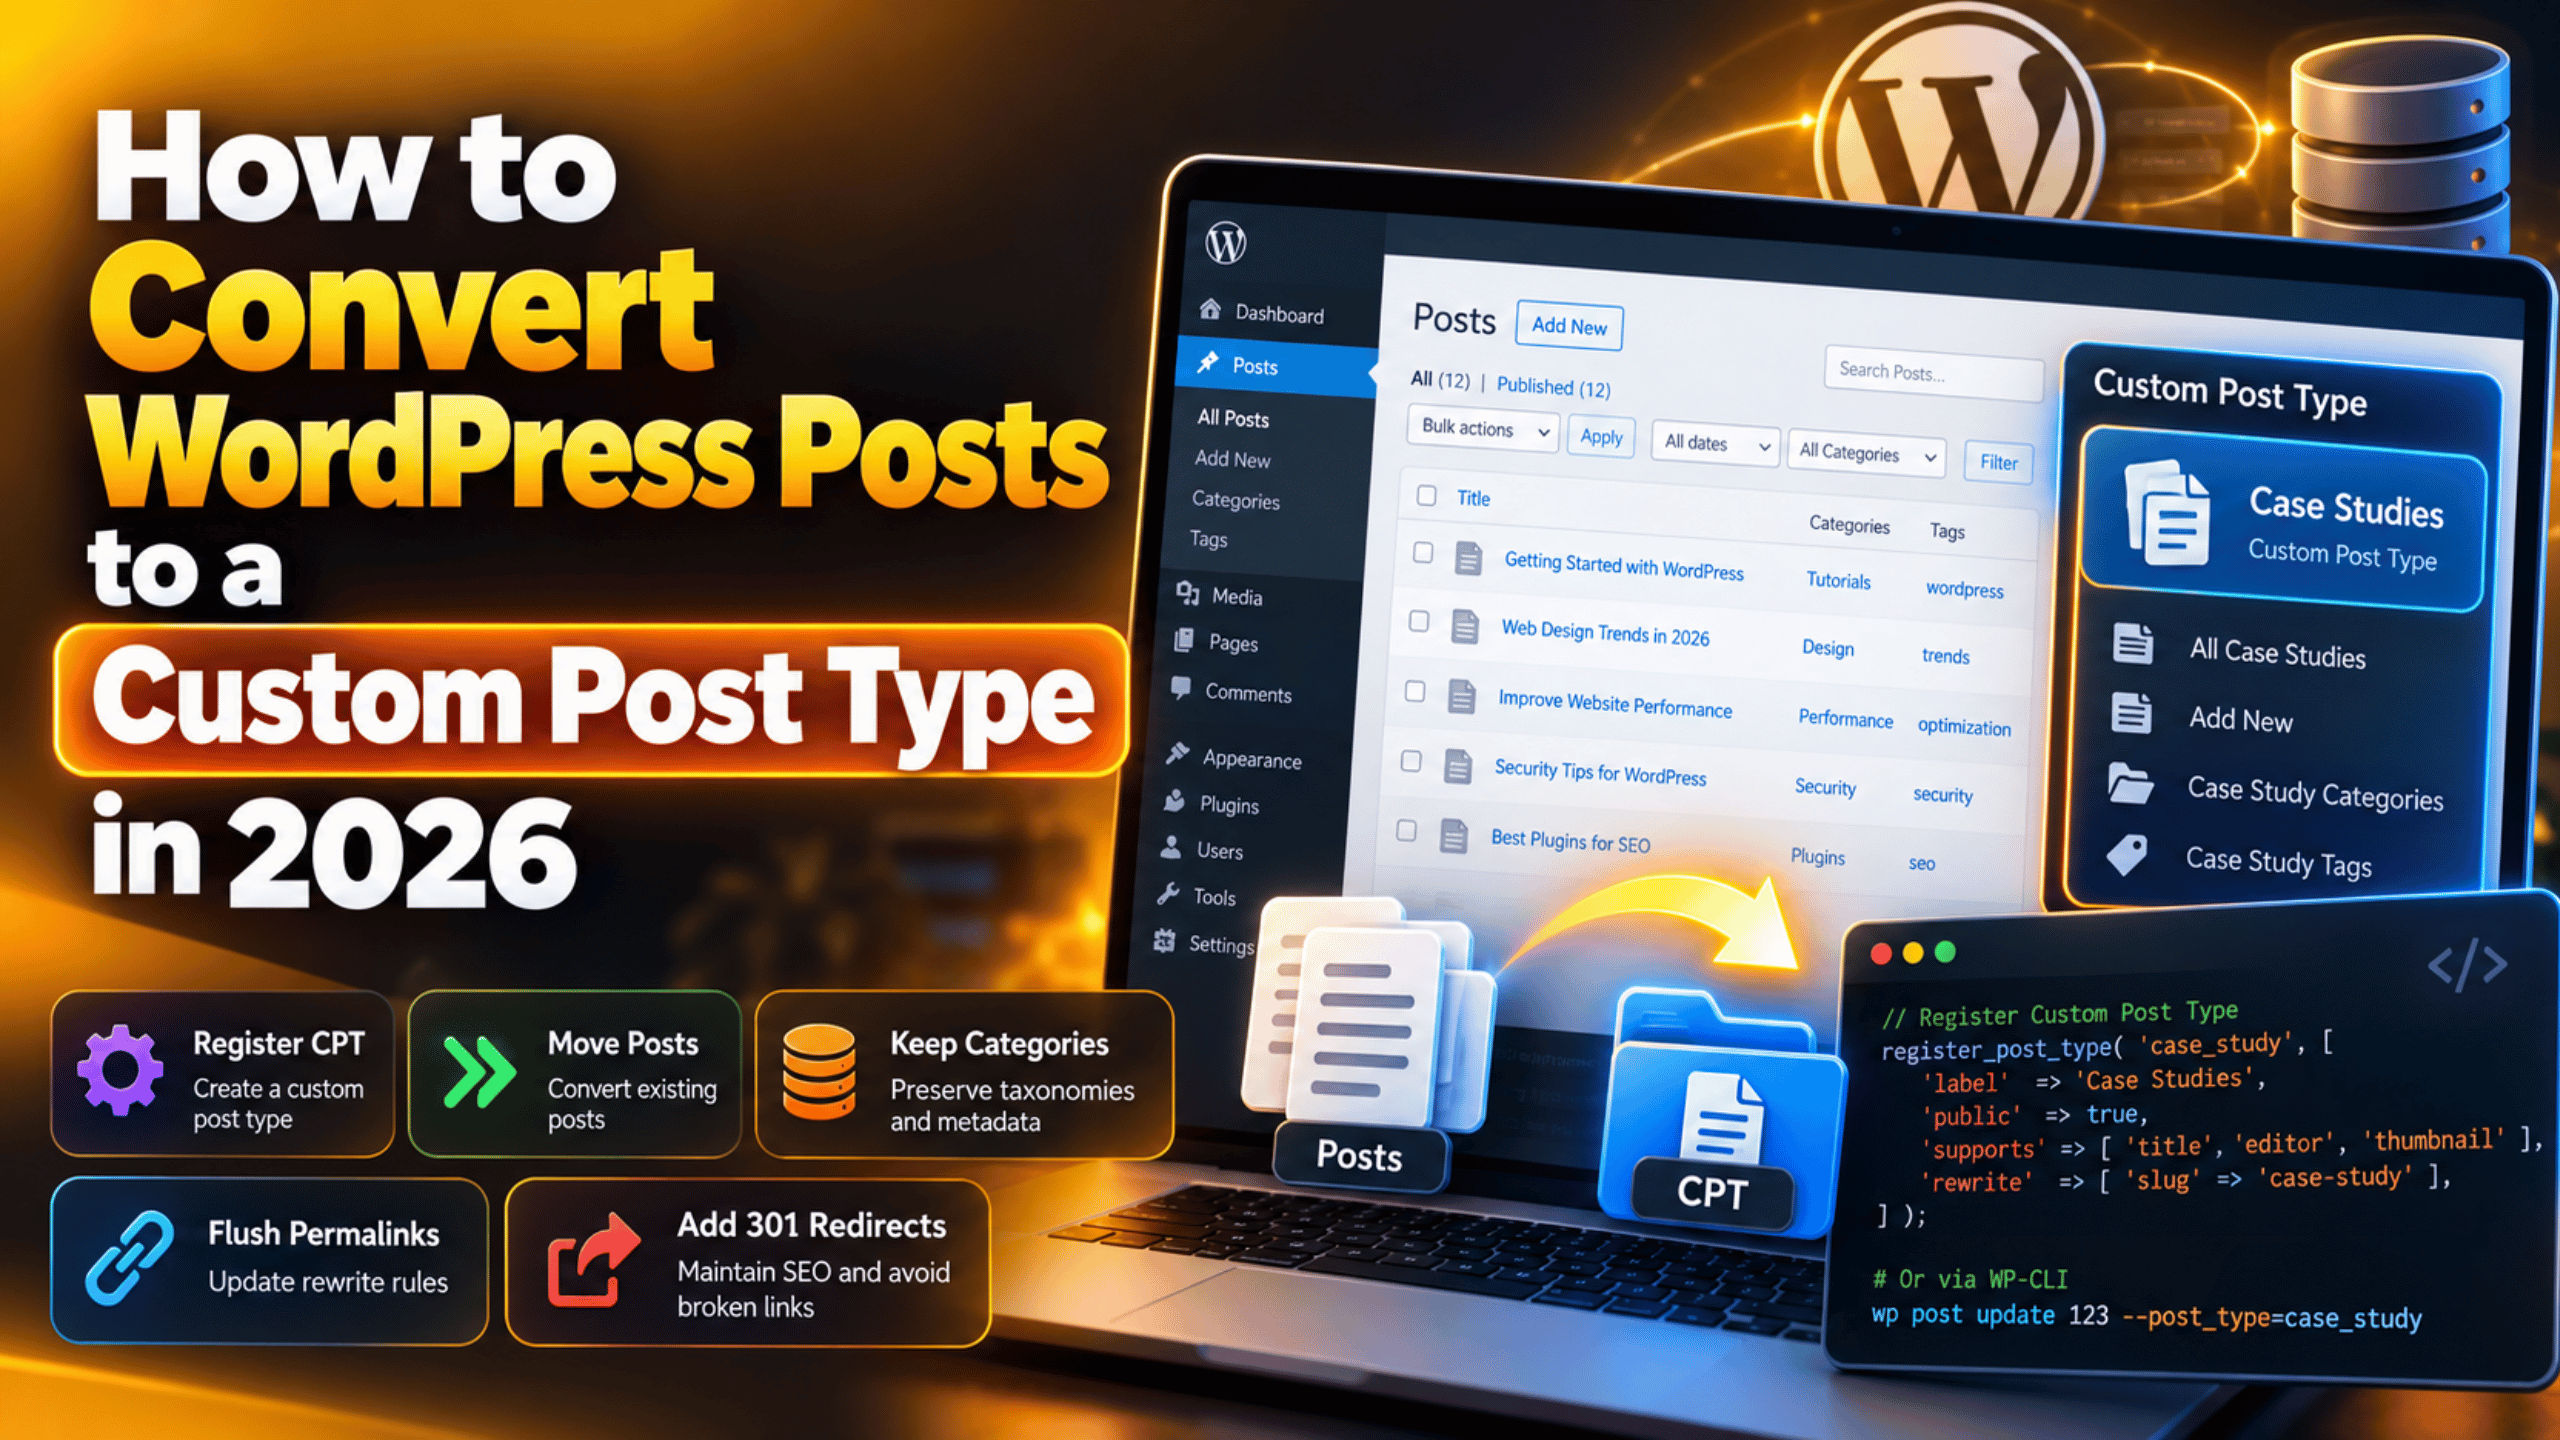
How to Convert WordPress Posts to a Custom Post Type in 2026
Introduction
Most WordPress sites start with one content bucket: blog posts. Over time that bucket fills with things that are not blog posts at all. Case studies, recipes, staff profiles and events all pile into the same list. The archive turns into a jumble.
Moving that content into a custom post type clears the mess up. This guide walks through the full job in 2026. You will register the new post type, move the posts across, keep your categories, repair the URLs and check what broke.
What a Custom Post Type Is and Why You Would Move Posts Into One
A post type is simply a label that WordPress puts on a piece of content. Out of the box you get posts, pages, attachments and a few hidden types. A custom post type is one you add yourself, such as recipe, case_study or event.
Here is the key fact. All of them live in the same database table, wp_posts. One column, post_type, is what tells them apart. That is why conversion is even possible. You are not copying content to a new home. You are changing one stored value.
The payoff is real. The new type gets its own menu in the dashboard, so your team stops scrolling past 400 blog posts to find eight case studies. It gets its own archive URL and its own template file, so you can design that content properly. It can carry its own fields and its own taxonomies. Your main blog feed goes back to holding only blog posts, which helps both readers and search engines understand the site.
If you are still deciding whether a custom type is the right call, our guide to WordPress custom post types covers the basics first. Come back here when you are ready to move content.
Back Up and Work on a Staging Copy First
This job edits rows in your database. Some of the methods below cannot be undone with a single click. Do not run any of them on a live site without a safety net.
Take a full backup before you touch anything. That means the database and the files, not just one or the other. Our walkthrough on backing up your WordPress database shows the steps. Download the backup to your own machine as well. A backup that only lives on the same server is not much use if that server has a bad day.
Better still, do the whole conversion on a staging site first. A staging site is a private copy of your live site that visitors never see. You can break it freely, learn where the rough edges are, then repeat the clean version on production. Our guide to setting up a staging site in WordPress explains how to create one.
One last check before you start. Write down a few of the URLs you plan to move. You will use that list later to confirm the redirects fire.
Step 1: Register the Custom Post Type Before You Move Anything
The new post type has to exist before posts can belong to it. If you convert first, the posts simply vanish from the dashboard. They are still in the database, but nothing is registered to show them.
Put the registration code in a small site-specific plugin rather than your theme. A theme switch would then take your content structure with it, and that is a painful day. Our comparison of functions.php versus a custom plugin explains the reasoning in more detail.
Here is a working registration. Adjust the names to suit your content.
add_action( 'init', function() {
    register_post_type( 'case_study', array(
        'labels'       => array(
            'name'          => 'Case Studies',
            'singular_name' => 'Case Study',
        ),
        'public'       => true,
        'has_archive'  => true,
        'menu_icon'    => 'dashicons-portfolio',
        'rewrite'      => array( 'slug' => 'case-studies' ),
        'show_in_rest' => true,
        'supports'     => array( 'title', 'editor', 'thumbnail', 'excerpt', 'comments', 'revisions', 'custom-fields' ),
        'taxonomies'   => array( 'category', 'post_tag' ),
    ) );
} );
Two settings deserve a closer look. show_in_rest must be true or the block editor will not load for this type, and you will be stuck with the classic editor. The supports array decides which editing panels appear. Leave out thumbnail and your featured images stop showing in the admin, even though the images are still attached.
Save the file and activate the plugin. The new menu item should appear in the dashboard sidebar within a few seconds.
Step 2: Keep Your Categories and Tags Attached
Categories and tags are stored separately from the post itself. WordPress records the link in a table called wp_term_relationships, matched by post ID. The post type is not part of that link.
That is good news. Because the post ID never changes during a conversion, the term links survive on their own. What decides whether they still work is registration. A taxonomy only displays for post types it has been registered to.
This is why the taxonomies line appears in the code above. It tells WordPress that the standard category and tag taxonomies now apply to the new type as well. Skip that line and your terms are still in the database, but the editing screen shows no category box at all.
Many teams prefer dedicated taxonomies instead, so that case study categories do not get mixed in with blog categories. That is a cleaner long-term structure, though it does mean reassigning terms by hand afterwards. Our guide to creating custom taxonomies covers how to register them properly.
Step 3: Convert the Posts
With the type registered, the move itself is quick. Pick the method that fits how many posts you have and how comfortable you are with the command line. All three do the same thing underneath: they change the post_type value.
Change One Post at a Time
For a handful of posts, a post-type switching plugin is the simplest route. Install one from the official plugin directory, then open a post for editing. A small post type dropdown appears in the Publish panel on the right. Pick your new type and click Update.
Reload the dashboard and the post should now sit under the new menu. Check the post content as well. The body text and featured image should come across untouched, because none of that is tied to the post type.
Convert in Bulk With WP-CLI
For dozens or hundreds of posts, WP-CLI is the fastest and safest tool. It is the official WordPress command line interface, and most managed hosts include it. If it is new to you, start with our overview of WP-CLI and SSH in WordPress.
First, list what you are about to move. This dry run shows the posts in one category without changing anything.
wp post list --post_type=post --category_name=case-studies --format=idsRead that list carefully. If it looks right, feed the same list into an update command.


wp post update $(wp post list --post_type=post --category_name=case-studies --format=ids) --post_type=case_studyWP-CLI prints a success line for each post it changes. Take a fresh database backup before you run the update, because this command does not ask for confirmation.
Run a Direct Database Query
A direct SQL update is the last resort, and the one most likely to cause damage. It bypasses WordPress entirely, so no hooks fire and no caches clear. Only use it when the other two options are unavailable, and only with a current backup in hand.
If you must, target a narrow set of IDs rather than every post on the site. A query that updates whole tables without a tight WHERE clause can reclassify your entire blog in under a second. Our guide to editing WordPress source code is worth reading first.
Step 4: Flush Permalinks and Redirect the Old URLs
Your converted content now has new web addresses. A post that lived at /your-site/great-project/ may now sit at /your-site/case-studies/great-project/. Until you act, the new address returns a 404 and the old one is dead.
Flush the rewrite rules first. Go to Settings → Permalinks in the dashboard and click Save Changes. You do not need to alter any setting. The act of saving rebuilds the rules so the new structure is recognised. Our explainer on WordPress permalinks covers what is happening behind that button.
Now visit one of the new URLs. If it loads, the rules took effect. If you still see a 404, our guide on posts returning a 404 error lists the usual culprits.
Next, send the old addresses to the new ones. Set up a 301 redirect for each moved post. A 301 tells search engines the move is permanent, so the ranking signals the old URL earned follow it across. Skip this and you lose that history, plus every inbound link breaks. Our guide to 301 redirects in WordPress shows both the plugin route and the server route.
Step 5: Check What Broke After the Move
A conversion rarely breaks content, but it often breaks the things pointing at content. Work through this list before you call the job done.
Archive and single pages. Visit the new archive at your chosen slug. If the layout looks wrong, your theme is falling back to a generic template. You may need a dedicated template file, which our guide on creating a custom single post template explains.
Menus and internal links. Any menu item added as a direct link still points at the old URL. Your redirects will catch those, but it is cleaner to update them under Appearance → Menus.
Custom queries. Any code or block that pulls “latest posts” filters by post type. Converted content silently drops out of those lists. You will need to add the new type to the query, which our walkthrough of the WordPress loop covers.
Site search and sitemaps. Confirm the new type appears in on-site search results and in your XML sitemap. If your SEO plugin has a post type settings panel, check that the type is set to appear in search results there too.
Caching. Clear every cache layer you run before judging any of the above. Stale pages are the most common reason a correct fix looks broken.
Mistakes That Cause Most of the Trouble
Converting before registering. The posts disappear from the dashboard and people assume the content is gone. Register the type first and this never happens.
Choosing a slug that already exists. If a page already uses /services/ and you set that as your post type slug, the two fight and one of them loses. Pick a slug nothing else is using.
Renaming the post type key later. The key in your code, such as case_study, is the value written into the database. Change it afterwards and every converted post is orphaned again. Settle on the key before you convert.
Forgetting the redirects. This is the costliest mistake, because the damage builds quietly over weeks as search engines drop the dead URLs.
Moving everything in one go. On a large site, convert one small batch first and check it end to end. Ten posts will teach you what two hundred would, at a fraction of the risk.
Testing straight on production. Every item above is cheap to fix on a staging copy and stressful to fix on a live site at peak traffic. Build the habit once and it pays for itself on every future change.
Need a Hand With Your Content Structure?
Converting a few posts is a short job. Converting several hundred, across a theme with custom templates, is a different matter. The move itself takes minutes. Finding every query, menu and template that assumed the old structure takes longer.
The order matters more than the speed. Register the type, confirm the taxonomies, move a small batch, flush the permalinks, then set the redirects. Rushing past any one of those is what turns a tidy restructure into a week of chasing 404s.
If you would rather not run it yourself, our team works on exactly this kind of task every day. We can set the conversion up on a staging copy, map the redirects, update the templates and queries, and move the finished result to your live site. Visit 24×7 WP Support to talk through what your site needs. Tell us roughly how many posts are involved and which theme you run, and we will tell you what the work looks like.
Related posts:

Brian is a WordPress support specialist and content contributor at 24×7 WP Support. He writes practical, easy-to-follow guides on WordPress troubleshooting, WooCommerce issues, plugin and theme errors, website security, migrations, performance optimization, and integrations. With a focus on solving real website problems, Brian helps business owners, bloggers, and online store managers keep their WordPress sites running smoothly.
