
How To Arrange Pages In WordPress
Last updated on August 10th, 2021 at 01:56 pm
WordPress website owners love this CMS for its extreme user-friendliness and flexibility. Be its backend functionality or frontend website design, there is nothing you can change. And the best part is – you need not be a tech or coding expert to do so.
Now, if you are thinking to have the WordPress Pages section, having the list of pages as per your requirement, it is an easy-to-do task.
We understand that alphabetically-listed pages are fine for 4-5 pages or ten, on a website. However, it is not feasible to have the website pages listed as per alphabetic order, when it has dozens or hundreds of pages.
Why?
Let’s say you want to edit your ‘Main Services’ page. Now, to visit this page, you will have to search for it in the pages’ list every time. Or, you will go through multiple pages of this listing and open the desired page.
What if we say that you can arrange your pages in WordPress the way you want?
It’ll be a life-savior hack, right?
When Arrange Pages in WordPress?
- When your website menu has to be in a specific order (not in alphabetical order).
- When your website has tens of pages and your main pages (that need frequent edits) are not even listed in the first pagination.
- When you want to arrange your website pages as menus and sub-menus.
Let us explain the procedure for the same (all 3 cases, as listed above) now. And trust us; it’s the easiest thing to do. The process will not even take a minute.
How to Arrange Pages in WordPress Pages Section?
Let’s say you want to add a few pages on the top of your pages list.
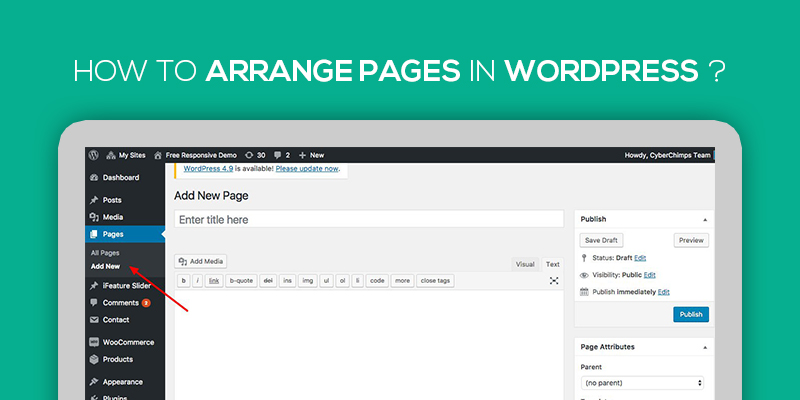
For this, open the page that you want to display on the top of the list. Now, tick the ‘Page Attributes’ checkbox. Your screen must have a section named ‘Page Attributes’ if you look within the opened dashboard carefully now.
Set the value of the ‘order’ field as ‘1’. The order field decides the priority of page and its value for all pages is ‘0’ by default.

Now, go to the pages’ list again and your page must be on the top.
Repeat the same process for other important pages of your website, and allot them the orders ‘2’, ‘3’, ‘4’ and so on.
Alternatively, you can do it all directly from the pages section. Just click on the ‘quick edit’ option under the page’s name and add the desired order to it.
Note: Not only the ‘Pages’ but the website menu will list your pages as per this ordering.
How to Arrange Pages in the Website Menu Section?
As we told above, the previously-stated method will order your pages in the menu section too. However, there are times when you want to order or arrange pages on the WordPress website, but not for the dashboard.


Don’t worry, as it’s also possible in WordPress.
Navigate to Appearance > Menus and choose ‘create a menu’. Here, you can add pages the way you want. In the end, set this menu as your default menu for the header (and other locations – as needed).
Alternatively, you can re-arrange the pages on the main menu too.
How to Arrange Pages as menus and Sub-menus?
One way to do so is by arranging menu items. However, it is a static arrangement and therefore, not very effective for the websites with so many pages. The method is not feasible, especially, when you are frequently deleting and adding pages.
At such times, you should assign your pages the status. For example – List the main menu item pages as the parents. Thereafter, add pages’ categories as children of those pages, and repeat the same for iterations if required. It will create a page hierarchy for your website.
Oh, looking for a way to set parent or child?
It’s here –
- Click on the edit page link for the desired page.
- See on the right-side and search for the ‘Page Attributes’.
- Now, to set a page as the parent, you need not do anything. Just leave the ‘parent page’ field’s value as ‘(No Parent)’. However, to make a page the child of a page, choose the name of the parent page from the dropdown list and add it as the value of the ‘parent page’ field.
How to Arrange Pages in WordPress as per different Templates?
Templates are the page layouts with certain design capabilities. For example – a template may have some extra fields so that you could add your content to be rendered in a particular section/design on the frontend. A theme can have multiple templates so that the website owner could design their pages in different styles.
Additionally, it is possible to define and add new templates too.
If your theme has multiple templates and you want your particular page to be arranged as per a particular template, here’s the procedure –
- Click on the edit page link for the desired page.
- See on the right-side and search for the ‘Page Attributes’.
- Look for the ‘Page Template’ field. Its initial value is ‘default template’. Click-open on the dropdown list and choose the template as per your need.
That’s it!
Your page’s editor must have some extra or fewer options are per the page template.
Have we skipped anything while explaining how to arrange pages in WordPress, or do you have any extra queries? Let us know by commenting below. We’ll surely help.
