How to Add Caption to Images in WordPress
Last updated on August 11th, 2021 at 08:12 am
Image caption plays an important role in any WordPress website. A single image and its caption describe the Complete story about the image. Through these captions, any reader can be got an idea about that blog. WordPress editor has a particular space through which a user can easily add caption to images. In this topic, we are going to tell you about the various method of adding a caption to an image in WordPress. Going to use all these methods only for the default editor that is a Guttenberg editor for Blog editor of WordPress. So, read this article carefully and follow all the steps which are given below.
How to add WordPress image to any post or Page?
In this part, we are going to provide knowledge to our readers regarding adding WordPress image caption in WordPress. Then follow all the steps which are given below.
- User needs to enter the WordPress admin area. User needs to enter all the details which are required to login in WordPress admin/dashboard area. Such as.
- User name/ Login Id and Password.
- After that, the user clicks on the Submit option which has been present just below. After successfully logged in user enters the WordPress admin dashboard.
- Now the user must click on the dashboard option after that a context menu appears in front of the user on the left side of the screen.
- In that context menu user need to click on the post option, then a sub-context menu appears in front of the user. Now in that sub-context menu user must click to add a new post option. After that in your screen appear in front of the user.
- That user needs to click on the “Add symbol” which is present on the left side of the screen.
- Then the user needs to click on the image section. If the user will not find any image block, then the user may click on the search box and add a keyword “image”. As you can see in the image given below.
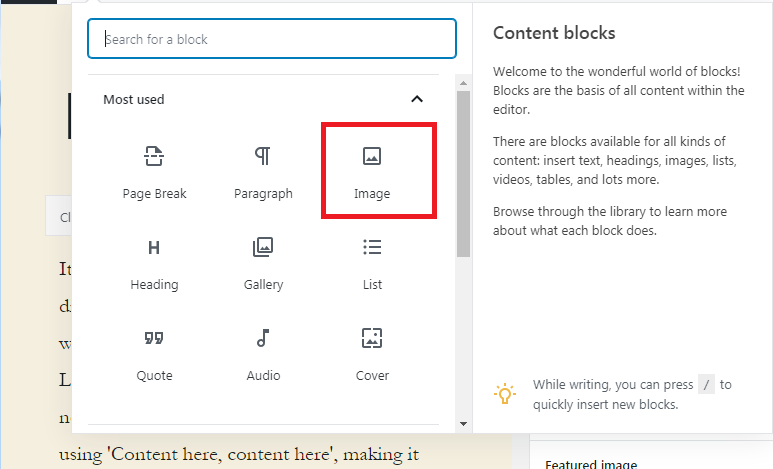
- After adding an image section on the Post then the user needs to upload an image on it. That image block will be add on the Editing post as you can see in the image given below.
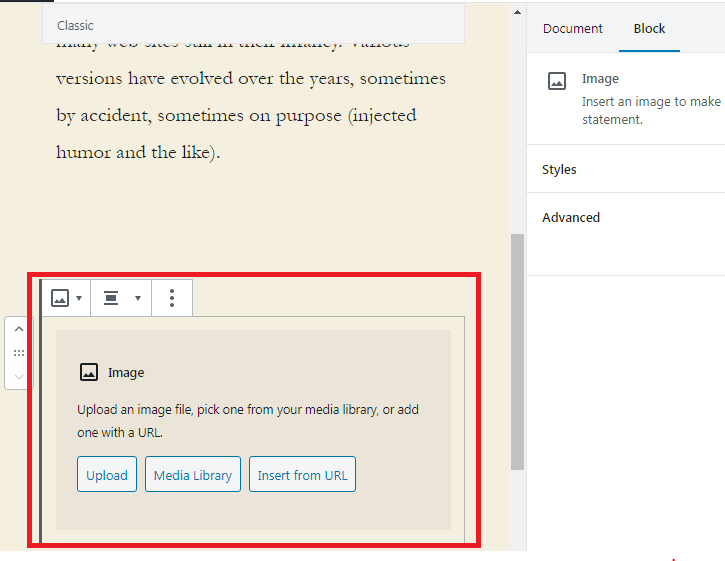
- Now the user must click on the Upload button after that image will be uploaded from the required files.
- After uploading the image file that image will appear in the post. As you can see the image is given below.
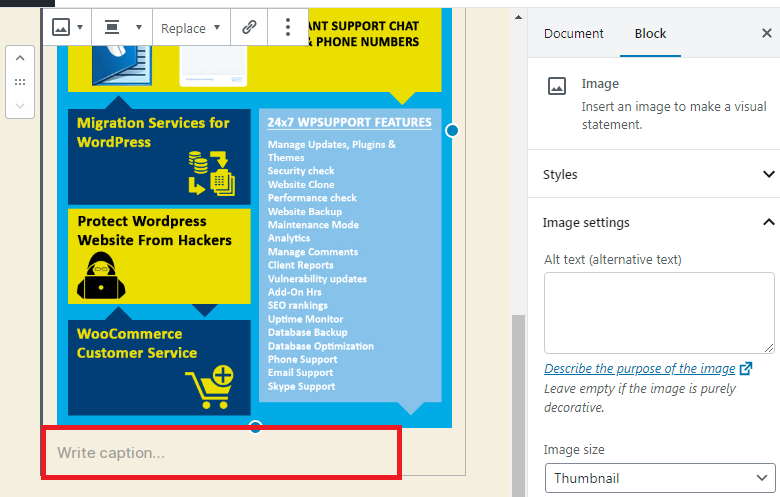
- After doing that user needs to Save that post or click on Publish Button or Update button.
How to add to the caption to image from your Gallery?
- User can see a context menu which appears on the left side of the screen. Users can see the tools option in that context menu.
- Now the user must click on the dashboard option after that a context menu appears in front of the user on the left side of the screen.
- In that context menu user need to click on the post option, then a sub-context menu appears in front of the user. Now in that sub-context menu user must click to add a new post option. After that in your screen appear in front of the user.
- That user needs to click on the “Add symbol” which is present on the left side of the screen.
- Then the user needs to click on the Gallery section. If the user will not find any image block, then the user may click on the search box and add a keyword “Gallery”. As you can see in the image given below.
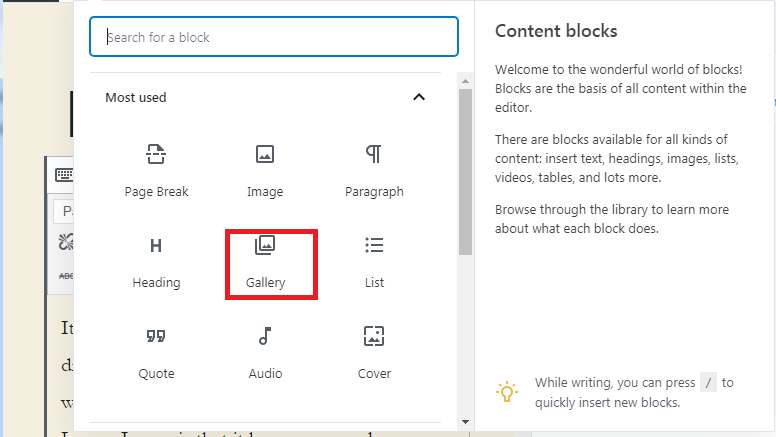
- After adding a gallery section on the post then the user needs to upload an image on it. That gallery block are will be add on the editing post as you can see in the image given below.
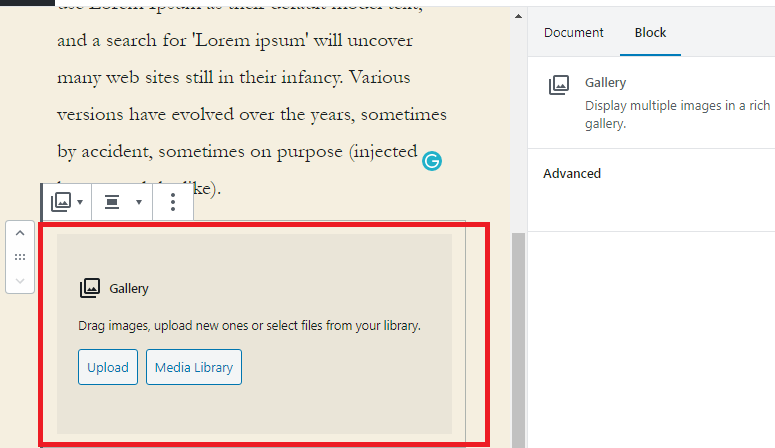
- Now the user must click on the Upload button after that image will be uploaded from the required files.
- After uploading all image files inside the editing post, then the image will appear inside the post. As you can see the image is given below.
- All Image contains Individual caption for it. As you can see in the image given below.
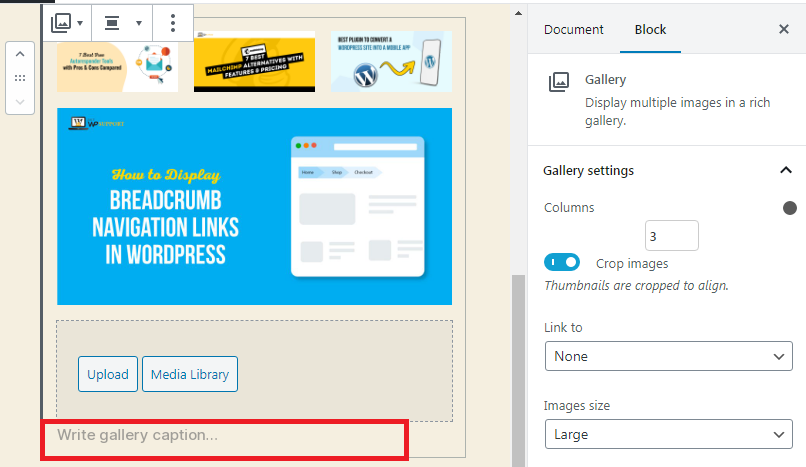
- After doing that user needs to Save that post or click on the publish button or update button.
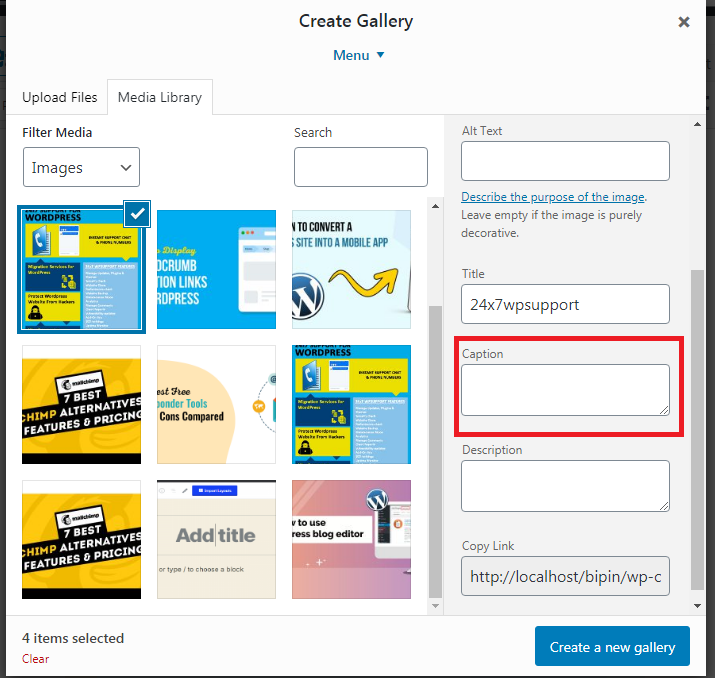
- Users can also select all pre-added images from the library. This library is already present in WordPress.
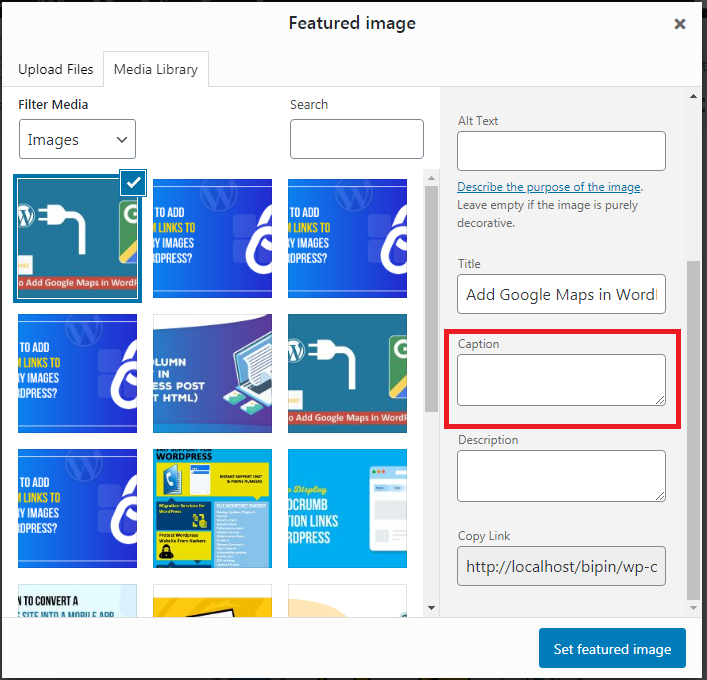
- In this pre-WordPress library of image and its caption to be added to their itself. So the user does not write any caption after adding to the WordPress library. As you can see in the image given below.
How to upload images in the WordPress library and adding caption on it?
- User needs to enter the WordPress admin area. User needs to enter all the details which are required to login in WordPress admin dashboard area. Such as
- User name/ Login Id and Password.
- After that, the user clicks on Submit an option that has been present just below. After successfully logged in user enters the WordPress admin dashboard.
- Now the user must click on the dashboard option after that a context menu appears on the front screen which is present on the left side of the screen.
- Now user can see a media option on the context menu, however, the user must click on the media option then is some context menu appear. When the user must click on add a new page in the admin as you can see in the image given below
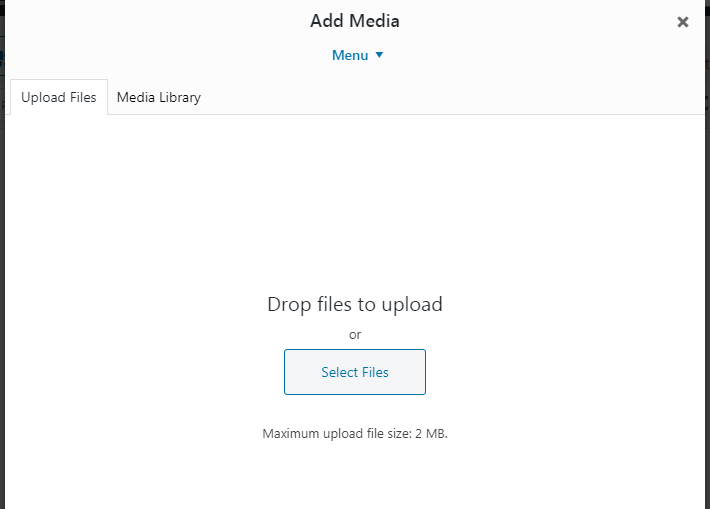
- By just using drag and drop option users can upload all the media files from the computer.
- After the uploading process user needs to click on the “edit” option as you can see in the image given below.
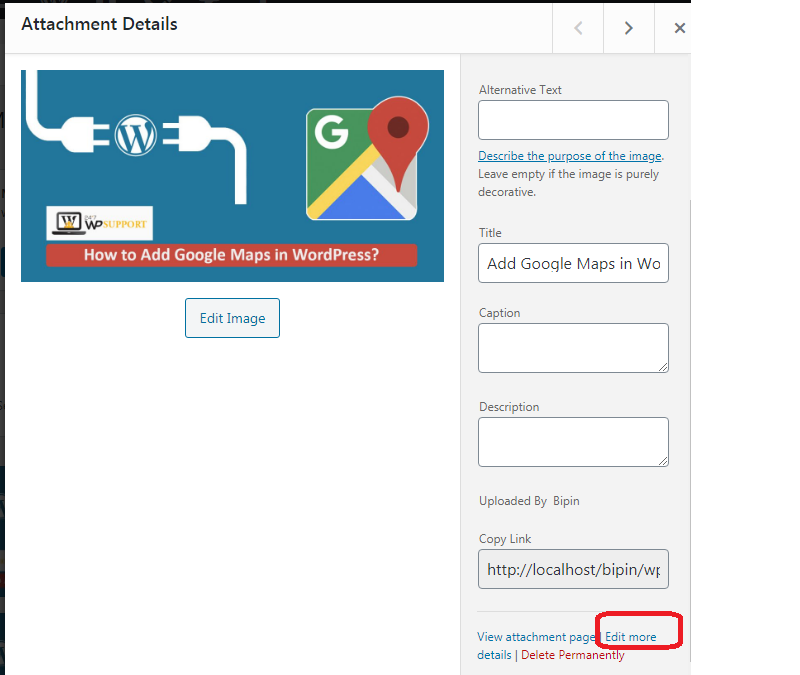
- After that, a new screen appears in front of the user and the screen is similar to that screen where the user adds a new post or page.
- Now on the right side of the screen user can see all things are available such as metadata title, caption, and many more things.
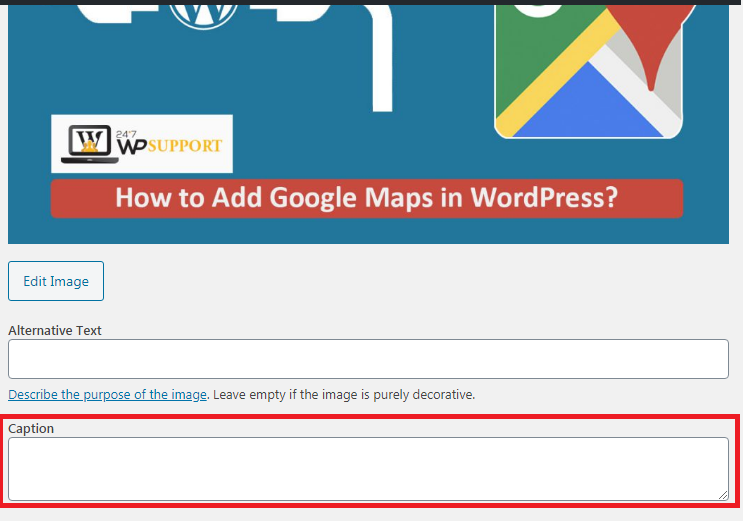
- From here the user can add images according to their requirements. The final image looks like the reference user can see the image which is given below.
