
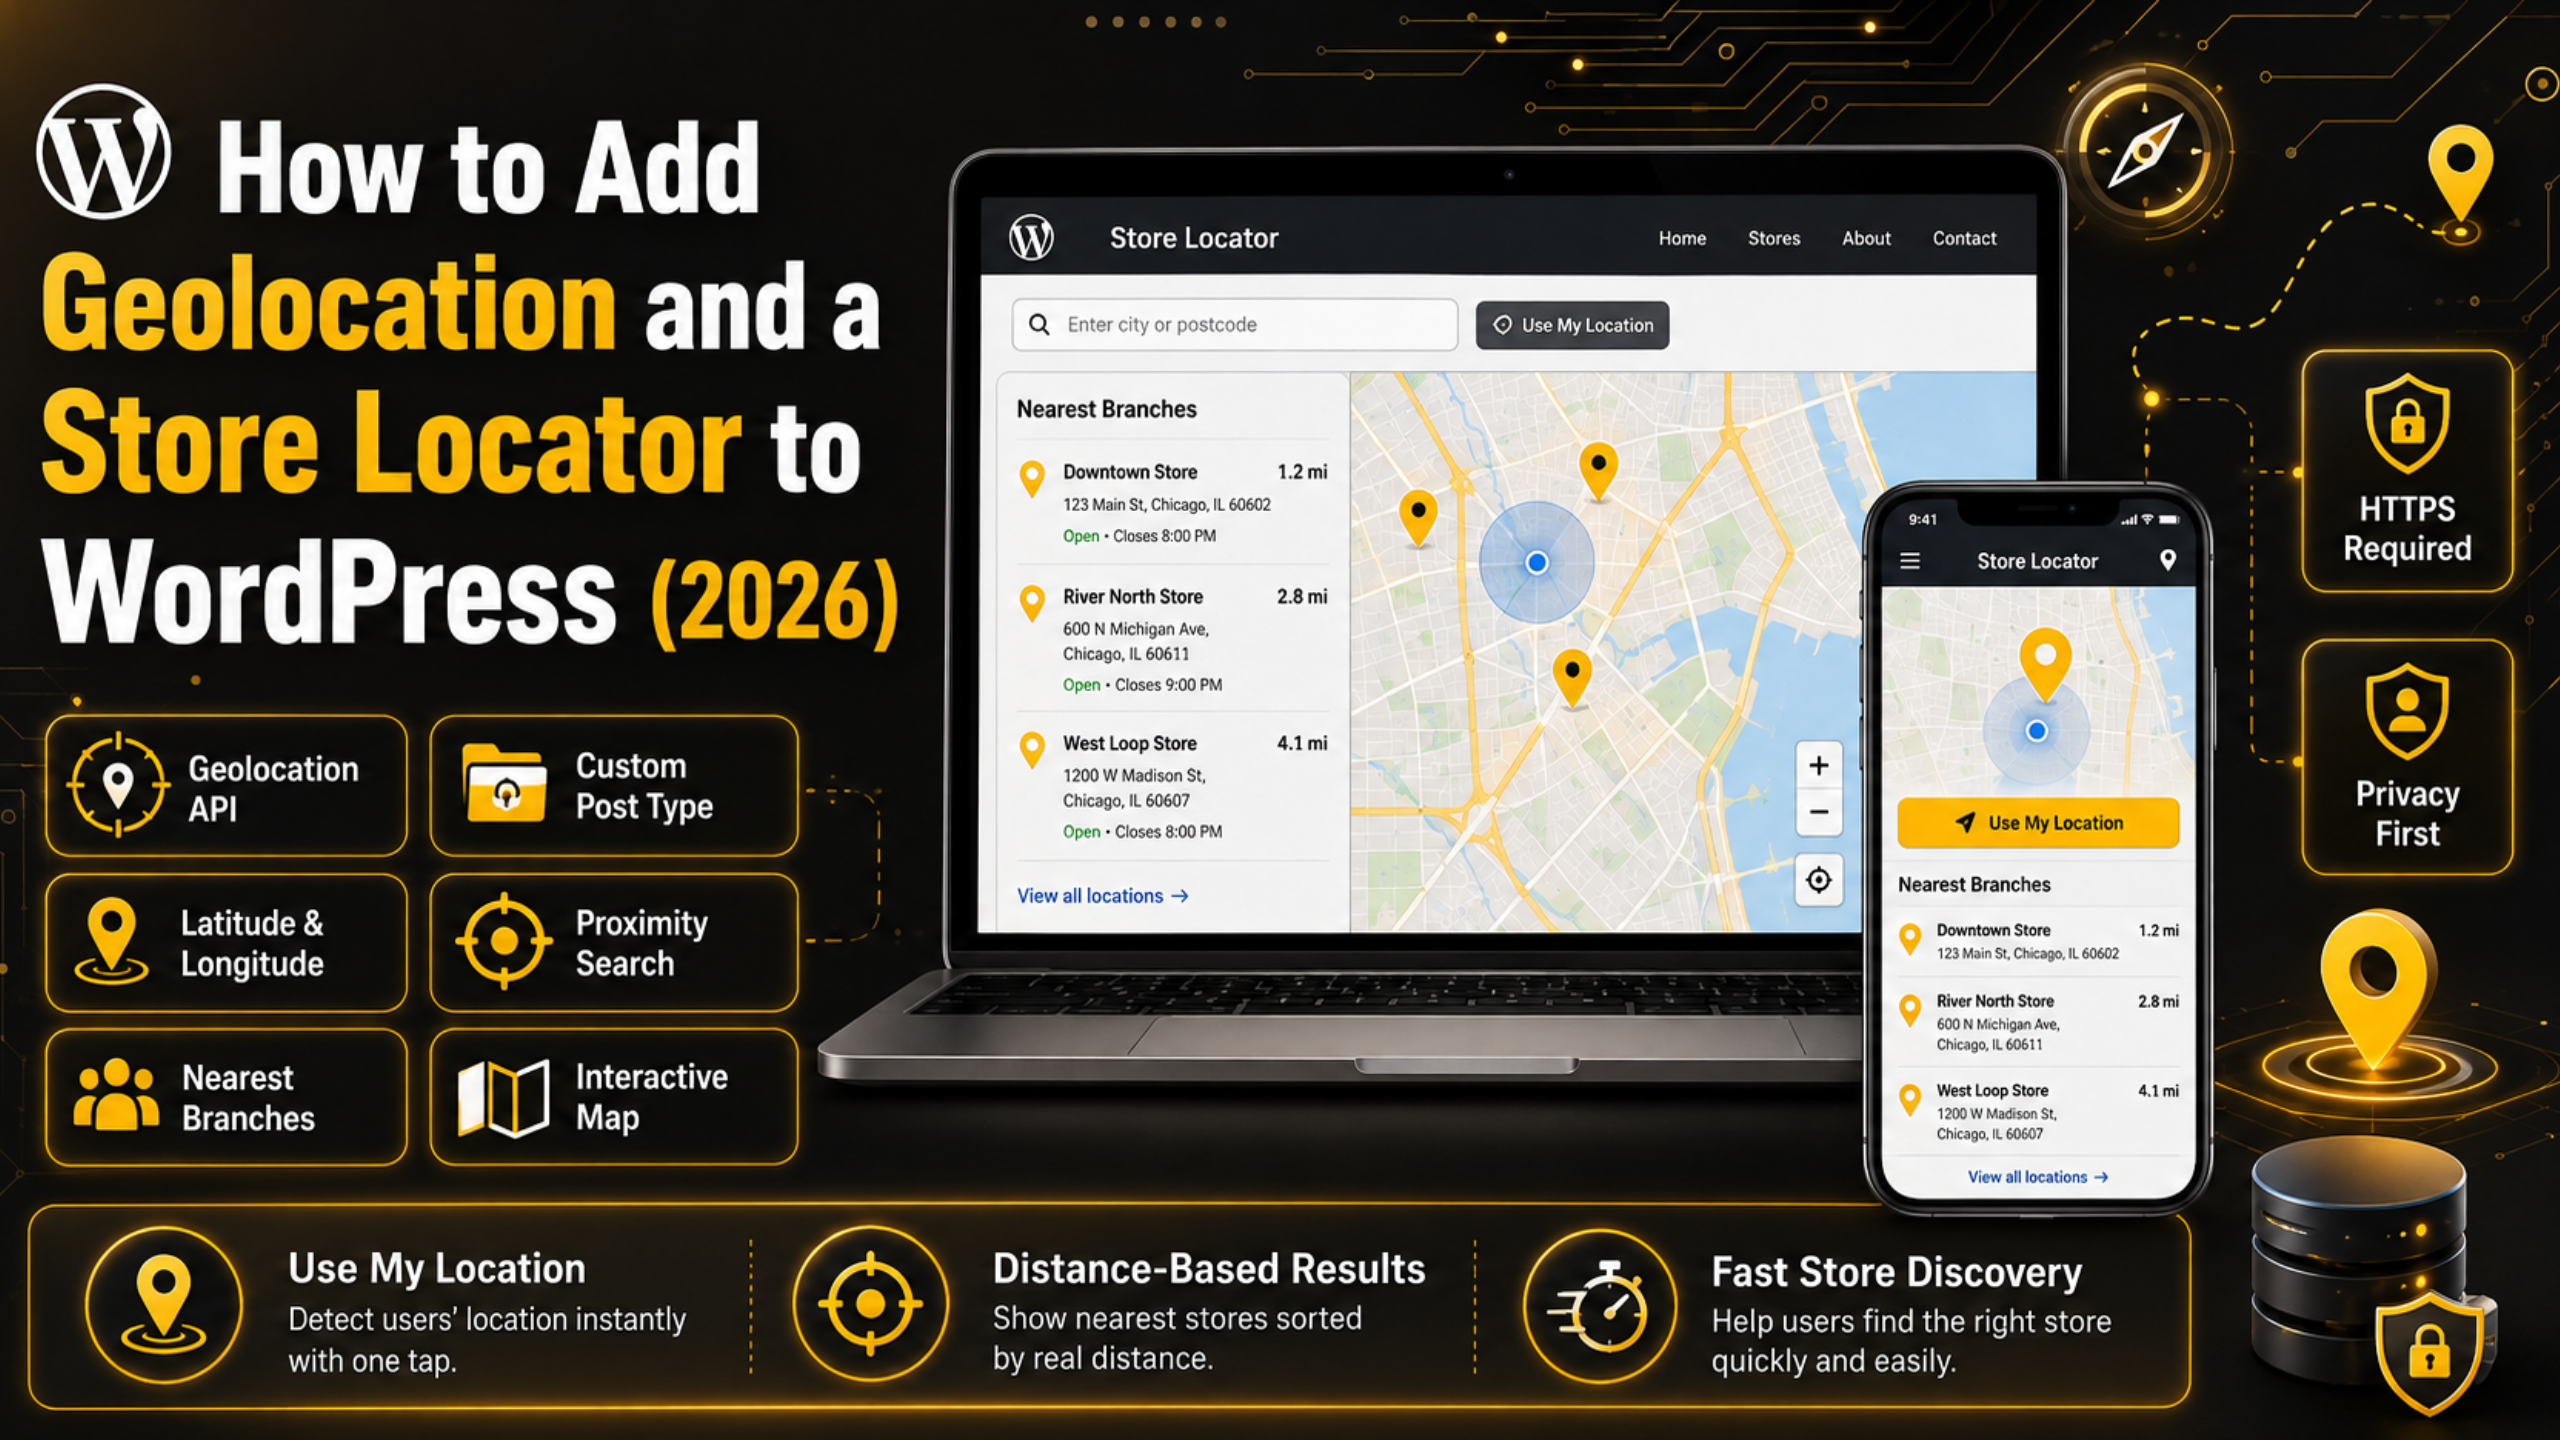
How to Add Geolocation and a Store Locator to WordPress (2026)
A visitor lands on your site and wants one thing: the branch closest to them. If they have to read a long list of towns and work it out themselves, most of them give up. A store locator answers that question in one click.
This guide shows how to build one on WordPress from the ground up. You will set up a proper data structure for your locations, ask the browser where the visitor is, sort your branches by real distance, and keep the whole thing quick as your list grows.
What a Store Locator Actually Does
A store locator is a small search engine for physical places. The visitor tells it roughly where they are. It replies with your nearest locations, sorted from closest to furthest, with the distance shown next to each one.
That sounds simple, but three separate jobs sit underneath it. First, the site has to know where the visitor is. Second, it has to know where every one of your branches is, in numbers a computer can compare. Third, it has to measure the gap between those two points and rank the results.
Most people who try to build this get stuck on the second job. They store an address as a line of text, then discover a database cannot compare “14 High Street” to anything useful. Text addresses are for humans. Distance maths needs coordinates.
The good news is that WordPress already gives you the tools for all three parts. You need a custom post type, two custom fields, one browser API, and one database query. No part of this is exotic, and you can build it without adding a heavy tool to your site.
The Two Halves: Geolocation and Proximity Search
People use “geolocation” loosely, and that causes confusion when you start building. It helps to split the feature into two halves that solve different problems.
Geolocation means working out where the visitor is right now. The browser can do this for you. It uses GPS on a phone, or nearby wireless networks and the IP address on a laptop. It hands your script a latitude and a longitude, and it always asks the visitor for permission first.
Proximity search is the other half. It takes that pair of coordinates and finds the entries in your database that sit closest to it. This half has nothing to do with browsers or maps. It is pure arithmetic run against your own data.
Keeping the two apart makes the build far easier. You can finish and test the proximity search on its own, using a fixed set of coordinates typed in by hand. Only once that works reliably do you wire up the browser to supply real ones. It also means visitors who refuse the location prompt still get a working search, because they can type a postcode instead.
Step 1: Store Your Locations as a Custom Post Type
Every branch needs its own record. The natural home for that in WordPress is a custom post type, which gives each location its own edit screen, its own title, and its own set of fields. Registering one takes a single function.
register_post_type( 'store_location', array(
    'label'    => 'Locations',
    'public'   => true,
    'supports' => array( 'title', 'editor', 'thumbnail' ),
) );
Drop that inside a function hooked to init in your theme’s functions file or a small site plugin. A “Locations” menu then appears in the dashboard, and your team can add branches without touching code.
Resist the urge to keep locations as ordinary pages or as rows in a spreadsheet. A custom post type gives you a clean query later, a permalink for each branch, and a featured image for the shopfront photo. It also keeps your locations out of the main blog feed, which stops them appearing in search results and archives where they do not belong.
If custom post types are new to you, our guide to WordPress custom post types covers the wider picture. For a locator, the key point is that each branch becomes a real, queryable object.
Step 2: Save Latitude and Longitude for Every Location
This is the step that makes everything else possible. Each location record needs two numbers stored as post meta: a latitude and a longitude. Name them clearly, such as _store_lat and _store_lng.
Turning a street address into those two numbers is called geocoding. A geocoding service takes the address and returns the coordinates. You do this once, when the branch is created or its address changes, and then you save the result. Never call a geocoding service on every page view. It is slow, it costs money, and the answer almost never changes.
Store the values as plain decimal numbers, not text with degree symbols. A latitude looks like 51.5074 and a longitude like -0.1278. Keep at least four decimal places, which gets you accurate to roughly eleven metres. That is far more precision than a store locator needs.
Add a small meta box to the location edit screen with two number fields, plus a read-only display of the address the coordinates came from. That last part saves real support time. When a branch turns up in the wrong place, the first question is always whether the address was geocoded correctly, and having it visible answers that in seconds.
Step 3: Ask the Browser Where the Visitor Is
Browsers expose a built-in Geolocation API. One call gets you the visitor’s position, and no library is needed.
navigator.geolocation.getCurrentPosition(
    function ( pos ) {
        var lat = pos.coords.latitude;
        var lng = pos.coords.longitude;
        // send these to your search
    },
    function ( err ) {
        // visitor declined, or it failed
    }
);
Three practical rules govern this call. It only works on pages served over HTTPS, so a site still on plain HTTP will get nothing. It always shows a permission prompt, which the visitor can refuse. And it can simply fail, usually indoors or on a desktop with no wireless networks nearby.
Because of that, treat the browser as a shortcut rather than the main path. Show a normal text box where someone can type a postcode or town, and put a small “use my location” button beside it. The button fills the box automatically when it works, and nothing breaks when it does not.


One more detail catches people out. The prompt only appears after a real click or tap. Calling the API the moment the page loads is blocked in most browsers now, and even where it works it annoys visitors. Wait for the button.
Step 4: Find the Nearest Branches With a Distance Query
Now you have the visitor’s coordinates and your branches’ coordinates. The job is to measure the gap and sort by it. The standard method is the Haversine formula, which calculates distance across the curve of the Earth rather than in a straight line.
You can run it directly in SQL, which means the database does the sorting and returns results already in order. That is much faster than pulling every branch into PHP and sorting there.
$sql = "SELECT p.ID,
  ( 6371 * acos( cos( radians(%f) ) * cos( radians( lat.meta_value ) )
  * cos( radians( lng.meta_value ) - radians(%f) )
  + sin( radians(%f) ) * sin( radians( lat.meta_value ) ) ) ) AS distance
  FROM {$wpdb->posts} p ... HAVING distance < %d ORDER BY distance LIMIT 10";
The number 6371 is the Earth’s radius in kilometres. Swap it for 3959 and the same query returns miles instead. The HAVING clause sets your search radius, and the LIMIT stops a dense city from returning eighty results.
Always run this through $wpdb->prepare() with the coordinates as parameters. They arrive from the browser or a form, which makes them untrusted input, and a raw string dropped into SQL is exactly how sites get broken into.
Step 5: Show the Results and the Map
Return the results as a simple list before you think about maps at all. Each row should carry the branch name, the full address, the opening hours, a phone number, and the calculated distance rounded to one decimal place.
That list is the part that actually converts. Someone looking for your nearest shop wants the address and the phone number, and a surprising share of visitors never touch the map. Building the list first also means the feature degrades gracefully. If a map provider fails to load, the useful information is still on the page.
When you add the map, load it only when it is needed. Map libraries are heavy, often several hundred kilobytes, and pulling one in on every page will show up in your performance scores. Load it after the visitor searches, or when the map container scrolls into view. Our guide on checking your WordPress site performance explains how to spot the cost.
Keep the list and the map in sync. Hovering a result should highlight its pin, and clicking a pin should scroll to that result. If you want a deeper look at the display side, our walkthrough on creating an interactive map in WordPress covers the options.
Keeping It Fast as Your Location Count Grows
A locator with a dozen branches feels instant no matter how you build it. At several hundred, sloppy queries start to show. A few habits keep it quick.
Add a database index on the meta_key and meta_value columns you search, or better, move latitude and longitude into their own small table with real numeric columns. The default post meta table stores everything as text, which makes numeric comparisons slower than they need to be. Our post on optimising WordPress database performance goes through indexing in detail.
Narrow the search before the maths runs. Calculating Haversine distance for every branch in the country is wasteful when the visitor only cares about a fifty kilometre radius. Add a cheap bounding box filter first, restricting latitude and longitude to a rough square, then run the precise calculation on the handful of rows that survive.
Cache the popular answers. Searches cluster heavily around big towns, so the same coordinates come back again and again. Store each result set in a transient keyed on the rounded coordinates and the radius, with an expiry of a few hours. Rounding to two decimal places groups nearby searches onto one cache entry and lifts your hit rate sharply.
Privacy, Permissions and What to Tell Visitors
A visitor’s exact position is personal data, and handling it carelessly creates a real problem rather than a theoretical one.
Say why you want it before the prompt appears. A short line next to the button, such as “we will use your location to find your nearest branch”, raises the acceptance rate noticeably. A prompt with no explanation is usually refused, because the visitor has no idea what you intend to do with it.
Only ask when it helps. Firing the permission request on the home page, before anyone has shown interest in visiting a branch, trains people to click Block. Once blocked, the prompt does not come back, and the visitor has to dig into browser settings to undo it.
Do not store coordinates unless you genuinely need them. For most locators, the position is used once to sort a list and can then be discarded. If you do keep it, for analytics or saved preferences, say so in your privacy policy and give people a way to clear it. Rounding stored coordinates to two decimal places keeps them useful for reporting while making them far less identifying.
A store locator is one of those features that looks small and turns out to touch your database design, your front-end performance, and your privacy policy all at once. Getting it right pays back every day in visitors who find you instead of giving up. If you would rather have it built, tuned, and tested properly, the team at 24×7 WP Support can take the whole job off your hands.
Related posts:

How Much Maintenance Does a WordPress Site Need in 2026?

How Long Does It Take to Learn WordPress Development and PHP?

Umbraco vs WordPress: Which CMS Is Better for Your Business Website?

Best WordPress Security Plugins to Protect Your Site in 2026

Maximize your business with LearnUpon WooCommerce integration

Brian is a WordPress support specialist and content contributor at 24×7 WP Support. He writes practical, easy-to-follow guides on WordPress troubleshooting, WooCommerce issues, plugin and theme errors, website security, migrations, performance optimization, and integrations. With a focus on solving real website problems, Brian helps business owners, bloggers, and online store managers keep their WordPress sites running smoothly.
