
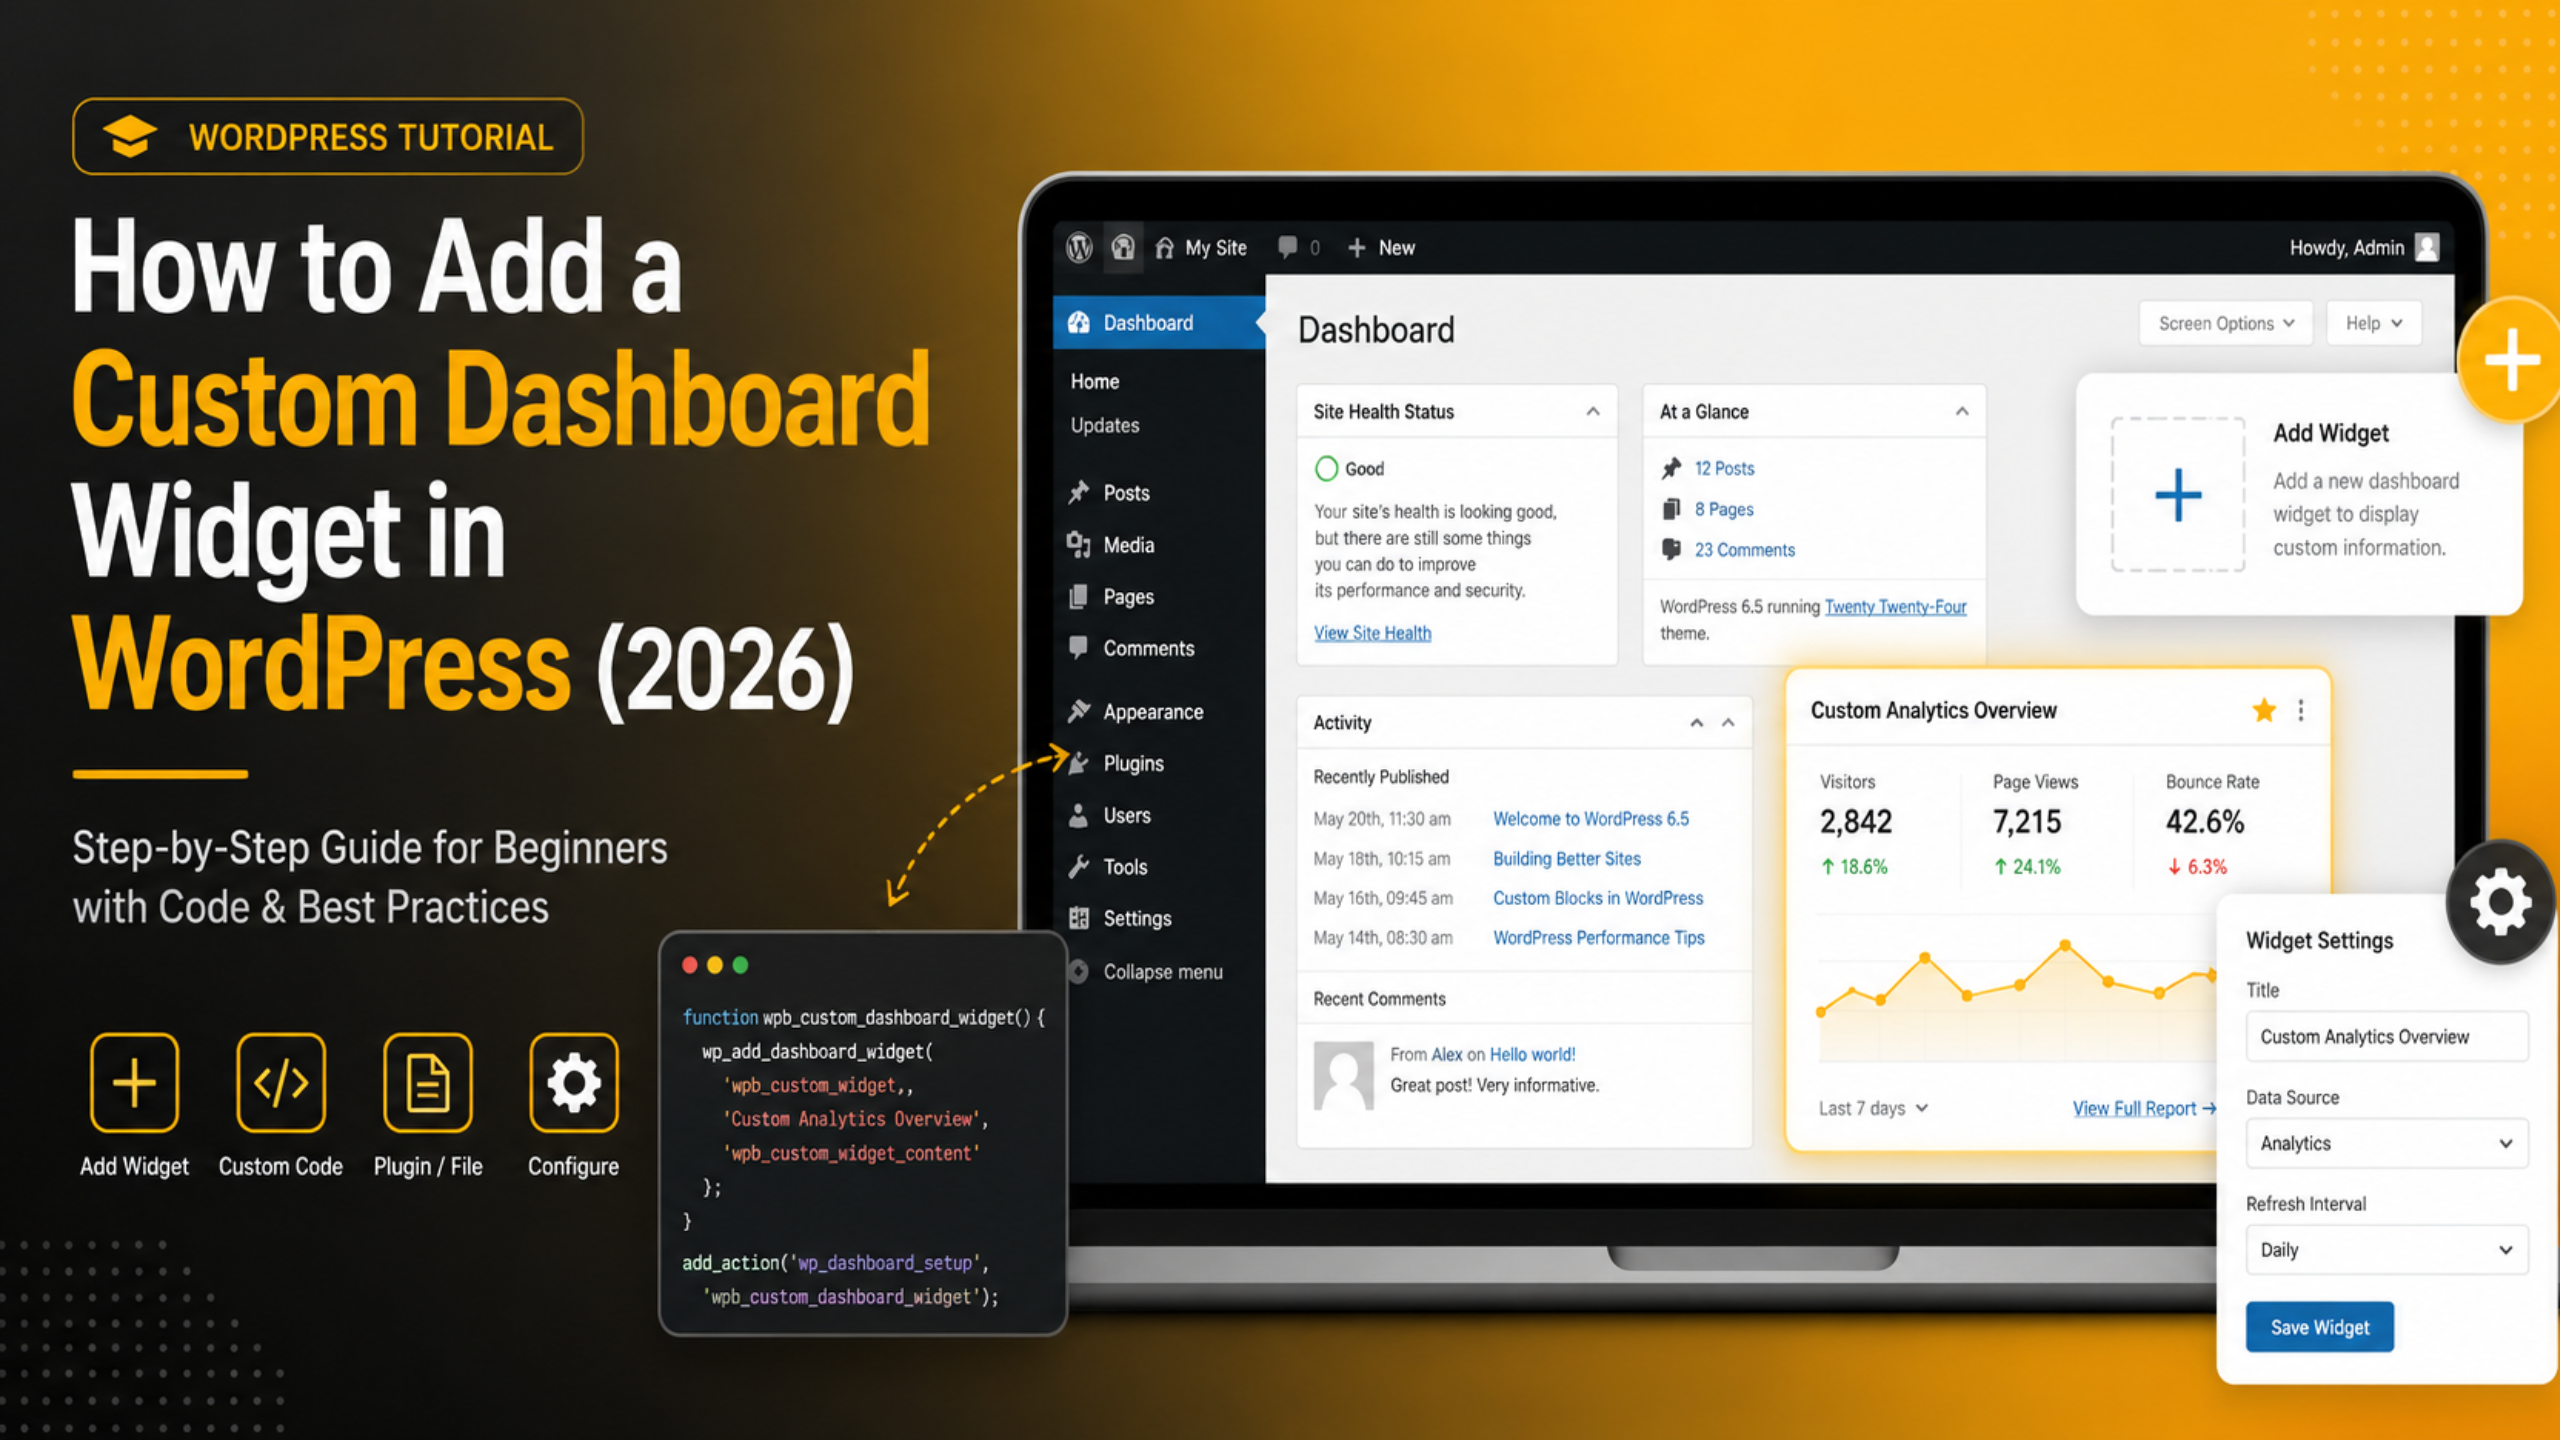
How to Add a Custom Dashboard Widget in WordPress (2026)
The WordPress dashboard is the first screen your clients and editors see every day. Out of the box it shows activity, quick drafts and a news feed that almost nobody reads. That space is prime real estate, and you can take it back.
A custom dashboard widget lets you put the right information exactly where people look first. Support numbers, a checklist, a link to your style guide, this month’s sales, or a plain “call us on this number” panel. This guide shows the full code, where to put it, and how to keep it working after updates.
What a Dashboard Widget Is and Why You Would Add One
A dashboard widget is one of the draggable boxes on the main admin screen at wp-admin. WordPress ships with a handful of them, and any plugin can register more. Each box is just a title and a block of HTML that you control.
Agencies use them to brand the admin area and cut support tickets. If your client keeps emailing to ask how to add a product, a small widget with three numbered steps stops that email before it is written. Membership sites use them to show pending approvals. Shops use them to show today’s orders without a trip to another screen.
There is a practical reason too. People read what is in front of them. A notice buried in a plugin settings page gets ignored. The same notice on the dashboard gets read. If you manage sites for other people, this one screen does more for training than any PDF you send them.
What You Need Before You Start
You need three things: administrator access, a safe place to add code, and a way to undo a mistake. None of this is hard, but skipping the third item is how people lock themselves out.
Take a full backup first. If you have never done this, our guide to accessing your WordPress admin area covers the basics of getting in and staying in. Also make sure you have file access through FTP or your host’s file manager. If a snippet breaks the site, you fix it by editing the file, and you cannot do that from an admin screen you can no longer reach.
You should be comfortable reading a few lines of PHP, but you do not need to write any from scratch. Every snippet below is complete and ready to paste. Test on a staging copy if you have one. If you do not, add the code late at night when traffic is low, and keep the file manager tab open.
Where to Put Your Code
Never paste code into a theme’s functions.php through Appearance, then Theme File Editor. A single typo there takes the whole site down, and the editor gives you no way back. Use one of the two safer homes below instead.
Option One: A Site-Specific Plugin
This is the option we recommend for anything you want to keep. Create a folder called my-site-tweaks in wp-content/plugins, add a file called my-site-tweaks.php inside it, and start the file with a plugin header comment giving it a name. Paste your widget code below that header, then activate it from the Plugins screen. The code now survives theme changes, and if it ever breaks the site you deactivate the folder by renaming it over FTP. That single escape route is the whole reason we prefer this method. You also get a clear label on the Plugins screen, so the next developer can see where the custom code lives instead of hunting through theme files.
Option Two: A Child Theme
If the widget is tied to the design of one specific theme, a child theme is reasonable. Add the code to the child theme’s functions.php using FTP or your host’s file manager, not the built-in editor. The trade-off is that your widget disappears the moment somebody switches themes, and a theme swap is exactly the kind of change a client makes without telling you. Keep a copy of the snippet in a text file so you can move it later. Our walkthrough of customising WordPress with plugins and custom code explains when each route makes more sense.
Add Your First Dashboard Widget
WordPress gives you one function for this job: wp_add_dashboard_widget. You call it inside a function of your own, then hook that function to wp_dashboard_setup. That hook fires while WordPress is building the dashboard screen, which is the only moment your widget can join the queue.
The function takes four things in order: a unique slug, the title people see, the name of the function that prints the contents, and an optional control callback. The slug must be unique across the whole site, so prefix it with something of your own rather than calling it dashboard_widget.
function mytweaks_add_widget() {
    wp_add_dashboard_widget(
        'mytweaks_help_box',
        'Need Help With This Site?',
        'mytweaks_help_box_content'
    );
}
add_action( 'wp_dashboard_setup', 'mytweaks_add_widget' );

function mytweaks_help_box_content() {
    echo '<p>Call support on 0800 000 000, or email help@example.com.</p>';
}
Save the file, then reload wp-admin. Your box appears at the bottom of the dashboard column. Drag it to the top and it stays there for your user account, because WordPress remembers widget order per user. If nothing appears, jump to the troubleshooting section near the end of this guide.
Pull Real Data Into the Widget
A static message is useful, but live numbers are better. Because the content callback is ordinary PHP, you can query anything WordPress knows about and print the result. Counts of posts, pending comments, recent users and upcoming scheduled posts are all a single function call away.
The snippet below prints how many posts are waiting for review and how many comments need moderation. Both use core functions, so there is nothing extra to install and nothing to break on update.


function mytweaks_help_box_content() {
    $pending  = wp_count_posts()->pending;
    $comments = wp_count_comments()->moderated;
    echo '<p>Posts awaiting review: ' . intval( $pending ) . '</p>';
    echo '<p>Comments awaiting moderation: ' . intval( $comments ) . '</p>';
}
Two rules keep this safe. Always escape what you print, using esc_html for text and intval for numbers, so a stray value cannot inject markup. And never run a slow query here. The dashboard loads on every admin visit, so a heavy call makes the whole back end feel sluggish. If your data takes time to gather, cache it with a transient for an hour. Our post on fixing a slow WordPress admin dashboard goes deeper on what drags that screen down.
Control Who Sees the Widget
Most custom widgets are meant for one group of people. A support box aimed at clients does not need to sit on your own screen, and an internal notes panel should never be visible to a subscriber who happens to log in.
Wrap the registration in a capability check. Capabilities are better than role names because they survive role changes and work with membership plugins. Use current_user_can with the capability that matches the audience you want: edit_posts for editors and above, manage_options for administrators only.
function mytweaks_add_widget() {
    if ( ! current_user_can( 'edit_posts' ) ) {
        return;
    }
    wp_add_dashboard_widget(
        'mytweaks_help_box',
        'Need Help With This Site?',
        'mytweaks_help_box_content'
    );
}
add_action( 'wp_dashboard_setup', 'mytweaks_add_widget' );
You can also target one person by checking the user ID, though that is fragile if staff change. A cleaner approach for agency work is to check the user’s email domain, so every member of your team sees the internal box and nobody else does.
Style the Widget So It Looks Native
A widget that looks bolted on gets ignored. The goal is a box that reads as part of WordPress, not an advert someone dropped into the admin. Keep to the admin colour palette, use the same font, and avoid large images that push the useful text below the fold.
You do not need a stylesheet for small tweaks. Wrap your content in a div with your own class and print a short style block from the same callback. For anything larger, enqueue a proper CSS file on the index.php admin page only, so you are not loading styles across the whole back end.
Three habits keep it looking right. Use the core button classes, button and button-primary, on any link you want to look like a button, and WordPress styles it for you. Keep the widget under roughly two hundred pixels tall, because anything taller pushes the rest of the dashboard down. And test at a narrow window width, since the dashboard collapses to a single column on smaller screens and a fixed-width table inside your box will break the layout there.
Move, Remove and Reorder Dashboard Widgets
Adding a box is only half the job. Most sites also need a tidy up, because the default widgets and the ones plugins add create clutter that hides what matters.
To force your widget to the top for everybody, register it as normal and then reorder the global array of dashboard boxes. WordPress keeps that list in $wp_meta_boxes, and moving your entry to the front of the normal column puts it above the fold on every account.
function mytweaks_move_widget_top() {
    global $wp_meta_boxes;
    $normal = $wp_meta_boxes['dashboard']['normal']['core'];
    $mine   = array( 'mytweaks_help_box' => $normal['mytweaks_help_box'] );
    unset( $normal['mytweaks_help_box'] );
    $wp_meta_boxes['dashboard']['normal']['core'] = array_merge( $mine, $normal );
}
add_action( 'wp_dashboard_setup', 'mytweaks_move_widget_top', 100 );
To remove boxes you do not want, call remove_meta_box with the box id, the string dashboard, and the column it sits in. The WordPress news feed is dashboard_primary, quick draft is dashboard_quick_press, and site activity is dashboard_activity. Run those removals on the same wp_dashboard_setup hook. This is a good moment to read our explainer on how WordPress hooks work, because hook priority decides whether your changes stick.
Fix the Problems That Usually Come Up
Four issues account for nearly every failed dashboard widget, and each has a quick fix. Work through them in order before you rewrite anything.
If the widget does not appear at all, the hook is usually wrong. Confirm you used wp_dashboard_setup and not admin_init, and confirm the plugin is actually active. If you see a white screen instead, you have a PHP error: rename the plugin folder over FTP to get back in, then look for a missing semicolon or bracket. If the box appears but is empty, your content callback name does not match the third argument you passed, so check the spelling character by character.
The last one catches people out. If the widget vanished after a change, open Screen Options at the top right of the dashboard and check whether its tick box was unchecked. WordPress stores that preference per user, so a colleague hiding the box does not affect you, and your own hidden box will not come back until you tick it again.
A custom dashboard widget takes about ten minutes to build and quietly saves hours every month in questions you no longer have to answer. Start with a static help box, then add live numbers once you know it works. If you would rather have someone build, test and maintain this for you, 24×7 WP Support can set up a branded dashboard, tidy the admin area and keep it safe through every update. Get in touch and we will handle the code side for you.
Related posts:



Brian is a WordPress support specialist and content contributor at 24×7 WP Support. He writes practical, easy-to-follow guides on WordPress troubleshooting, WooCommerce issues, plugin and theme errors, website security, migrations, performance optimization, and integrations. With a focus on solving real website problems, Brian helps business owners, bloggers, and online store managers keep their WordPress sites running smoothly.
