
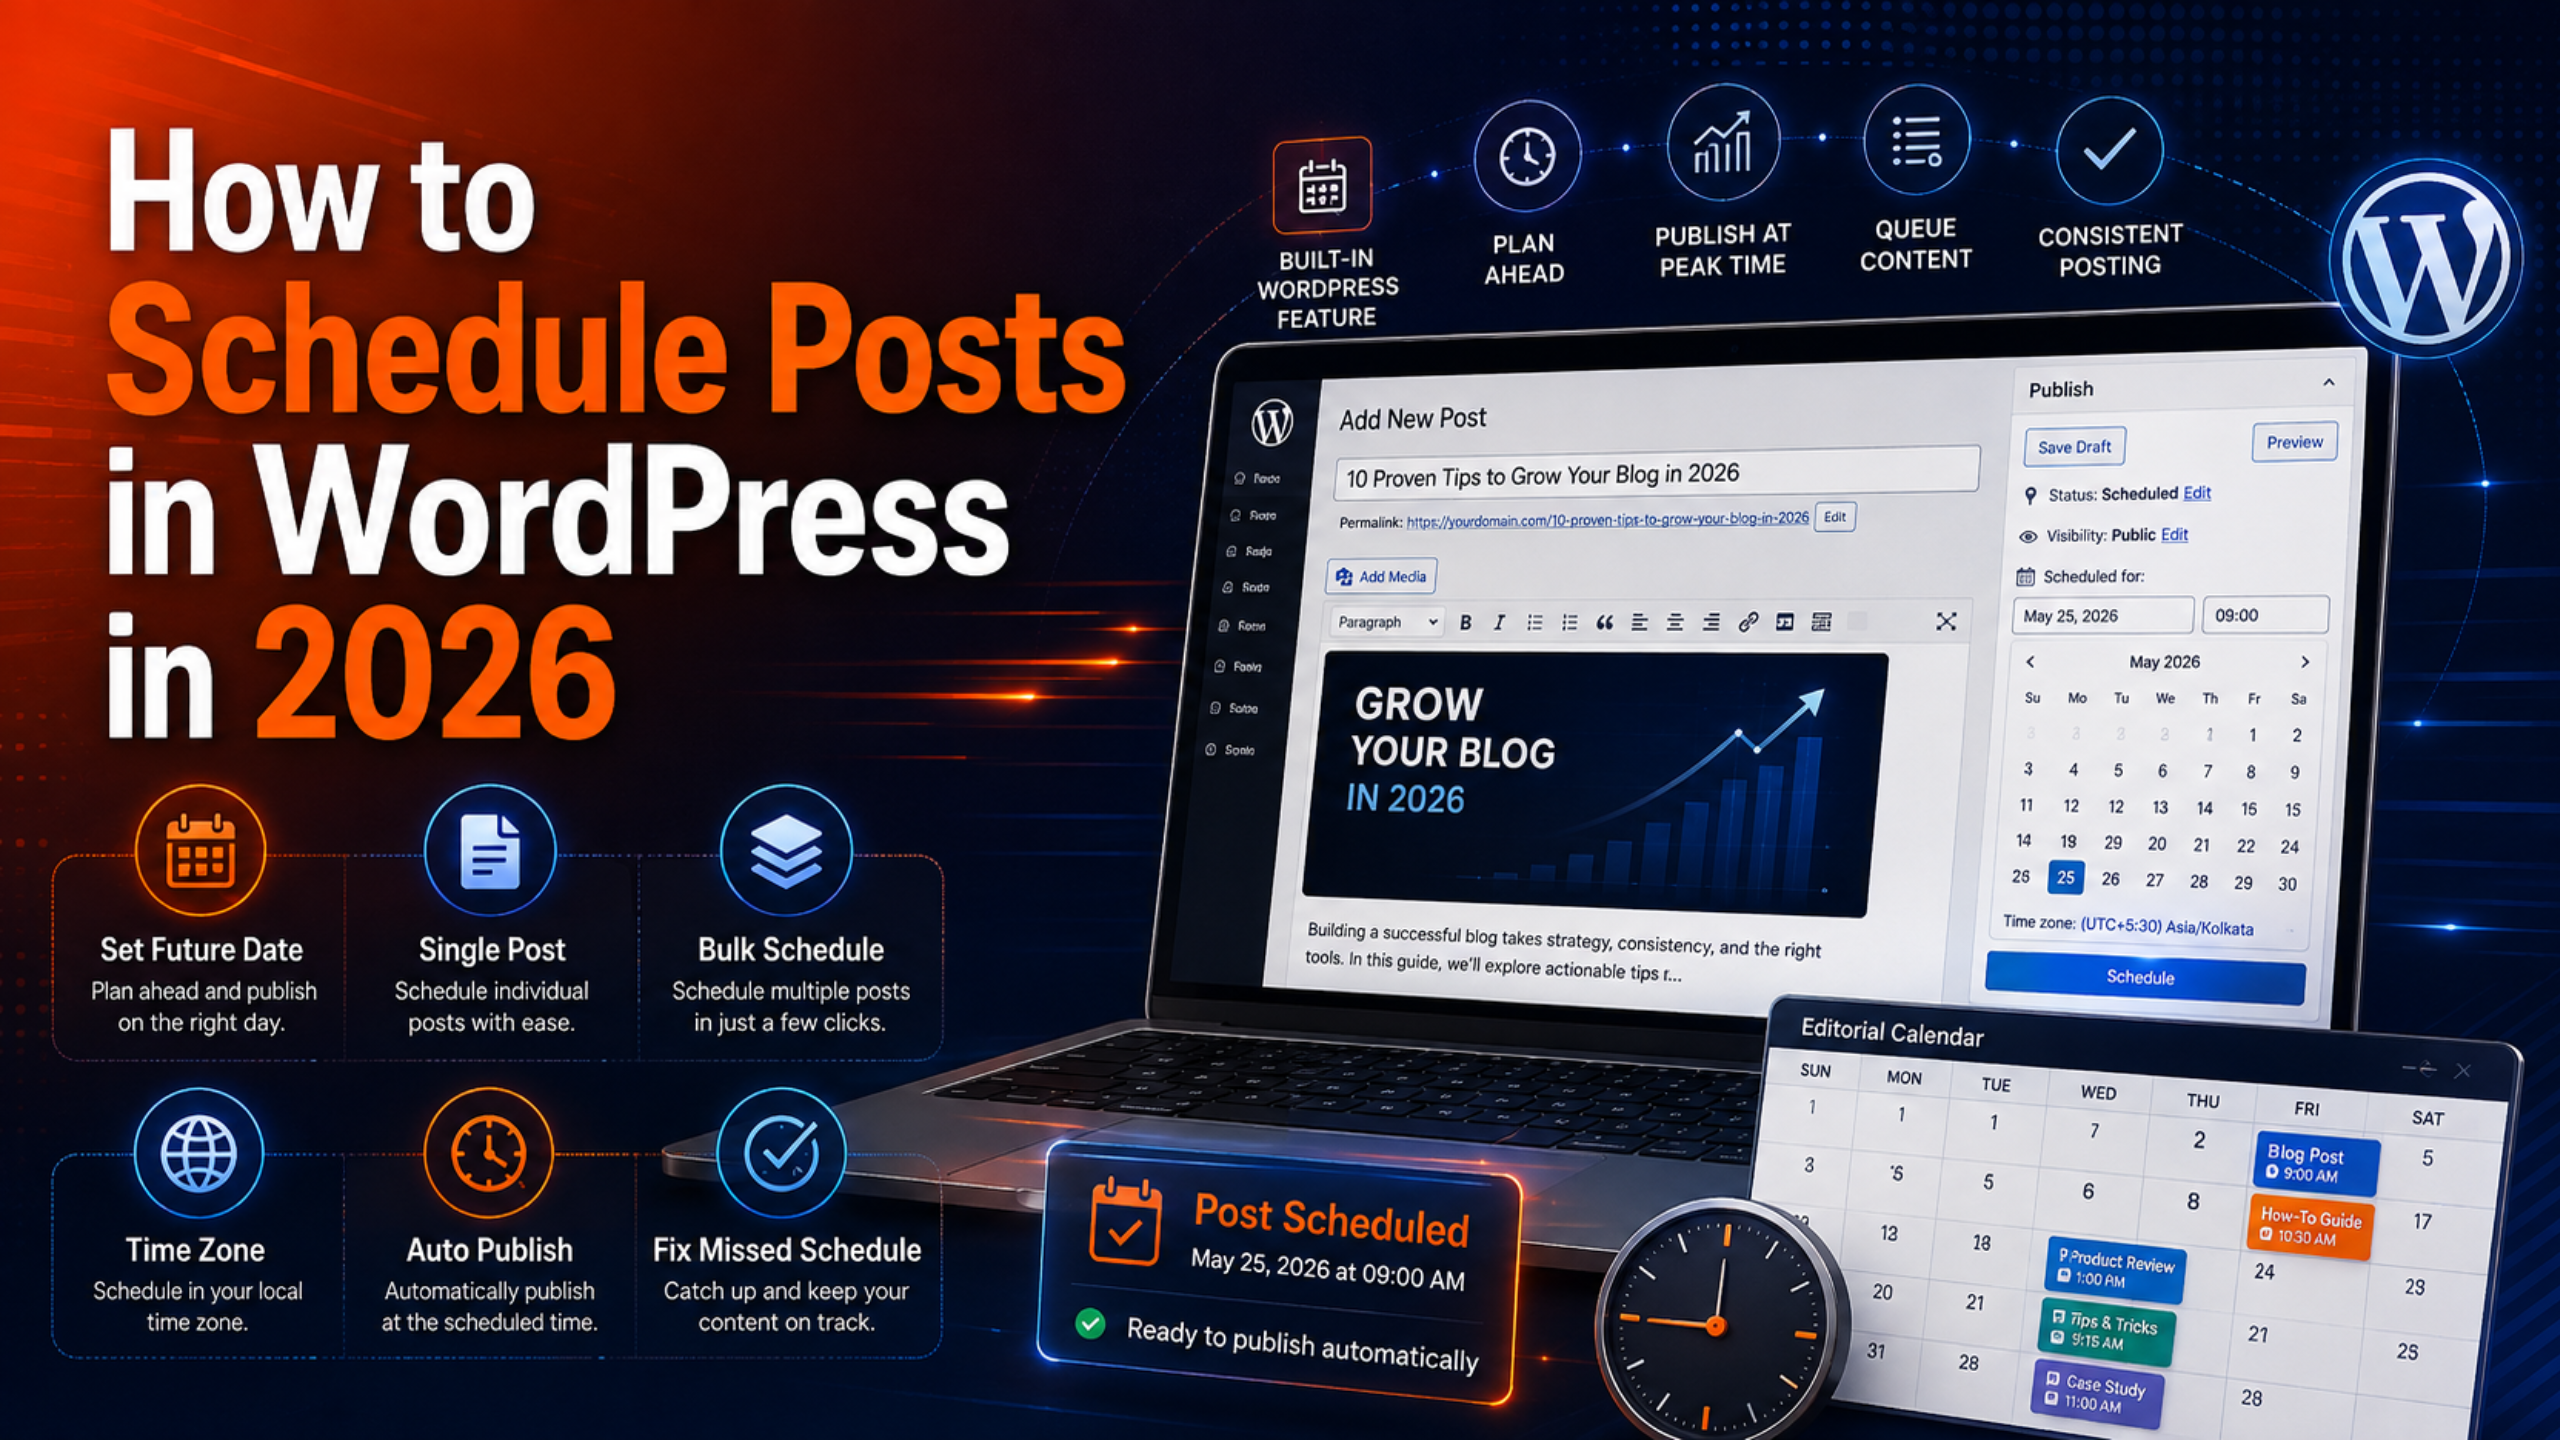
How to Schedule Posts in WordPress in 2026
Writing a post and hitting publish is easy. But the best time to publish is not always the moment you finish. Maybe it is late at night. Maybe you wrote five posts in one sitting. Scheduling solves this. It lets you set a future date and time, and WordPress does the rest.
This guide shows you how, in plain steps. You will learn to schedule a single post and many at once. We also cover time zones, common errors, and simple tips. No special tools are needed. Everything here uses features built right into WordPress.
Why Schedule Your Posts?
Scheduling is one of the most useful habits a site owner can build. It turns a burst of writing into a steady stream of content. Your blog stays active even when you are busy or away.
It also helps you post at the right moment. Your readers are most active at certain hours. With scheduling, your post goes live then, even while you sleep. You get better reach without staying up late.
There is a planning benefit too. You can write a whole week of posts in one day. Then you space them out across the calendar. This keeps your workflow calm and your blog consistent. It also frees your mind to focus on writing well. You stop worrying about the clock and start enjoying the work. A calm process almost always leads to better posts.
How the WordPress Scheduler Works
Every post in WordPress has a publish date. By default, that date is “now.” When you change it to a future time, the status changes to “Scheduled.” WordPress then waits and publishes the post automatically at that exact time.
This feature is free and built in. You do not need to install anything extra. It works the same whether you write one post a week or ten. Once you know where the setting lives, it takes seconds to use.
Behind the scenes, WordPress uses a timer to check for due posts. When the clock hits your set time, the post goes live. We will look at what happens if that timer misfires later on.
Schedule a Single Post (Block Editor)
Most sites now use the block editor. Scheduling here is quick once you know the spot. Follow these steps for any new or existing post.
First, write or open your post as normal. Look at the top-right corner for the “Publish” panel. Next to “Publish,” you will see the word “Immediately.” That is a link, so click it.
A small calendar and clock appear. Pick the date you want. Then set the hour and minute. Make sure the time is in the future, or the post will publish right away.
Once you set a future time, the blue button changes. It now reads “Schedule” instead of “Publish.” Click it, then confirm. Your post is now queued and will go live on its own.
Schedule a Single Post (Classic Editor)
Some sites still use the classic editor. The idea is the same, just in a different spot. You will find it in the “Publish” box on the right.
In that box, look for the line that starts with “Publish immediately.” Click the “Edit” link beside it. A set of date and time fields will open up.
Type the future date and time you want. Click “OK” to lock it in. The main button now says “Schedule.” Click that button, and your post is set.
To reach these screens, you first sign in to your dashboard. If you are new to that area, our guide on how to access the WordPress admin walks you through it.
Schedule Many Posts at Once
Writing in batches is a smart move. But setting each date by hand can feel slow. There is a faster way for groups of posts.
Go to your list of all posts. Hover over any post title. You will see a “Quick Edit” link appear. Click it to open a compact settings row.
In that row, you can change the date and set the status to scheduled. Save it and move to the next. This lets you space out many drafts in just a few minutes.
For heavy planning, an editorial calendar view can help. It shows your month at a glance, with each post on its day. You can drag posts to new dates and spot gaps fast. Many teams find this the easiest way to stay on track.
Editing or Unscheduling a Post
Plans change, and that is fine. A scheduled post is not locked in stone. You can edit it any time before it goes live.
To change the date, open the post again. Click the same date link you used before. Pick a new time and save. The post simply moves to its new slot.
Want to stop it going live at all? Just switch its status back to draft. The post leaves the queue and waits for you. Nothing publishes until you decide it should.
You can also preview a scheduled post before it appears. This lets you catch typos or broken links early. A quick check now saves an edit after it is public.
Scheduling Pages and Other Content
Scheduling is not just for blog posts. Pages work the same way. So do many other content types on your site.
Say you are building a new landing page. You can set it to appear on launch day. It stays hidden until then, ready and waiting.
The steps match what you already learned. Find the publish date, set a future time, and schedule. One simple skill covers your whole site.


Get Your Time Zone Right
Scheduling only works if your clock is correct. WordPress uses your site’s time zone, not your local one. If these differ, posts may go live at the wrong hour.
To check it, open your Settings and find the “General” page. Look for the “Timezone” option. Set it to your city or your correct offset. Save the change at the bottom.
It is worth a quick test after you set this. Schedule a post a few minutes ahead and watch it publish. If the timing is right, your zone is set correctly. This small check saves confusion later.
Fixing a Missed Schedule
Sometimes a scheduled post does not publish on time. Instead, you see a “Missed schedule” note next to it. This is a common hiccup, and it is fixable.
The cause is usually the internal timer. WordPress relies on site visits to trigger that timer. On a quiet site with little traffic, the check can be delayed. So the post waits past its time.
The quick fix is to open the post and publish it by hand. For a lasting fix, a low-traffic site may need a small tweak to how the timer runs. We cover the causes and cures in detail in our guide to the WordPress missed schedule error.
Simple Tips for Better Scheduling
A few habits make scheduling far more powerful. First, plan around your readers. Check when your visits peak, then aim your posts for those windows.
Second, keep a small buffer of ready posts. Having a week or two queued protects you on busy days. Your blog never goes silent, even when life gets hectic.
Third, space your posts evenly. A steady rhythm beats a flood followed by a gap. Readers and search engines both reward consistency. Pick a pace you can keep and stick with it.
Finally, keep your site healthy so schedules run smoothly. Regular updates help everything tick along. Our guide on how to update your WordPress website is a good habit to pair with scheduling.
Common Scheduling Mistakes to Avoid
Even a simple feature has a few traps. Knowing them keeps your calendar clean. Most are easy to sidestep.
The first mistake is setting a time in the past. WordPress then publishes at once, not later. Always double-check that your date is ahead of now.
The second is forgetting the time zone. A post set for 9 a.m. may fire at a strange hour if the zone is off. Set it once and confirm it works.
The third is queuing too much at once with no plan. A messy pile of dates is hard to manage. A quick monthly view keeps your posts tidy and balanced.
How Far Ahead Should You Schedule?
There is no single right answer here. It depends on your goals and your pace. A little thought makes the choice easy.
For a news-style blog, a day or two ahead is plenty. Your topics change fast, so a long queue can go stale. Short and fresh works best.
For evergreen guides, you can plan much further out. A month of posts is a comfortable target for many sites. It gives you breathing room without feeling rigid.
Whatever you choose, leave a little slack. Keep one or two posts spare for surprise gaps. That buffer keeps your blog steady when the week gets away from you.
A Quick Recap of the Steps
Let us tie it all together in a few lines. Scheduling really comes down to one simple idea. You set a future time, and WordPress does the work.
Open your post and find the publish date. Change it to a future day and hour. Confirm your time zone is correct. Then click Schedule and let it run.
From there, manage your queue with the posts list. Edit dates, unschedule, or batch new drafts as needed. With these moves, your whole calendar stays under control.
Keep Your Blog Running While You Rest
Scheduling is a small feature with a big payoff. It frees you from the clock. You write when you feel inspired, and your posts appear when readers are ready.
Start simple this week. Schedule your next post for a peak hour. Then try batching a few and spacing them out. Soon it will feel like second nature, and your blog will run like clockwork.
Need a hand keeping your WordPress site smooth, secure, and always on schedule? The team at 24×7 WP Support is here around the clock. We handle the technical side so you can focus on writing. Reach out today and let your content run on autopilot in 2026.
Related posts:
The Intermediate Guide to 301 Redirect WordPress via .htaccess and Plugin
How to Start a Blog on WordPress: Complete Beginner's Guide
Does WordPress Support Email and SMTP? How to Send Emails From WordPress? Complete Guide
How to Edit a Footer in WordPress - Learn The Best Methods
How to Customize Headers in WordPress Using Plugins and Custom Code?

Brian is a WordPress support specialist and content contributor at 24×7 WP Support. He writes practical, easy-to-follow guides on WordPress troubleshooting, WooCommerce issues, plugin and theme errors, website security, migrations, performance optimization, and integrations. With a focus on solving real website problems, Brian helps business owners, bloggers, and online store managers keep their WordPress sites running smoothly.
