
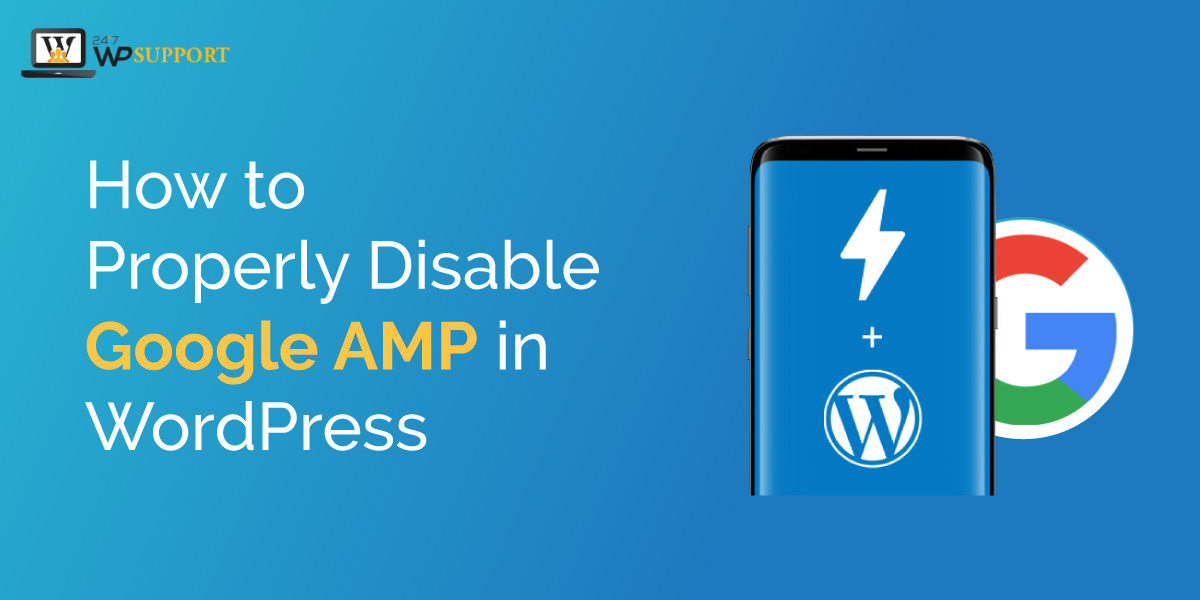
How to Properly Disable Google AMP in WordPress
Last updated on August 11th, 2021 at 07:50 am
Users can easily disable Google AMP from any WordPress website. Users can remove or disable AMP on some WordPress websites with the help of two basic methods. These two basic methods have been researched by our research team. So that users can get the easiest method to remove their query in a very short time period. Our readers facing this is a challenge so we decided to write a complete article on this query. The user needs to follow all the basic step which are given below carefully.
What is the reason behind that user want to disable AMP from there a wordpress website?
Basically, we need to understand what is an AMP. Here AMP stands for accelerated mobile pages. if any website contains accelerated mobile pages then that website is user-friendly and it also improves user experience. MP can be created by using minimal HTML and JavaScript. This is a good thing from the viewpoint of purpose. But many bloggers or website owners do not want that their WordPress website contains accelerated mobile pages. So this article for only those people who want to remove or disable their WordPress website from accelerated mobile pages. The user needs to read this article carefully and follow all the steps which are given below.
Step 1 Disabling Google AMP in WordPress
There is a lot of WordPress plugin which helps the user to disable Google AMP from the WordPress website. according to our research team, this is the best WordPress plugin that helps any beginner how to disable Google AMP from WordPress. Users need to follow all these steps carefully which are given below.
- There is a context menu on the left side of the screen user can see there is a lot of option present in that context menu.
- Now users need to visit in plugging section by clicking on the plugin option.
- Sub context menu appears in front of the user it contains three sub-options.
- Users need to click on the installed plugin option. After that user can see a new screen appear in front of the user.
- This screen contains a complete list of all plugging that is installed on this WordPress website.
- Now users need to uninstall or deactivate the AMP plugin. As you can see in the image given below.

- After successfully deactivating the AMP plugin, it will automatically disable AMP support from your WordPress website.
Step 2 – Setting up redirects
This step is compulsory for those users who installed AMP plugin for more than a week and using continuously. Removing the AMP plugin from WordPress website is only work on articles. Google contains a cache of those pages which are already present in the search result so in this step we are going to remove these caching so that our WordPress website completely disable AMP.therefore user needs to follow all these types which are given below carefully.
Users need to redirect all those pages whose cache has been created on the Google search.
Method 1 Using a redirect plugin
This is the basics step however you can use to install a redirect plugin and after successful installation, users need to activate this plugin on their WordPress website. After that letters set up redirect plugin into any WordPress website. For that user need to follow all the steps which are given below carefully.
- user can see the context menu which is present on the left side of the screen is context menu contains a lot of options in it.
- Users need to click on the tool option then the sub-context menu appears in front of the user.
- Index of context menus and need to click on the redirection option after that in your screen appear in front of the user.For detailed information, the user can refer to the image given below.


- There are three box type option present on the new screen which has been appear
- User need to fill all these three options such as
- In the Source code, the URL field user needs to enter the code given below.
- 1 /(.*)\/amp
- Now internet URL users need to enter the website URL address. Users need to follow the same format as given below.
http://example.com/$1
- Users do not forget to replace example.com with their website name.
- No user needs to click on the Regex checkbox which is present under the dropdown menu.
- Now users need to click on the add redirect button.
- After completing all changes according to the user requirement user not forget to click and save changes option.
Method 2 manually set redirects in .htaccess
If any user does not want to disable old redirects which are being stored in Google with the help of cassia and presenting during the search. Then the user can go manually to redirect all these types of pages. No user needs to follow all the steps which are given below carefully.
- Users need to connect their WordPress website with the FTP client or file manager which is present in the c panel of the hosting.
- After connecting FTP client-server 2 WordPress website now use a need to find out the .htaccess file root folder.
- After relocating to the .htaccess file folder future start editing that folder with the help of code which is given below.
// Redirect AMP to non-AMP
RewriteEngine On
RewriteCond %{REQUEST_URI} (.+)/amp(.*)$
RewriteRule ^ %1/ [R=301,L]
After successfully uploading this code into .htaccess file. Users not forget to click on the save changes option. After that user can make sure that the AMP version is not applicable in any single post on your WordPress website.
readers can comment ask below if they are facing any issue related to this article. Our research team definitely reach to your query in a very short time period and help to resolve your query as soon as possible. Readers can review us also and motivate us by writing good comments so that we can provide a regular update.
