
How To Create Button In WordPress
Last updated on September 7th, 2020 at 09:34 am
Customization is one of the best things about WordPress. From adding payment gateways to Google Analytics integration, email add-ons, and themes, WordPress offers plenty of things to upgrade the overall appearance and functionality of the site.
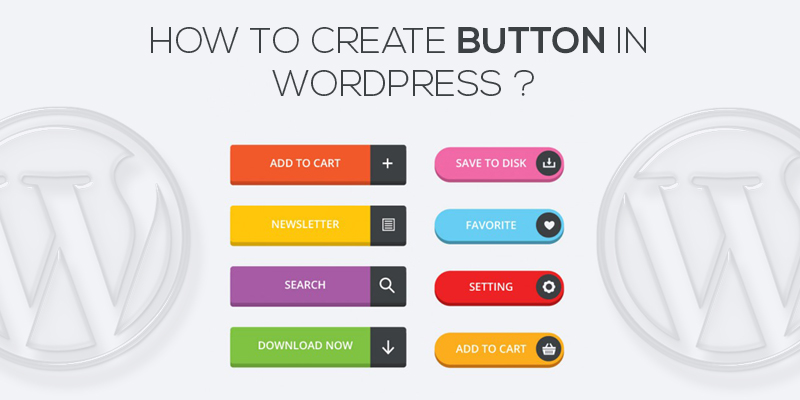
Neither themes nor plugins, this article is about buttons in WordPress. Apparently, buttons are bold enough to grab user attention and enable WordPress website owners to embed custom links within it. Integrating links within the WordPress content help take your users to a different page without having to promote the page much.
Where plugins have inbuilt buttons, the fact that this kind cannot be embedded in a particular post or plugins, mandate the need to manually create a button in WordPress.
In case, you have been struggling to create buttons within a WordPress post or page, then you are in the right place. We are well aware of the fact that adding buttons necessitates the need to have significant knowledge about coding and so we are here to help you do so.
No, you don’t need to sit back and learn to code. Simply follow the steps given below and you will have a button embedded within your WordPress page.
Before that let’s have a quick look at why would you need to add buttons within the WordPress page.
Why would you need to create buttons in WordPress?
Wondering why should you create buttons within the WordPress page?
Well, there are certain circumstances when embedding links within your pages appear important. You can simply write a text and add links. However, this might not successfully grab the attention of the user.
Also, it could be that having such a link is as much help as removing it. In such a case, using buttons to embed links would be beneficial.
Creating buttons within the website helps you to instigate action through the page and also compel readers to make the move.
This is beneficial given the fact that the higher the interaction of users, the more is the website traffic and the ROI.


So, now that you are pretty much moved, let’s see how can we create buttons on a WordPress website.
How to Create Buttons In WordPress?
There are multiple ways to add or create buttons in WordPress. Of all, the most popular is the one that involves shortcodes and renders the ease to create Max buttons.
In case, you are more about adding stylish and unique buttons, max buttons serve the purpose best. Even though it consumes a significant amount of time, it is apparently the widely used form of buttons.
So, without wasting further time, let’s dive into the steps.
- To start, you would first need to download the max button plugin.
- Log in to the WordPress admin dashboard and navigate to the left of the screen.

- Here, click on plugins and then select add new.

- Search for max buttons and then click enter.
- Download and install the plugin to activate the same.
Once you have the plugin, the creation of a button seems very easy. In order to create your first button, click on the link hovering at the left panel, outlined Max Button.
- As soon as the page opens up, click on add new.

- A new window pops up and you have plenty of details to fill in.

- The most important ones are in the first box and ask:
- Button Name – Though it is important to have a name and helps you rescind, this will never be visible to the readers or page visitors.
- URL – embed the link where you wish to redirect your users once they click on the button.
- Text – it is what the button says and appears as the name to the users.
- Additional settings comprise changing the font colors and style.
- As and when you make changes, you will notice a button preview at the right of the screen. This is how the button would look when embedded within the page
- You can also change the background of the button or add a border if you feel like it.
- Once you are done with the altercations, you can then move ahead and save the changes.
- Finally, to add the button, click on the max buttons and select the one you want to add.
Pretty easy, wasn’t it? Chat Now
Related posts:

Brian is a WordPress support specialist and content contributor at 24×7 WP Support. He writes practical, easy-to-follow guides on WordPress troubleshooting, WooCommerce issues, plugin and theme errors, website security, migrations, performance optimization, and integrations. With a focus on solving real website problems, Brian helps business owners, bloggers, and online store managers keep their WordPress sites running smoothly.
