
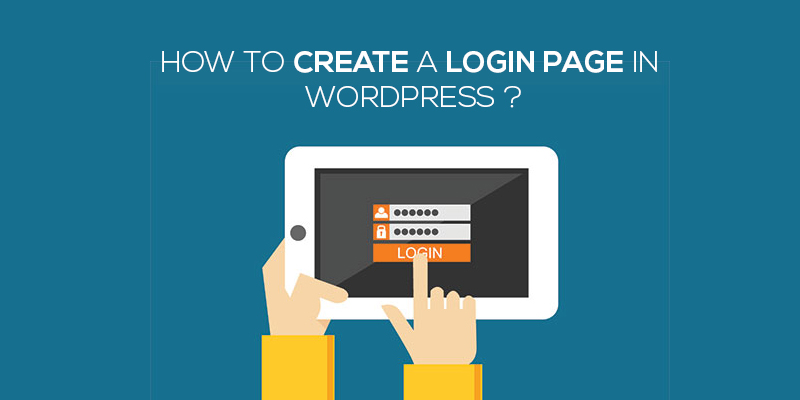
How To Create A Login Page In WordPress
Last updated on September 28th, 2021 at 10:36 am
Irrespective of whether you are a blogger or an online store manager, if you embed the choice of membership within your WordPress website, odds are that your visitors would frequently see what we refer to as the login page.
Though a default login page comes along the website, you might have the longing to customize the same and create a much more user-centric login page, one that aligns itself with the expectations of the customer and offers an exceptional experience.
Don’t worry, you would not have to sit and learn how to code. Instead, you can simply follow a series of steps and create a customized login page in WordPress.
Before we see how we must give a thought on why and when do you need to create a custom-fit user login page.
Why Create A Custom WordPress Login Page?
As a known fact, WordPress is one of the highly successful content management platforms and offers users the ease to create membership websites, eCommerce stores, and even a blogging website.
Now, having a user login page could either be a choice or necessity. If you go with the default login page, you will have a WordPress logo on the top and a very basic appearance. Without a doubt, this is the standard login page and is at least better than not having one.
However, the default login page lacks the appealing power and fails to attract significant users. Given the above, if your website is more about the customers and you wish to give a personal touch to the login page, you can step ahead and customize the same.
You can alter and modify the page to map the theme of your WordPress website, add your own logo and create the entire page in a way that gives a well-optimized experience.
Who Needs To Customize the Login Page?
Taking the pain of stepping ahead and customizing the WordPress login page isn’t the need of every blogger. In case, you have a short and a very restricted kind of site, without much traction or user engagement, investing both your time and money in customizing the login page would be a fool’s task. So, before you move ahead, see if you actually need to create a customized login page.
- If you are an online site owner and need your visitors to create their personal profile, having a customized login page is a must.
- In case, you have a vlogging site where you seek your visitors to actively engage in submitting content, you would need to give them a login page and the customization is best you can opt to do.
- If you run a membership website, a login page is more of a necessity. No doubt about why customization.
And, if you wish to attune your login page with the active WordPress theme, you would create a custom login page.
Convinced?
Let’s move ahead and uncover the steps you need to follow in order to create a custom login page for your WordPress website.
How to create a custom login page?
There are a plethora of ways by which you can create a custom login page for the WordPress website.


Using The Membership Plugin
The easiest and the most convenient way to create a custom login page is through a plugin. Here, we refer to the Membership Plugin.
To start with,
- Login to the WordPress admin dashboard entering your login credentials.
- Navigate to the left of the dashboard and then click on Plugin and then select on add new.
- A new window opens up. In the search bar, enter the keyword ‘Membership Plugin’.
- As soon as you press enter, you will see a pop-up with the Membership plugin.
- Click on install and activate.
Once, the plugin has been successfully activated, you can easily create the customized login page. The plugin has been designed in a way that it automatically matches the current WordPress theme.
- After you have activated the plugin, visit the login page of your WordPress website and you will see the page has already been blended in the theme of your website.

This is the login page of the sample WordPress website.
- Now, if you wish to alter or enable the WordPress features, do the following.
- Navigate to the left of the screen and there under the admin bar, you will find the TML menu.
- Click on the same in order to configure the plugin settings.

Once the page opens up, you will find a plethora of different options in terms of checkboxes. Scan through each of them and select the ones that seem appropriate to you, based on your website requirements.
- Select the check-boxes as displayed on the screen. This is based on the tabs or the functionalities that you plan to add to your website.
Consider, for example, if you want to have an email tab displayed under the TML menu item, all you need to do is enable the option of custom email module as seen on the screen.

You can follow the above process to add as many tabs as you want and customize the login page on the go.
Using Theme My Login
Another way to customize the login page of your WordPress website is through the My Login theme. This has a custom login widget which gives you the ease to customize the login page. All you need to do is visit Appearance, click on the Widgets page and then add Theme My Login widget in the sidebar.
And our job is done!

Brian is a WordPress support specialist and content contributor at 24×7 WP Support. He writes practical, easy-to-follow guides on WordPress troubleshooting, WooCommerce issues, plugin and theme errors, website security, migrations, performance optimization, and integrations. With a focus on solving real website problems, Brian helps business owners, bloggers, and online store managers keep their WordPress sites running smoothly.
