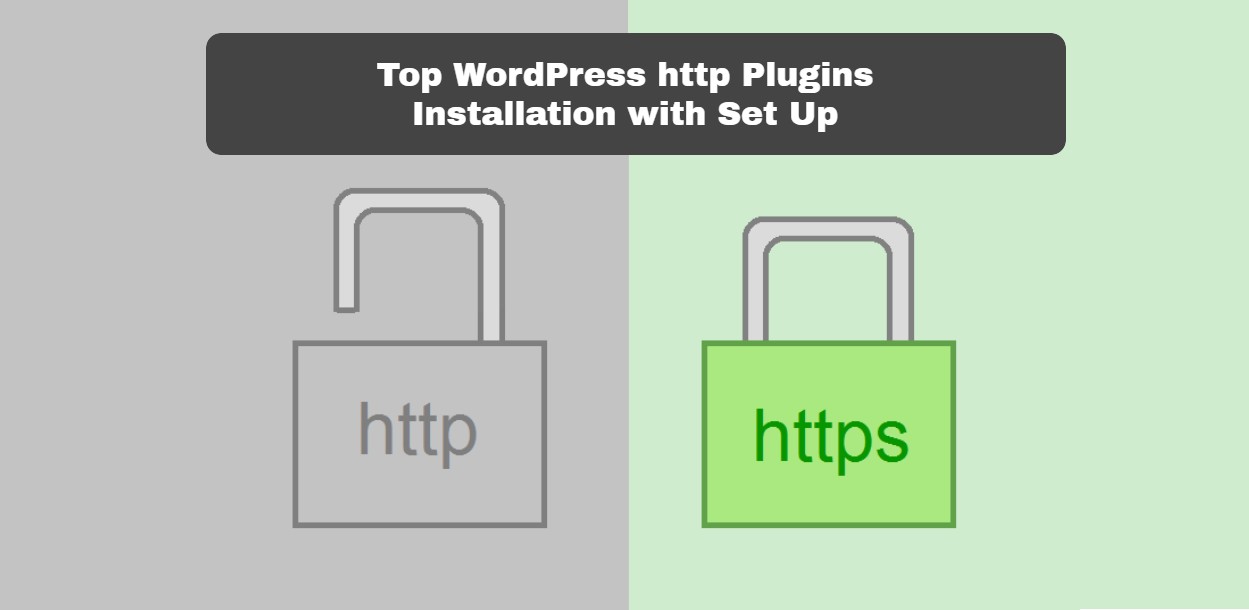
Top WordPress http Plugins Installation with Set Up
Last updated on September 6th, 2023 at 08:44 am
CM Tooltip Glossary
CM ToolTip Glossary plugin for WordPress helps to create glossary, encyclopedia and dictionary of your terms on your site.
How to CM ToolTip Glossary
- Open your WP Dashboard
- Click on “Plugins” tab then Click “Add New”
- Search for the plugin name on the search bar.
- Click “Install Now” and “Activate” to activate the the slider plugin.
How to setup the plugin with your site
- Go back into the dashboard.
- Click “CM ToolTip Glossary” on the menu in the left side of the dashboard.
- Click “Add New” under “CM Tooltip Glossary” menu to add glossary items.
- Enter the “Title” of the glossary item and fill the content or definition.
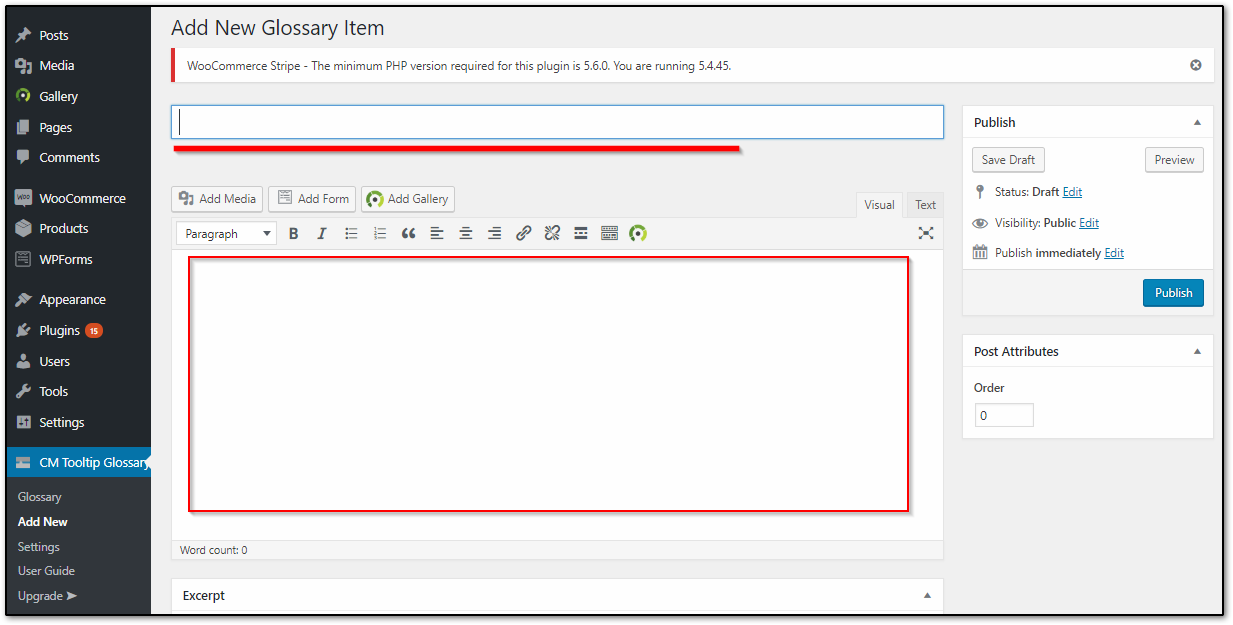
- Click “Publish” in the right column when done.
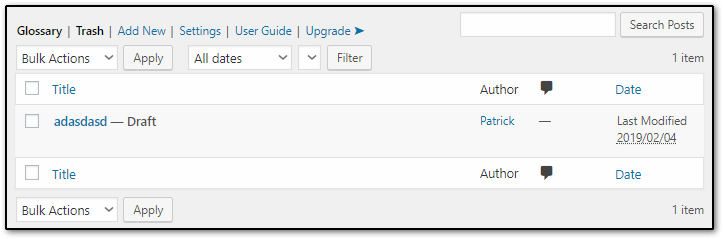
- The glossary item will be listed on the “Glossary” under “CM Tooltip Glossary”
- You can now create a post, and every word in your post that is included on the glossary list will be highlighted and redirects to the glossary item page when clicked
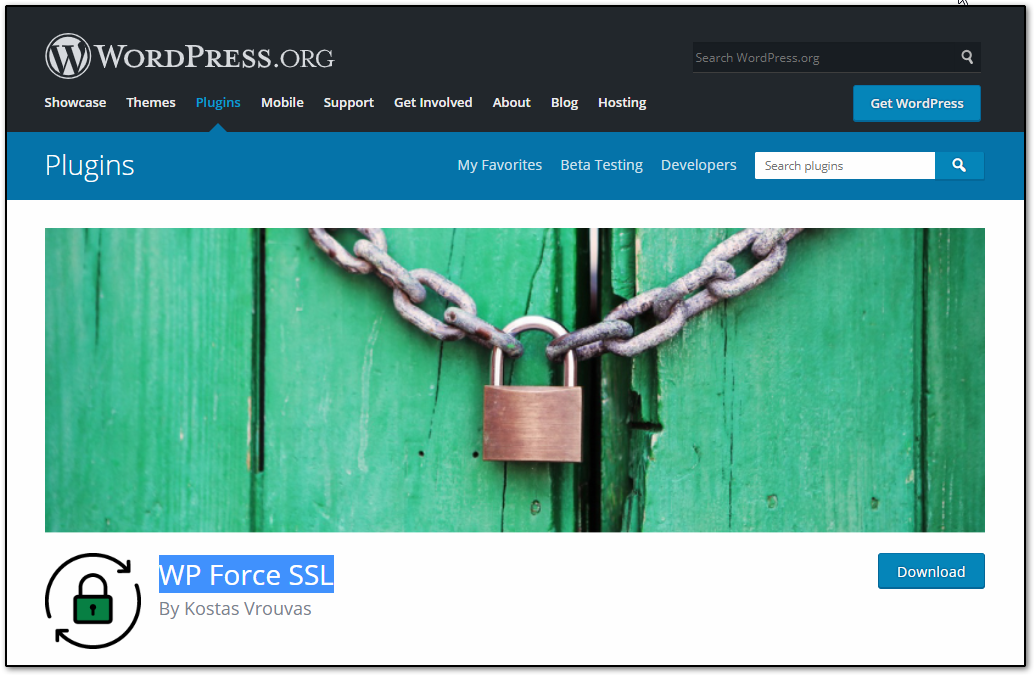
WP Force SSL
WP Force SSL plugin helps redirect HTTP to HTTPS quickly and easily without touching any codes on your site.
How to install WP Force SSL
- Log into your Dashboard.
- Under “Plugins” tab Click “Add New”.
- Search for the plugin name on the search bar.
- Click “Install Now” and “Activate” to activate and finish the installation setup.
How to setup the plugin with your site
- You need to purchase and install SSL first, if you already have you can proceed to the setup.
- Go back to the dashboard.
- Click “General” under “Settings” on the menu located at the left side of the dashboard.
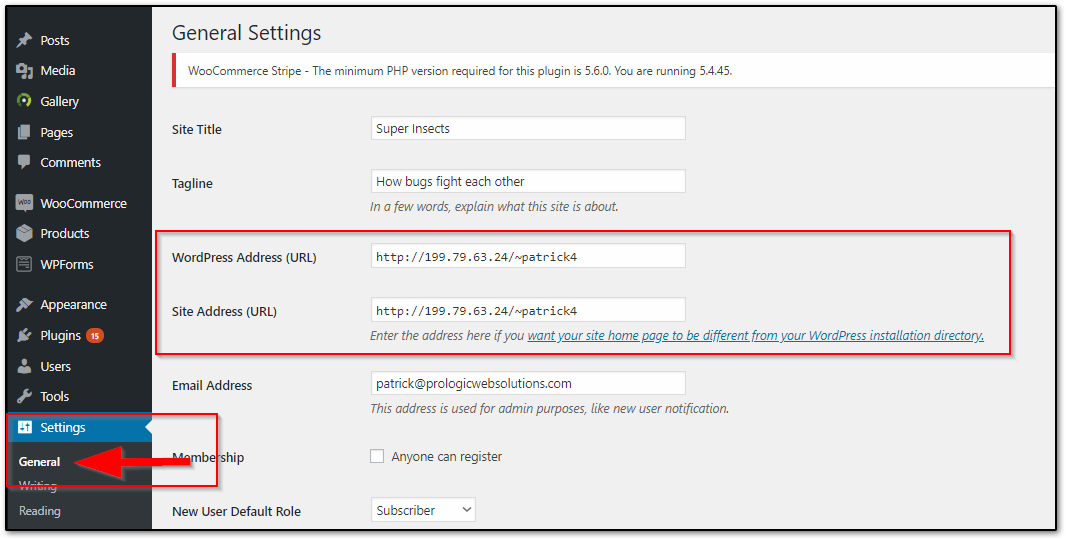
- On general settings page, just change the HTTP into HTTPS on the “WordPress Address (Url)” and “Site Address (Url)” text boxes. That’s it!.
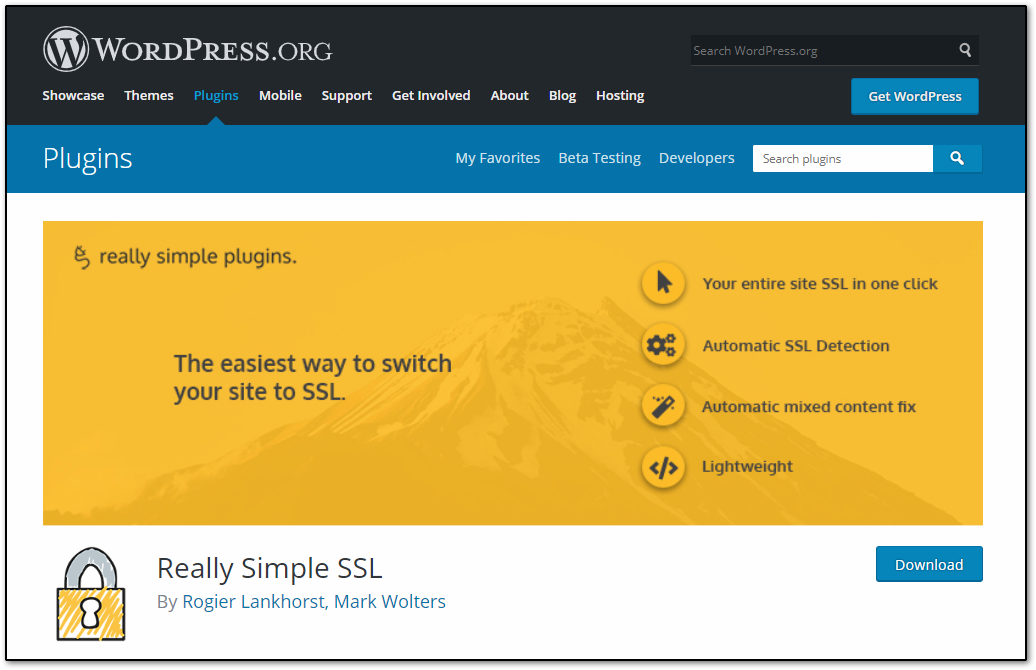
Really Simple SSL
Really Simple SSL plugin is a very easy to use tool to configure your site to run over https. You’re done with just a few clicks.
How to install Really Simple SSL
- Go to your Dashboard
- On the dashboard left side menu under the “Plugins” tab click “Add New”
- Write “Really Simple SSL” on the search bar, it will automatically search for the plugin.
- Click “Install Now” and wait for it to complete.
- Click “Activate” to activate the plugin.
How to setup the plugin with your site
- First you need to purchase and install SSL, if you already have you can proceed to the setup.
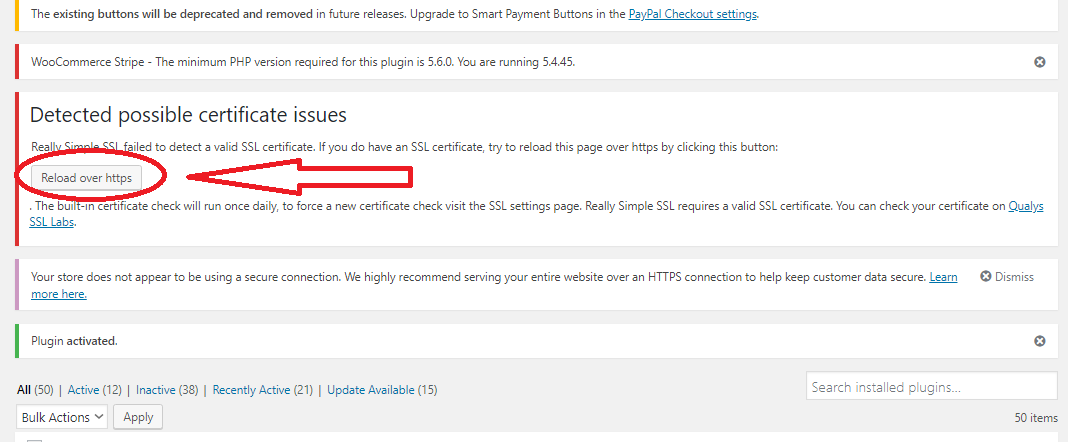
- After installation and activation you will see a notice regarding possible certificate issues.
- Just click on “Reload over https” button and this will automatically configure your website to run over HTTPS.
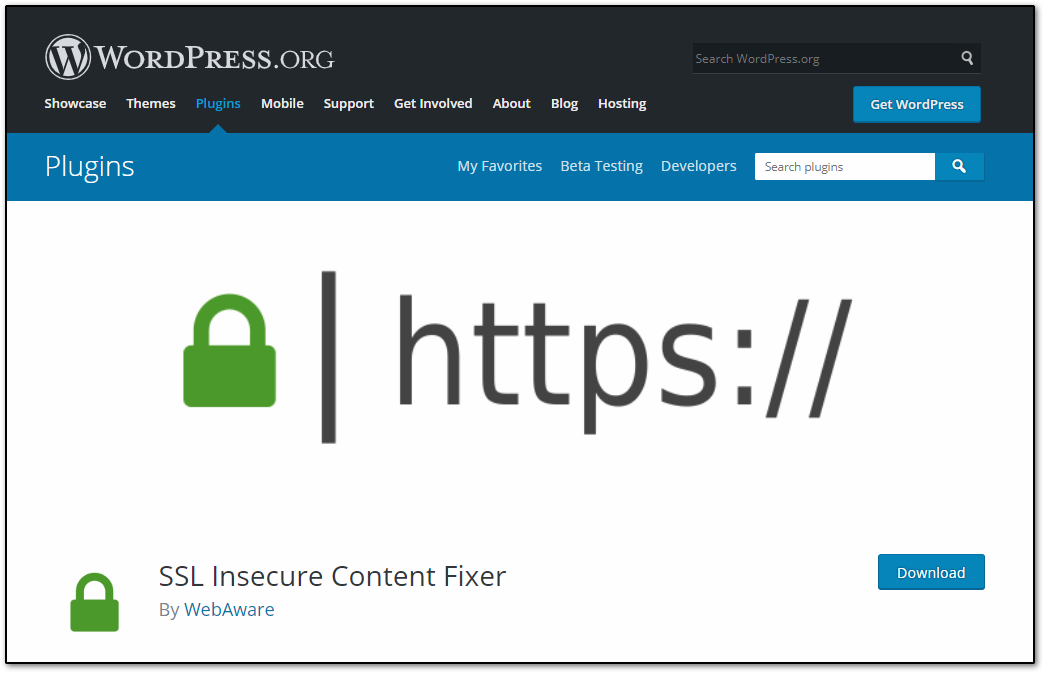
SSL Insecure Content Fixer
SSL Insecure Content Fixer is a plugin tool for cleaning up WordPress website’s HTTPS insecure contents and mixed content warnings.
How to install SSL Insecure Content Fixer
- Open your WP dashboard
- Navigate the dashboard and go into “Plugins” tab, Click on “Add new”
- Search for the plugin name on the search bar
- Click “Install Now” button to install it on your site
- Click “Activate” to activate the plugin.
How to setup the plugin with your site
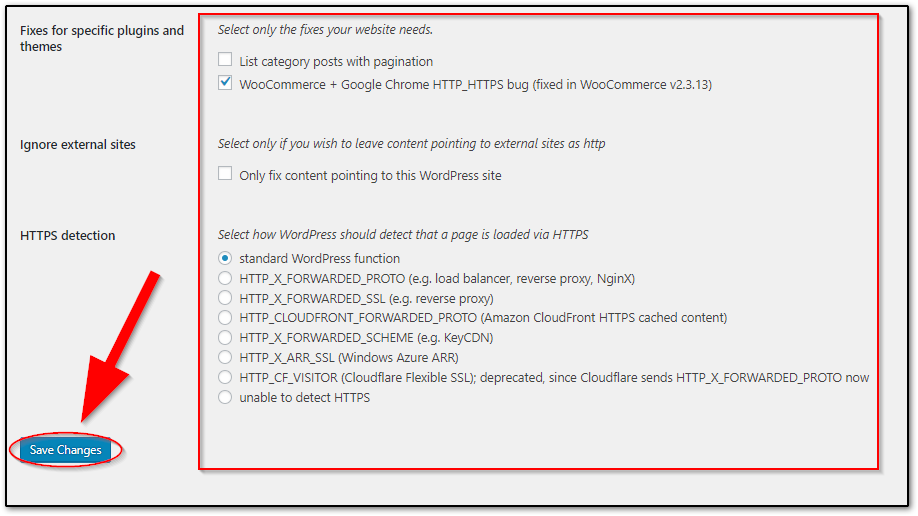
- On the dashboard left menu, click on “SSL Insecure Content” under “Settings” tab.
- Select the level of fixing on the SSL Insecure Content page by clicking on the checkboxes.
Below you can select the fixes your website needs. Lastly, click “Save Changes”.
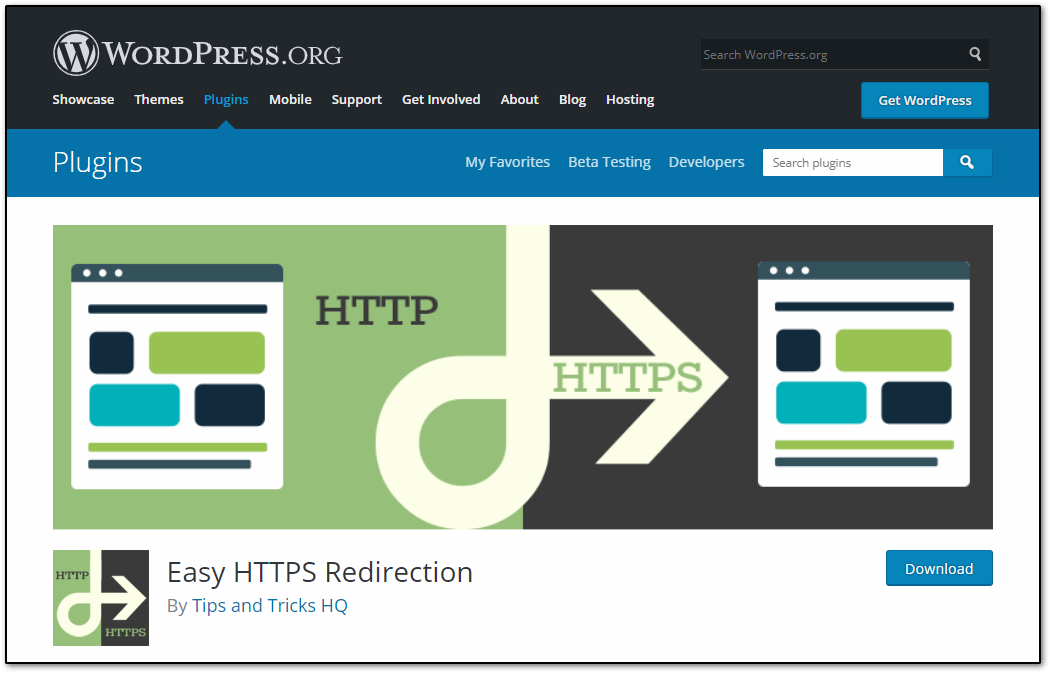
Easy HTTPS Redirection
Easy HTTPS Redirection plugin is an easy tool used to automatically setup a redirection on the HTTPS version of url after you install SSL certificate on your site.
How to install Easy HTTPS Redirection
- Login into your site dashboard.
- Go to “Plugins” tab on the left side menu then click on “Add new”.
- Search for the plugin name on the search bar.
- Click on “Install Now” and wait for the installation process to finish.
- Click “Activate” to activate the plugin.
How to setup the plugin with your site
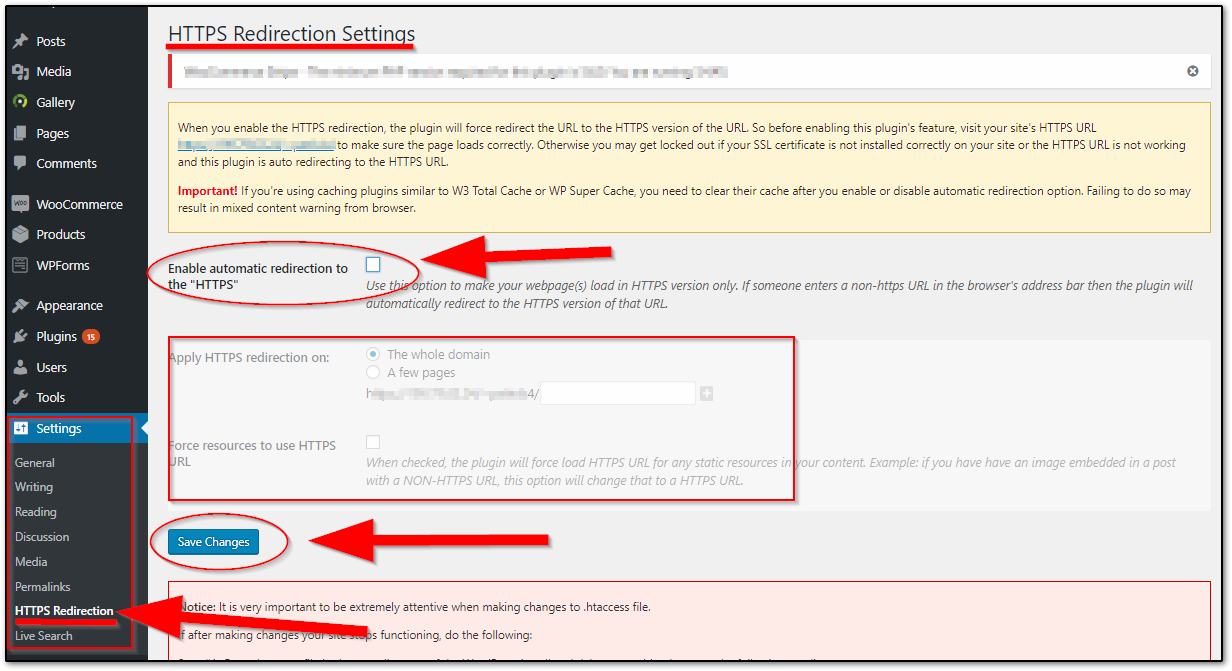
- Go back to the Dashboard and click “ HTTPS Redirection” under “Settings” tab on the left side menu.
- Check “Enable automatic redirection to the “HTTPS”” checkbox.
- Below you can choose if you want to redirect the whole domain or enter specific pages.
- Click “Save Changes” and you’re done.
Need help in Plugin Selection or Plugin Issue? We are available 24/7 by Phone or Chat.